
Okay, here’s my blog post about making a lighted crystal tree topper, written in a casual, personal style:
So, I’ve always wanted one of those fancy, sparkly Christmas tree toppers, you know, the kind that looks like it’s made of a million tiny diamonds? But they’re always so expensive. I figured, “Hey, I’m crafty, I can probably make one myself!” And, well, after a few, uh, experiments, I finally did it!
First, I gathered my materials. This was the fun part, like a treasure hunt! I needed:
- A basic star-shaped tree topper form (I got a cheap plastic one).
- A whole bunch of clear crystals (I used acrylic ones, because real crystals would cost a fortune!).
- Strong adhesive (I went with E6000, that stuff sticks to everything).
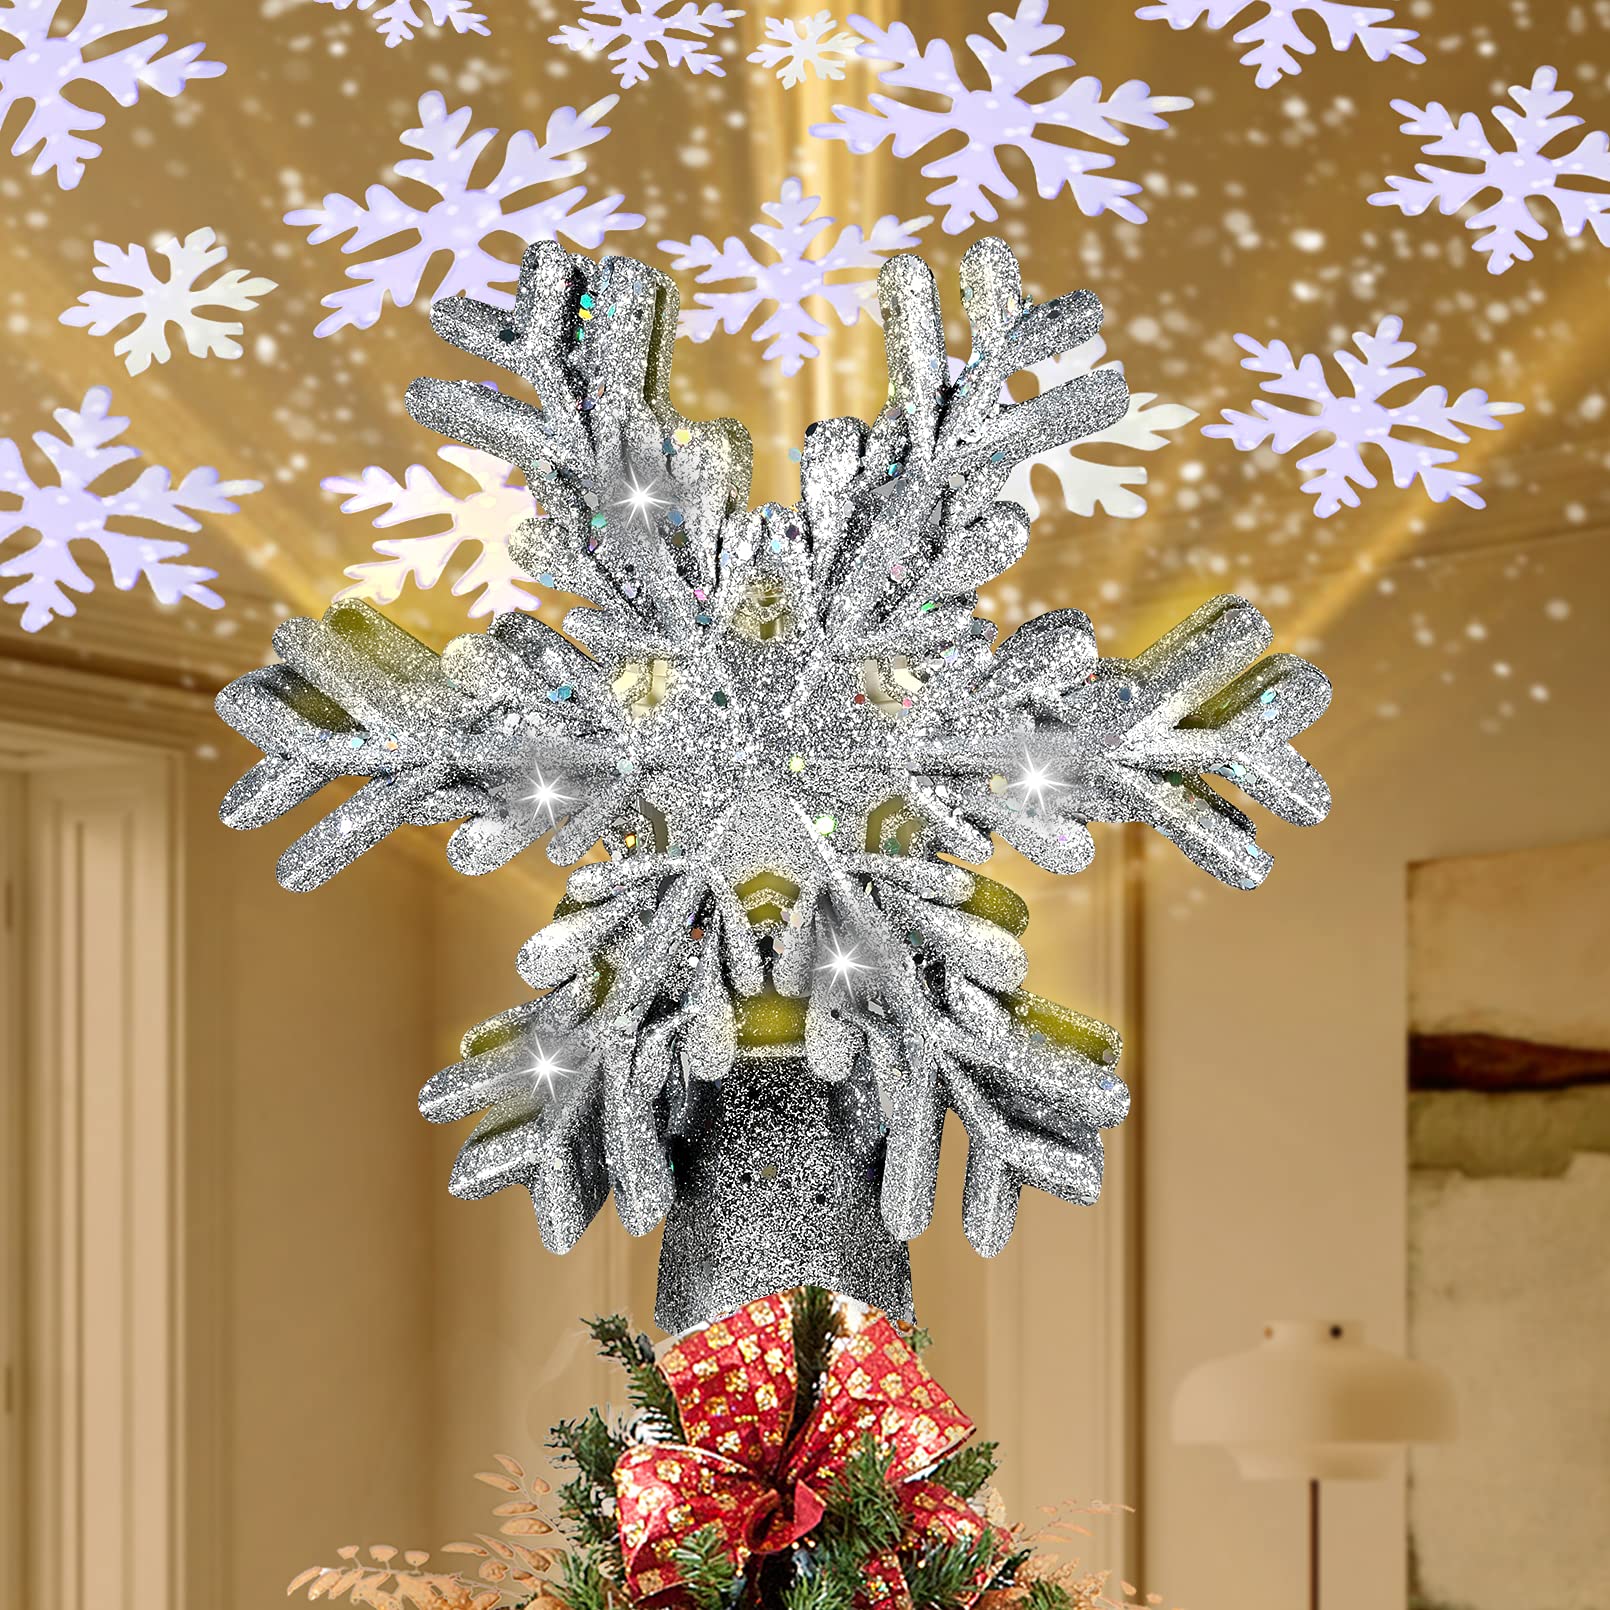
- A string of battery-operated LED fairy lights (the tiny ones with a thin wire).
- Some silver glitter (because, why not more sparkle?).
- A small paintbrush.
- Tweezers (super helpful for placing the tiny crystals).
- Patience (lots and lots of patience!).
The Messy (But Fun) Part
I started by giving the plastic star a thin coat of the adhesive. I used the paintbrush to spread it evenly. While it was still wet, I sprinkled a generous layer of silver glitter all over it. I let that dry completely. I did not use a hair dryer.I want to let it naturally dry.
Next, I carefully wrapped the fairy lights around the star form, making sure the lights were evenly distributed. I secured the battery pack to the back of the star with some extra adhesive (and a bit of tape, just to be sure!).
Then came the really time-consuming part. I started gluing the crystals onto the star, one by one. Tweezers were my best friend here. I tried to vary the sizes of the crystals to make it look more, I don’t know, “organic”? It took forever, and my fingers were definitely covered in glue by the end, but slowly but surely, the star started to take shape.
After all the crystals were in place (and my back was aching!), I let it dry overnight. I made sure everything was super secure.
The Grand Finale!
The next day, I flipped the switch on the battery pack, and… ta-da! My very own lighted crystal tree topper! It looked amazing! It was so sparkly and pretty, and the lights added such a magical touch. I’m a genius.
Honestly, it wasn’t the easiest project I’ve ever done. There were moments when I wanted to throw the whole thing out the window (especially when I dropped a whole pile of crystals on the floor). But seeing the finished product, all lit up and gorgeous, made it totally worth it. I am proud to be a DIY master.
If you’re thinking of trying this, my advice is: be patient, take breaks, and don’t be afraid to get a little messy. It’s all part of the fun!

It’s totally a try project that worth to show off.


