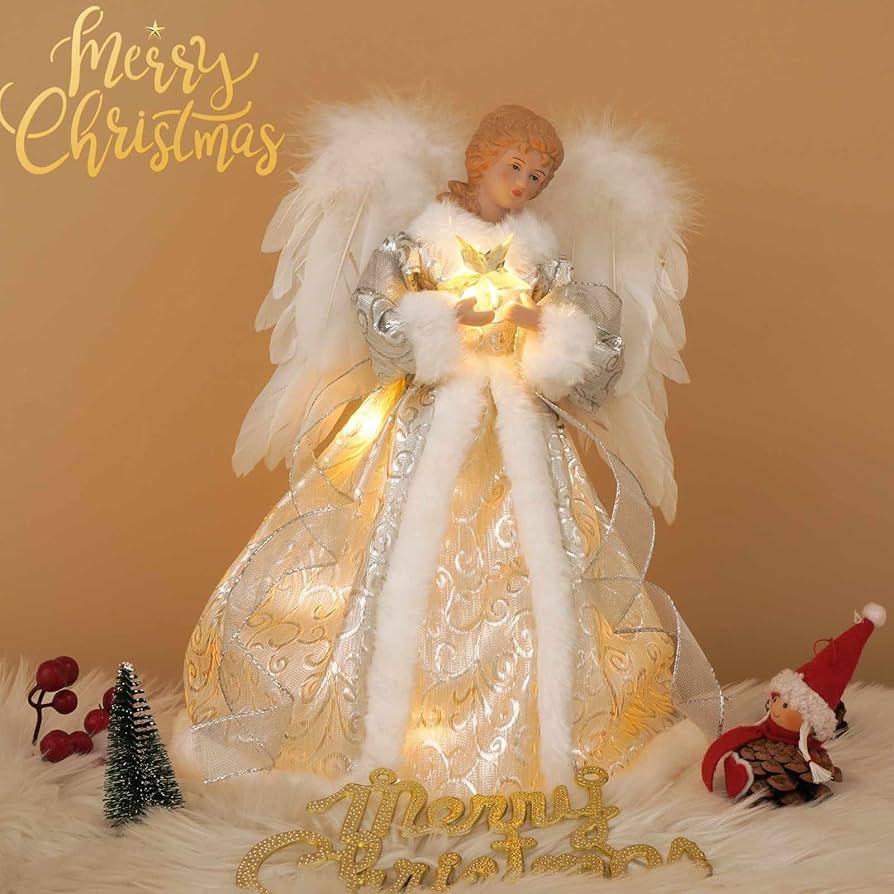
Okay, so I’ve been seeing these gorgeous crystal angel tree toppers everywhere lately, and I just had to try making one myself. I’m not gonna lie, it looked a little intimidating at first, but it turned out to be way easier than I expected!
Getting Started
First, I gathered my materials. I needed:
- A clear plastic ornament (I found a nice, big one at the craft store)
- A bunch of those little crystal beads – you know, the kind you use for jewelry. I picked clear ones, but you could totally use colored ones too!
- Some strong, clear-drying glue. Seriously, don’t skimp on the glue, you want this thing to hold together.
- A small doll’s head. Sounds weird, I know, but trust me. I grabbed one from an old doll I had lying around.
- Some white feathers – for the wings, obviously!
- A little bit of silver wire, for the halo.
- And finally, some ribbon, for hanging.
Putting it all together
The first thing I did was glue the crystal beads all over the plastic ornament. I just put a dab of glue on the ornament and then stuck a bead on. I did this over and over again until the whole thing was covered. It took a while, ngl, but it was kinda relaxing, like a sparkly meditation.
While that was drying (and it needs to dry completely, don’t rush it!), I worked on the wings. I just took a bunch of feathers and glued them together in a wing shape. I made two, of course, one for each side.
Once the ornament was totally dry and covered in sparkly goodness, I glued the doll’s head to the top. Then, I glued the wings onto the back.
For the halo, I just bent some silver wire into a circle and glued it to the back of the doll’s head.

Lastly.I glued the ribbon on top for hanging.
The Finished Product!
And that’s it! It actually turned out pretty amazing, if I do say so myself. It catches the light beautifully, and it looks way more expensive than it actually was to make. I’m so stoked to put it on my tree this year! I can’t wait to see the finished result on the top of my christmas tree!


