
Okay, here’s my blog post about making a wire tree with crystals, written in the style you requested:
So, I’ve been seeing these cute little wire trees with crystals all over the place, and I thought, “Hey, I can totally make that!” I’m not gonna lie, it took a bit of fiddling, but it was actually pretty fun. Here’s how my crafting adventure went down:
Gathering My Stuff
First, I grabbed some supplies. I already had a bunch of colorful beads and crystals from other projects (I’m a bit of a craft supply hoarder, no shame!). Then, I went and got some wire. I picked up two kinds: a thicker gauge for the trunk and main branches, and a thinner, more bendable one for the smaller branches and attaching the crystals. Don’t forget some wire cutters and maybe some pliers – those came in super handy.
Starting with the Base
I started by cutting a few long pieces of the thicker wire. This was going to be the trunk and the roots. I twisted them together, leaving some of the wire at the bottom untwisted to make the roots. It kinda looked like a weird, metal octopus at this point.

Building Up the Branches
Next, I took more of the thick wire and started twisting them onto the trunk to make the main branches. I just eyeballed it, really. No fancy measuring here! The key is to twist them on tightly so they don’t wobble around. I made sure to leave enough space between the branches so I could add the smaller, crystal-y branches later.
Adding the Sparkly Bits
This is where the fun really began! I used the thinner wire for this part. I cut smaller pieces and started attaching the crystals and beads. I’d thread a bead or crystal onto the wire, twist it a couple of times to secure it, and then twist that wire onto one of the main branches. I just kept adding more and more, spreading them out so it looked like a leafy tree. It was kinda therapeutic, actually.
- Make sure the crystal is well-secured.
- Wire should tightly wound so the branch will not wobble.
Shaping and Tweaking
Once I had all my crystals on, I spent some time shaping the tree. I bent the branches this way and that, making it look more tree-like and less like a metal mess. This part is all about your own style. You can make it super neat and symmetrical, or go for a more wild, natural look. I went for somewhere in between.
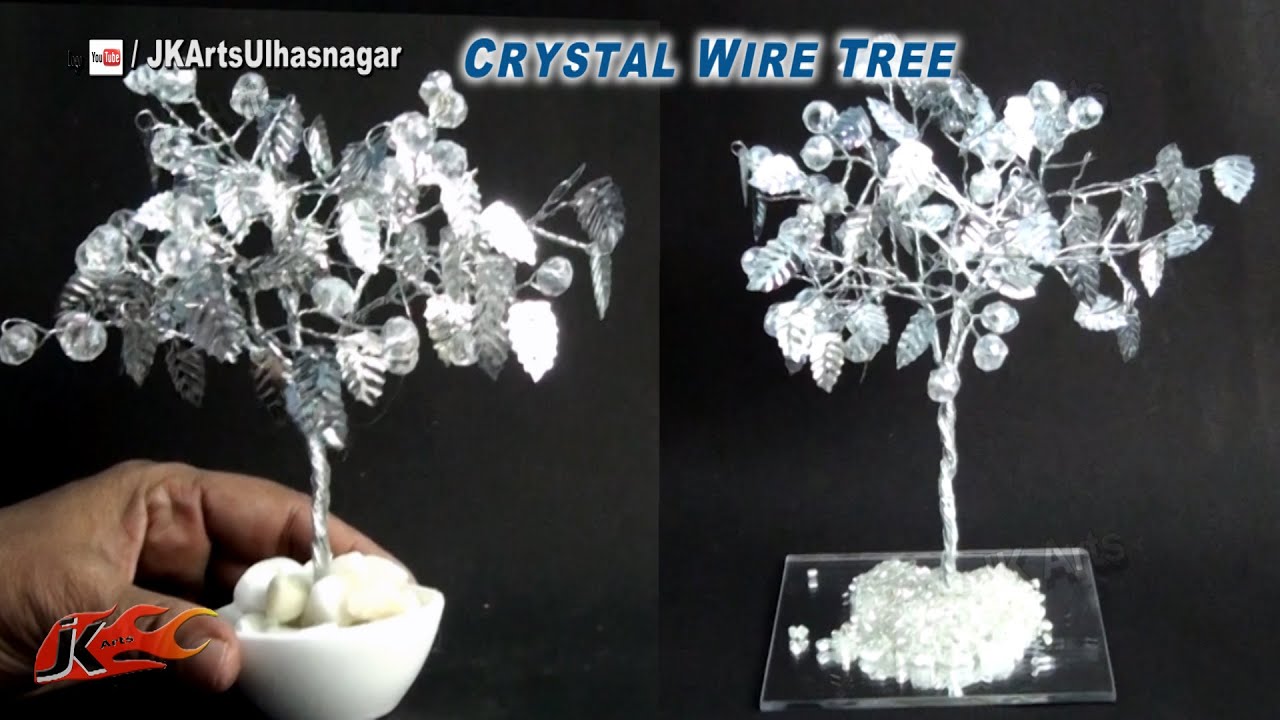
The Finished Product!
And that’s it! My very own wire tree with crystals. It’s not perfect, but I’m pretty proud of it. It’s sitting on my desk now, adding a little sparkle to my workspace. If you’re looking for a fun, easy craft project, I definitely recommend giving this a try. Just be prepared to get a little tangled up in wire – it’s all part of the fun!


