
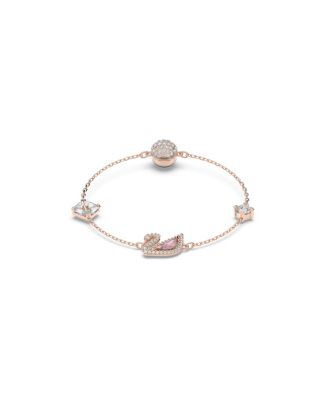
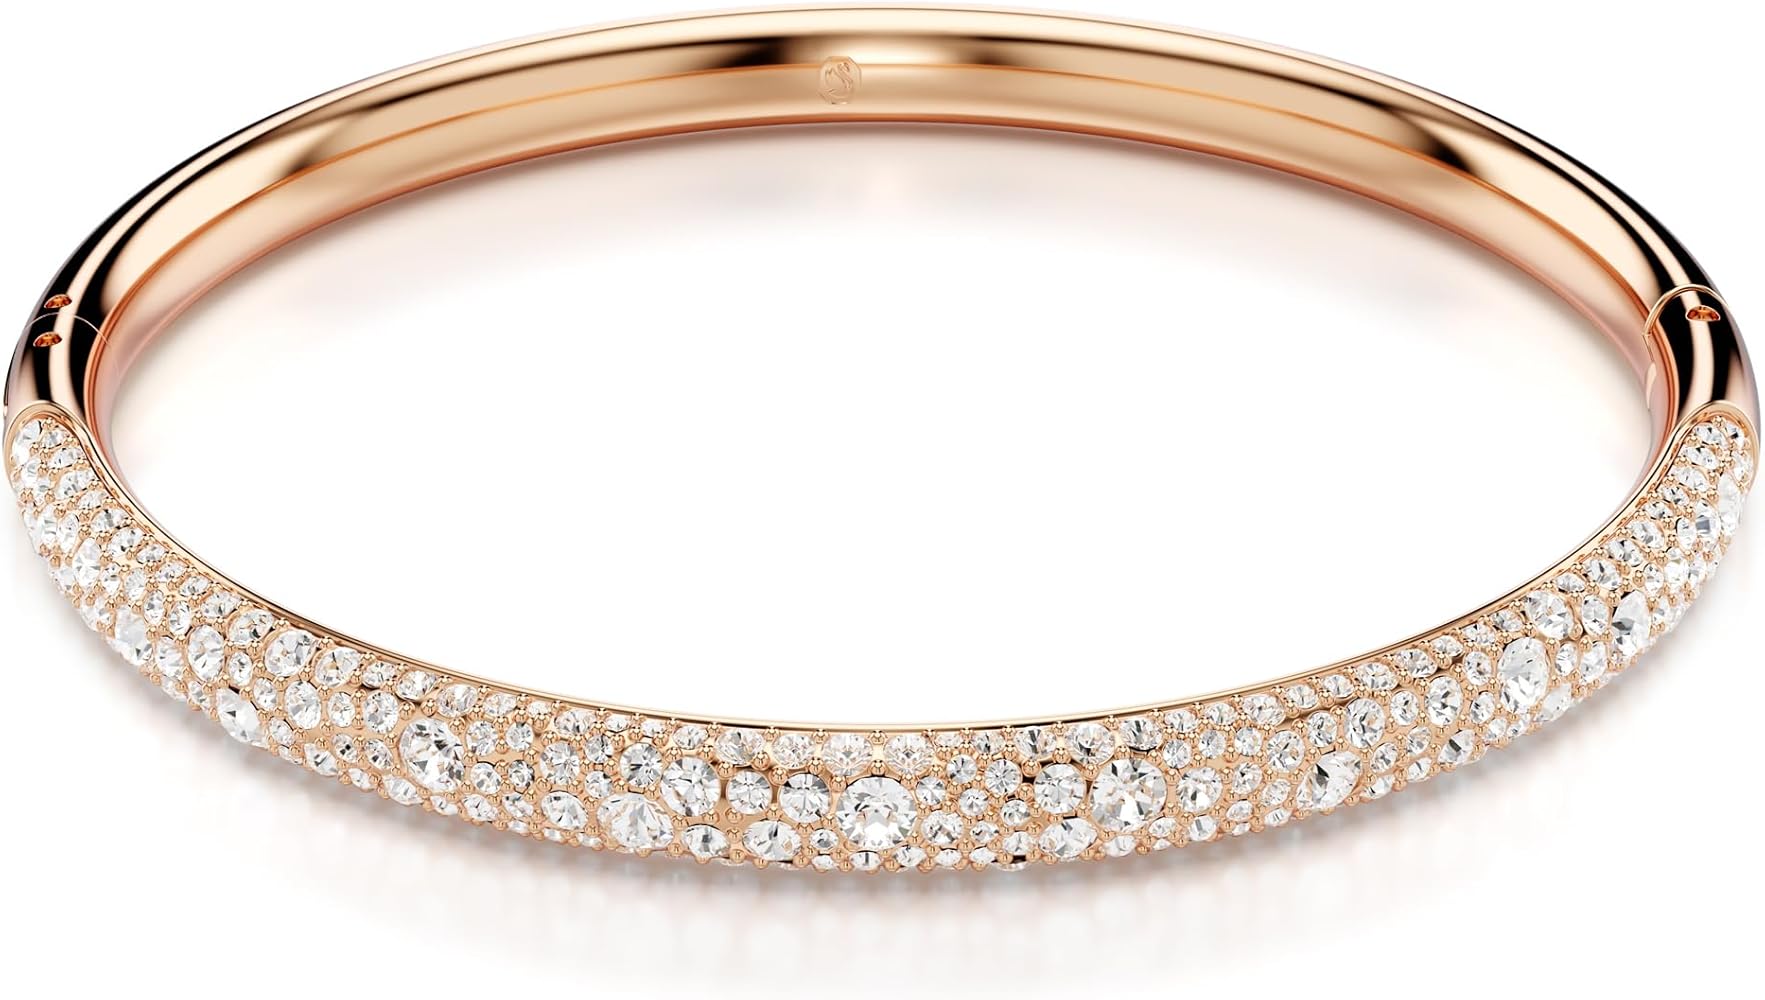
Okay, so I’ve been wanting to make a swarovski crystals bracelet for a while now. I finally decided to just go for it! I started by gathering my materials.
Gathering Supplies
I picked up some genuine Swarovski crystals in different sizes and colors, because, you know, gotta have that sparkle! Then I grabbed some strong beading wire, a clasp, and some crimp beads. These are super important to keep everything secure. I also made sure I had my jewelry pliers and wire cutters handy. You definitely need those.
The Messy (But Fun) Part
First, I laid out all my crystals on a soft cloth to get a feel for the design. I played around with the arrangement for like, an hour, trying different patterns. I wanted a mix of big and small crystals, with a bit of color variation. It’s harder than it looks to make it look random but still pretty!
Once I was happy with the design (finally!), I cut a length of beading wire. I made it a few inches longer than my wrist size, just to be safe. Better to have too much than too little, right?
Then, the beading began! I started by threading a crimp bead onto the wire, followed by one end of the clasp. I looped the wire back through the crimp bead and used my pliers to squish it really tight. This secures the clasp to the wire.
Next, I started adding the crystals, one by one, following the pattern I had decided on. I made sure to pull the wire snug after each crystal, but not too tight. You want it to have some flexibility.
Finishing Touches
After all the crystals were on, I added another crimp bead and the other half of the clasp, just like I did at the beginning. Again, I looped the wire back through the crimp bead and squished it flat with my pliers. Super important to make sure those crimp beads are really secure!
Finally, I trimmed the excess wire with my wire cutters. I tried to get as close to the crimp bead as possible, without actually cutting into it.
And that’s it! My very own, handmade, super sparkly Swarovski crystal bracelet! It took a bit of time and patience, but it was totally worth it. It’s not perfect, but I made it, and that’s what matters. I’m actually really proud of how it turned out.


