
Okay, so I’ve been wanting to make a swarovski crystals bracelet for a while now, and I finally did it! It turned out so pretty, I just have to share how I made it. Don’t worry, it’s easier than it looks.
Gathering My Stuff
First things first, I needed to get all my materials together. I already had some jewelry-making tools like pliers and wire cutters, so that was a good start. Then I went and got:
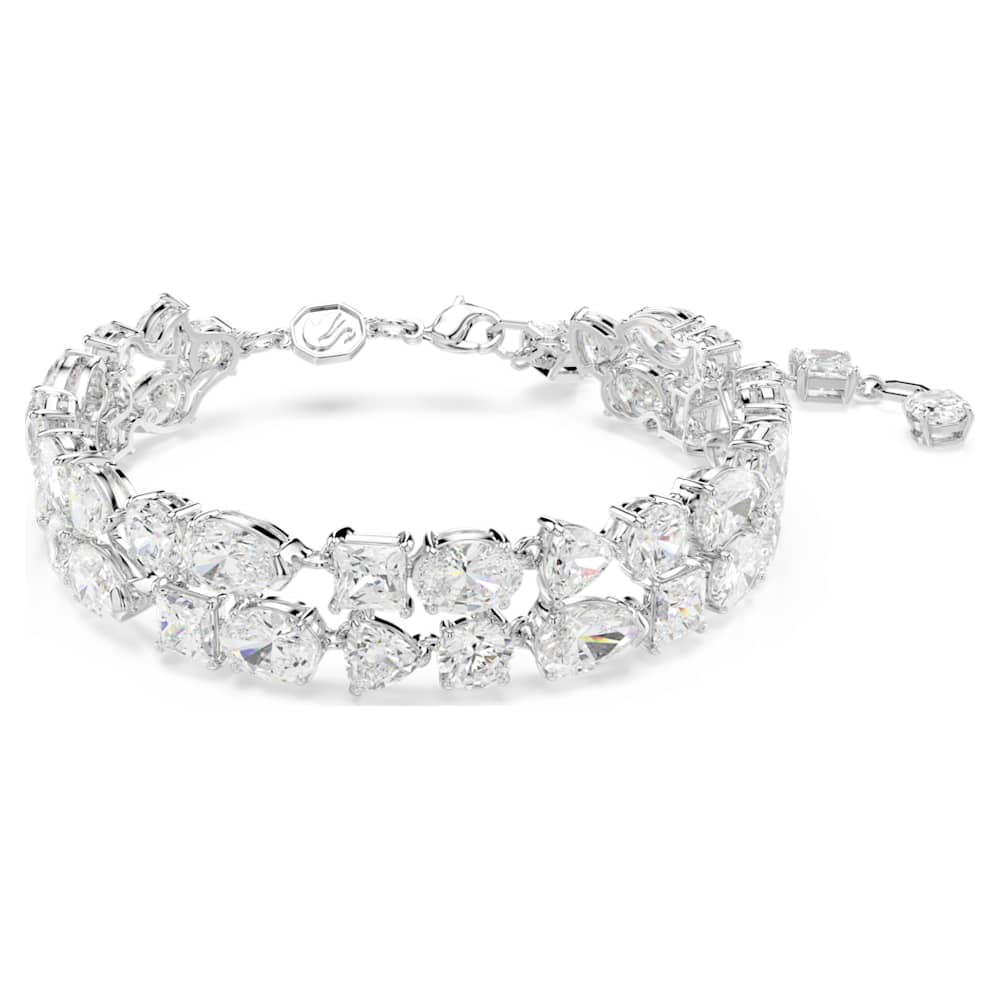
- Swarovski crystals: I picked out a mix of sizes and colors that I thought would look nice together, like the shimmer effect. It is important to choose the genuine ones.
- Beading wire: I chose a flexible, strong wire that wouldn’t break easily.
- Crimp beads: These are tiny little beads that you squish to hold the wire in place.
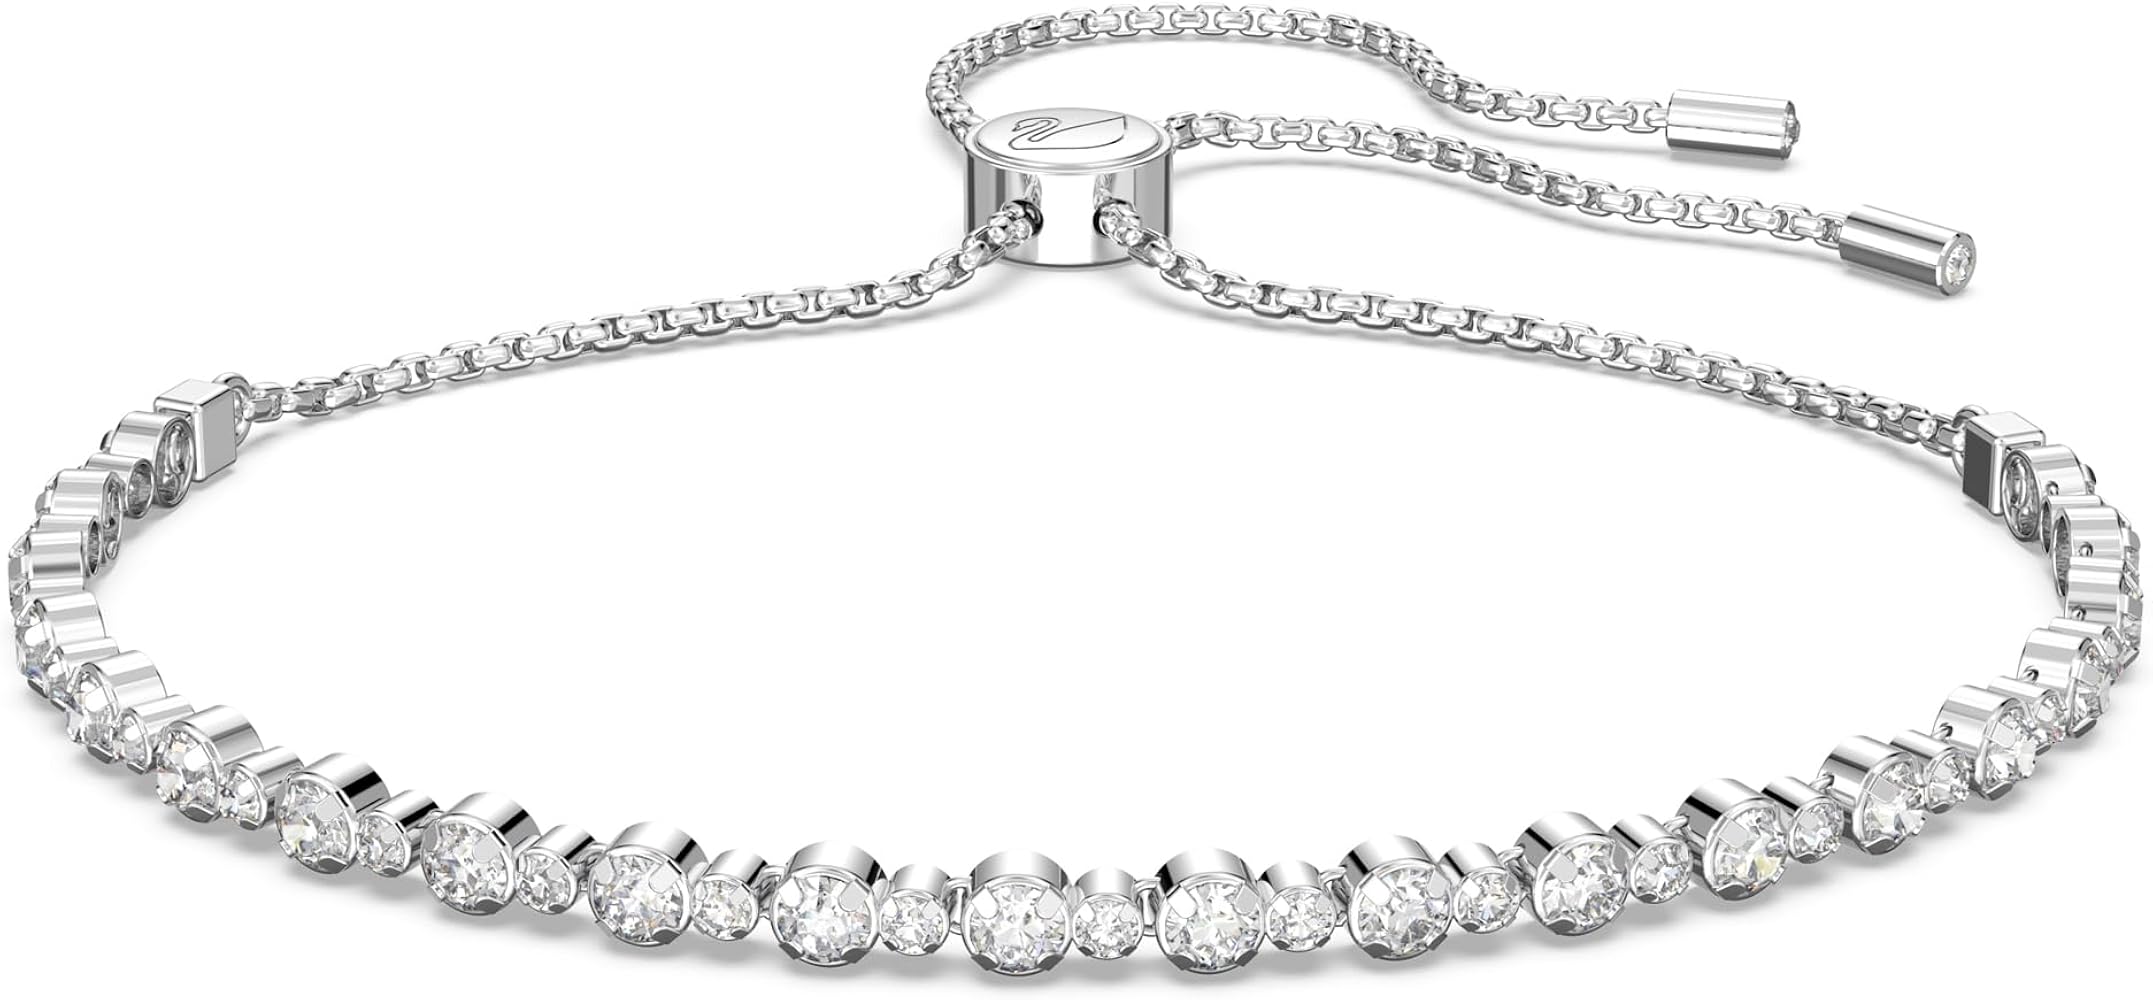
- A clasp: I went with a simple lobster clasp, but you can choose whatever you like.
Getting Started
I started by cutting a piece of beading wire. I made it a bit longer than I thought I’d need, just in case. Better to have too much than too little, right? Then, I strung one crimp bead onto the wire, followed by one half of the clasp.I used a plier purposed for jewelry making to secure this part.
Adding the Sparkle
Now for the fun part – adding the crystals! I just started stringing them onto the wire in the pattern I wanted. I played around with it a bit until I liked how it looked. Make sure that the colors and sizes are evenly placed.
Finishing Touches
Once all the crystals were on, I added another crimp bead and the other half of the clasp. Then, I went back and tightened everything up, making sure the crimp beads were nice and squished so nothing would move around. Trim any extra wire sticking out.
And that’s it! My very own sparkly swarovski crystals bracelet. It was so satisfying to make something myself, and I can’t wait to wear it out.


