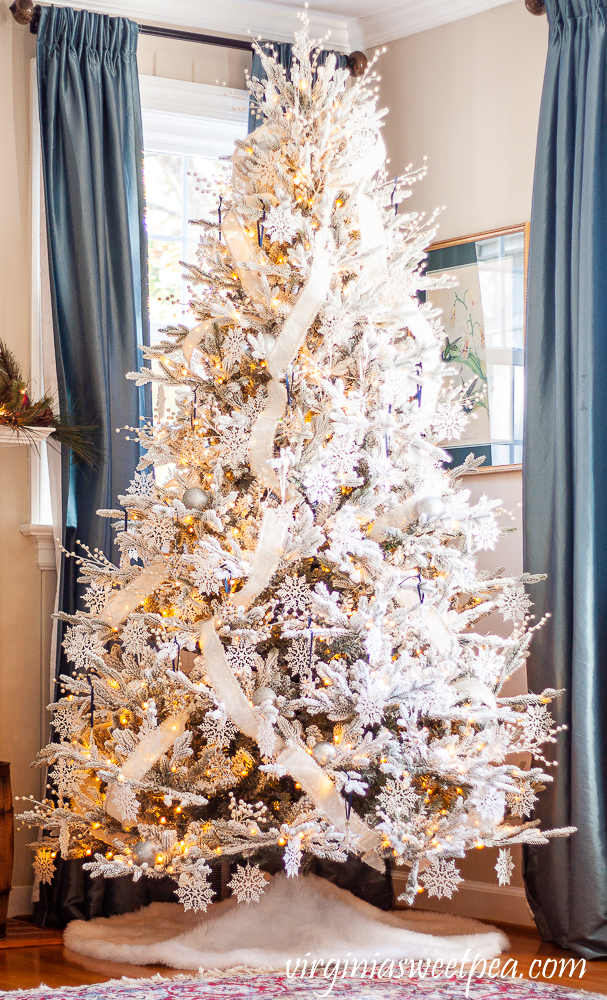
Okay, so I saw this amazing Swarovski crystal Christmas tree online and I just had to try and make my own version. I’m not gonna lie, it looked pretty intimidating at first, but I was determined to give it a shot!
Gathering Supplies
First things first, I needed to get my hands on some supplies. Obviously, the main thing was crystals. Lots and lots of crystals! I didn’t go full-on Swarovski, ’cause, you know, budget. But I found some really nice, sparkly ones online that looked like they’d do the trick.
- Crystals: I got a mix of different sizes and shapes, just to make it more interesting.
- Cone Base: I grabbed a styrofoam cone from the craft store. That’s gonna be the base for my tree.
- Glue: I went with a strong, clear-drying glue. You don’t want your crystals falling off, right?
- Tweezers: These are a lifesaver for placing those tiny crystals!
- Some extras: like soft cloth.
The Build
Then is the fun beginning, I started by gluing the biggest crystals around the base of the cone. I figured it would be easier to work my way up. I put a little dab of glue on the back of each crystal and carefully placed it on the cone, holding it there for a few seconds to make sure it stuck. I used some soft cloth clean the extra glue.
Slowly but surely, I started filling in the gaps with smaller crystals. This is where the tweezers really came in handy. It was a bit like putting together a sparkly puzzle, trying to find the perfect spot for each crystal.

It took a while, I’m not gonna lie. Like, a few evenings of gluing and sticking. But it was actually pretty relaxing, in a weird way. And seeing it all come together was super satisfying.
The Final Result!
And… ta-da! My very own crystal Christmas tree! It’s not exactly like the Swarovski one, but I’m pretty darn proud of it. It catches the light beautifully, and it’s gonna look amazing on my mantelpiece this Christmas.
Honestly, if I can do it, anyone can. It just takes a bit of patience and a whole lot of sparkle!


