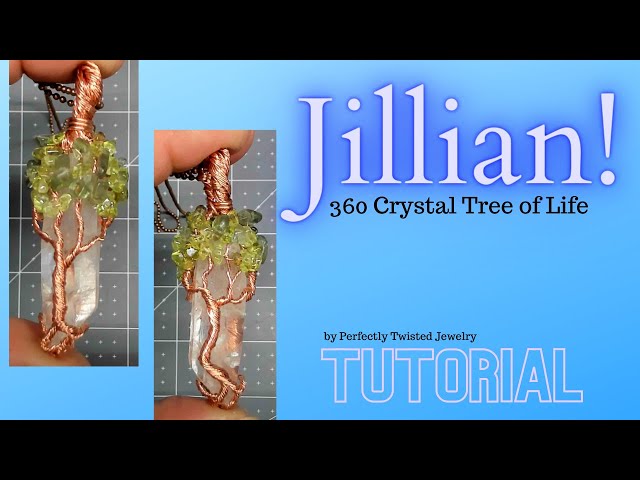
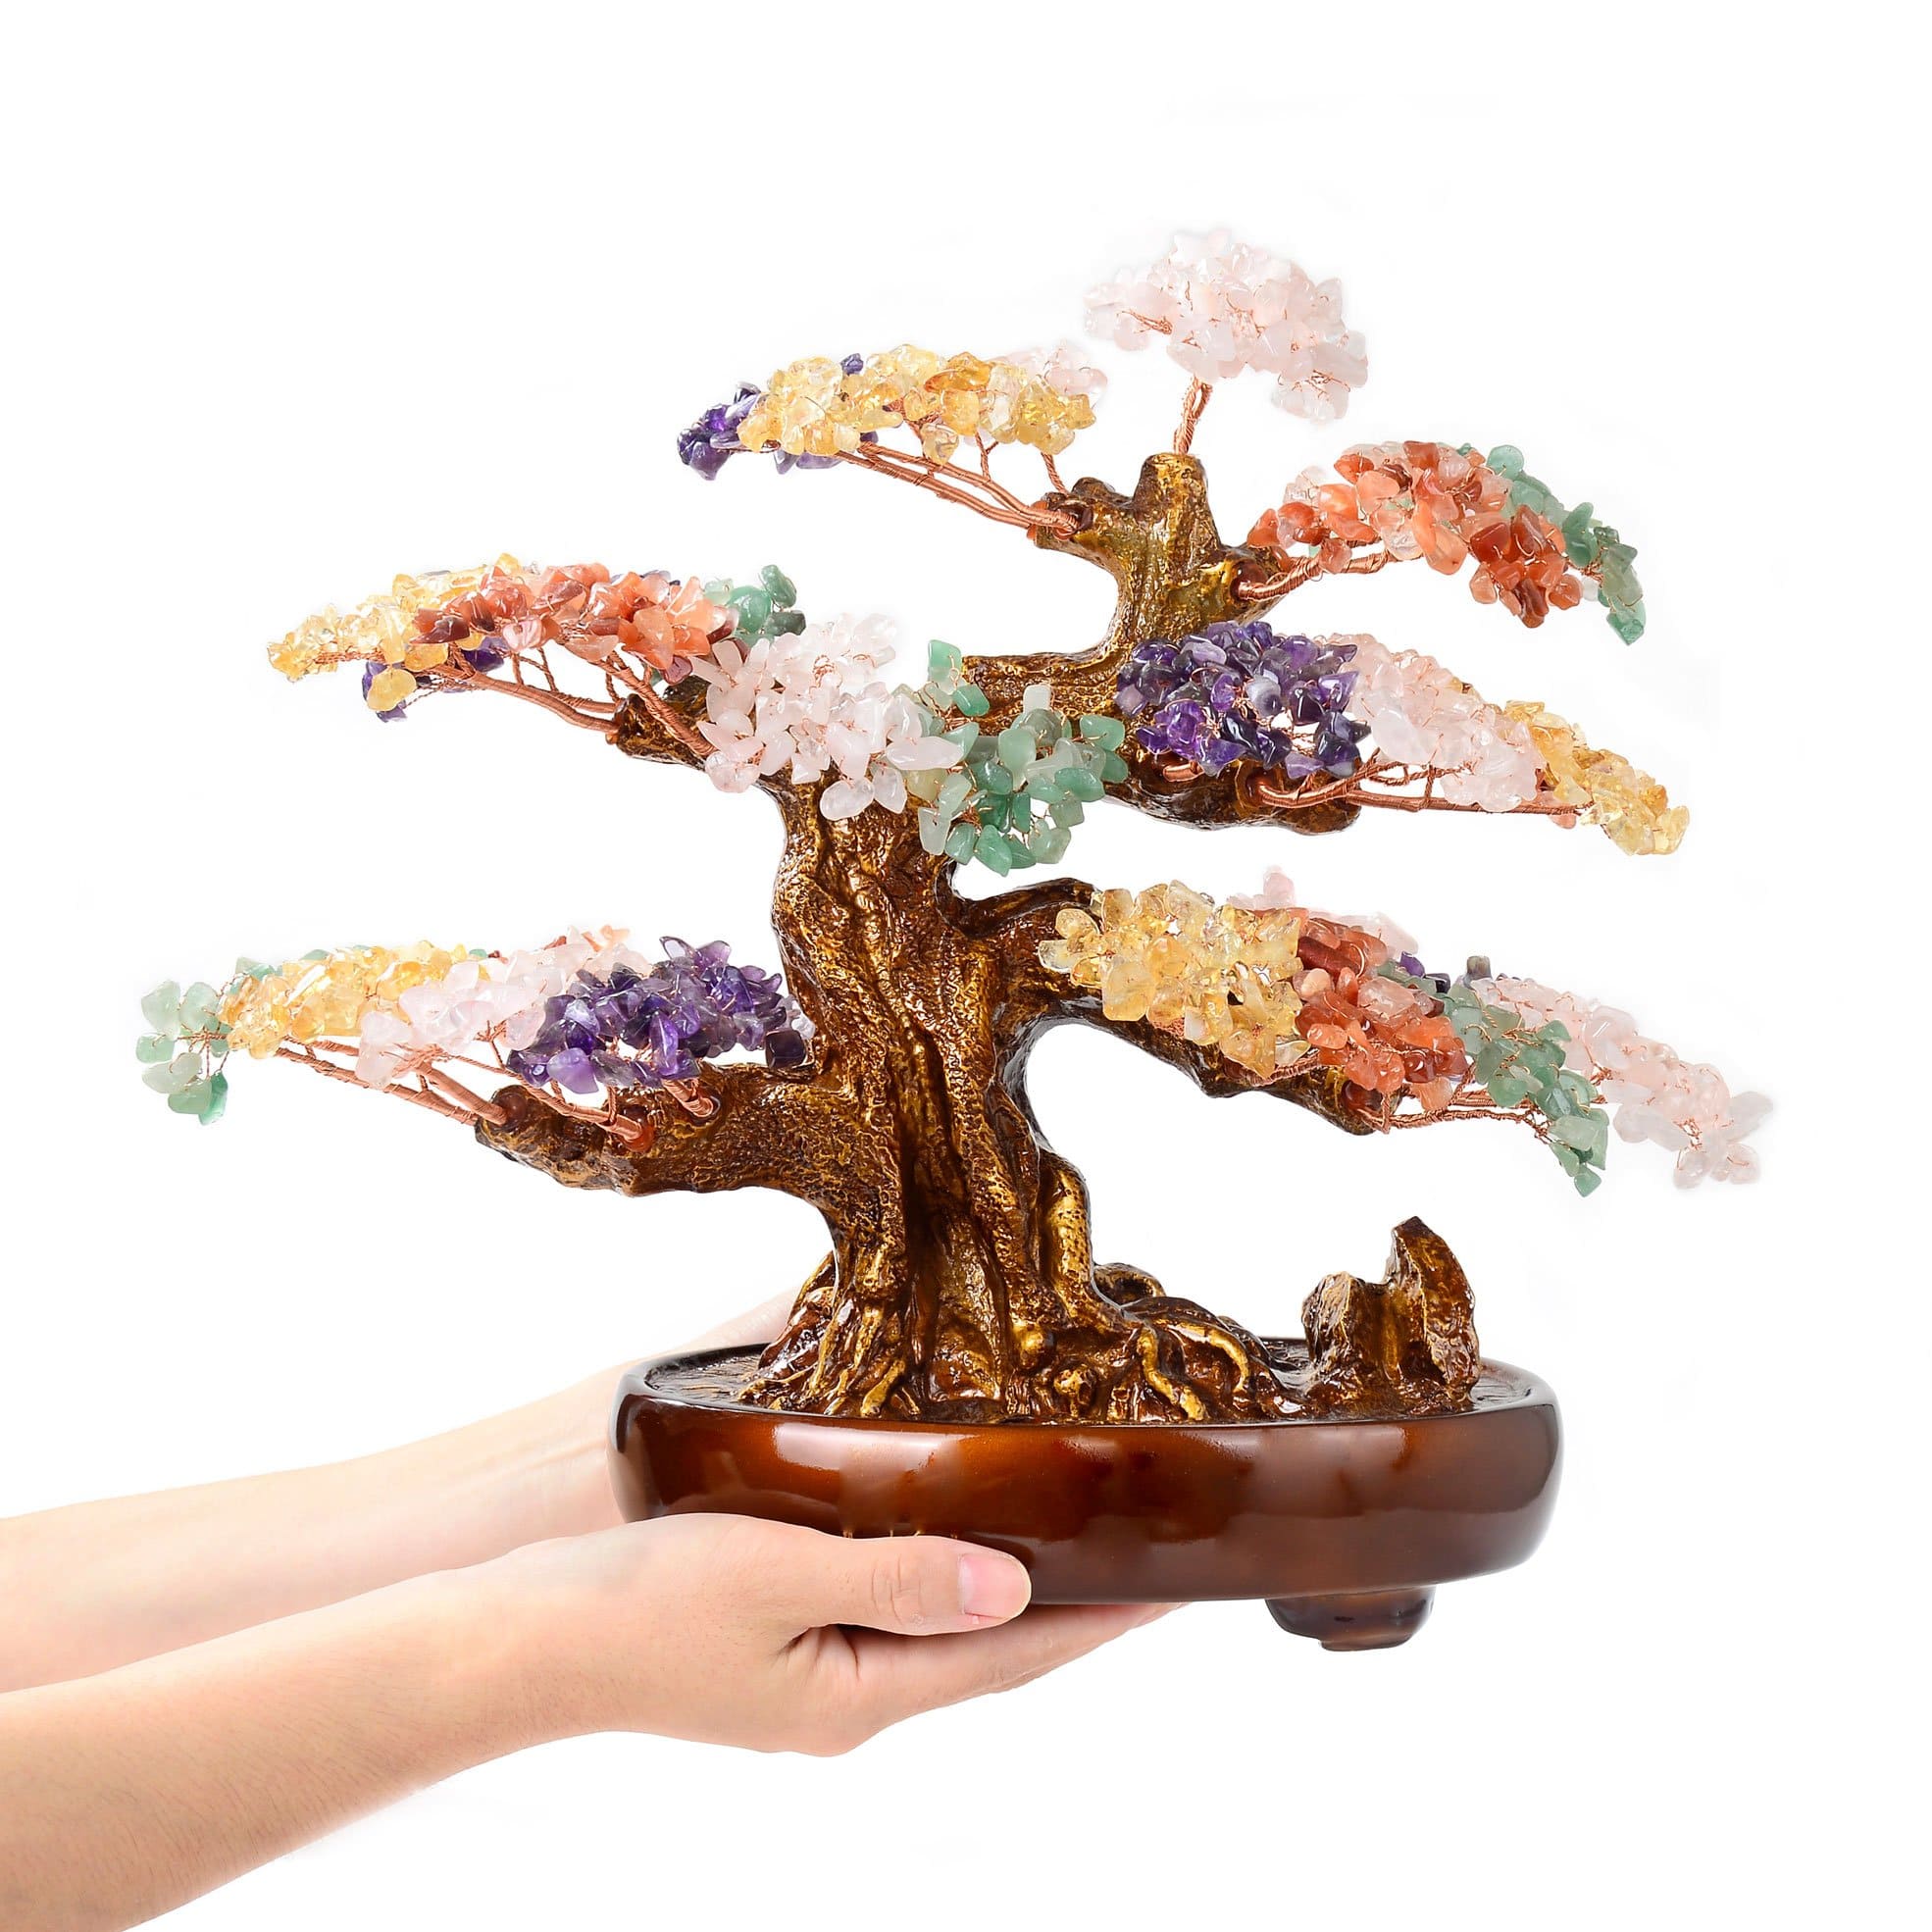
Okay, so I’ve been seeing these gorgeous crystal trees of life all over Pinterest and Instagram, and I just had to try making one myself. I’m not gonna lie, it looked a little intimidating at first, but it turned out to be way easier than I expected!
Gathering My Supplies
First things first, I needed to get my materials together. I already had a bunch of craft wire leftover from another project. Then off I went to shop for some crystal beads. I decided to go with a mix of clear quartz and amethyst because, well, I love purple! You can choose literally any color combination you like, which is the fun part!
- Craft wire: Something flexible, but strong enough to hold the beads.
- Crystal beads: Any size, shape, or color you want!
- A base: I used a small, flat piece of wood, but you could use a rock, a shell, anything really!
- Wire cutters: For cutting the wire to different lengths.
- Pliers: Helpful for twisting and bending the wire.
Getting Started with the Wire Frame
I started by cutting a bunch of wire pieces. I didn’t measure anything, just eyeballed it. I made some longer, some shorter, to give the tree some dimension. Then, I took a few of the longer pieces and twisted them together at the bottom to form the trunk and roots. This part was a little fiddly, but the pliers helped a lot. Don’t be afraid to just experiment and see what works!
Adding the Branches and Beads
Next, I started twisting the individual wire pieces to make the branches. I just kind of went with the flow, making some branches go up, some go * came the fun part – adding the beads! I simply threaded the beads onto the wire branches. I varied the number of beads on each branch, some had just one, some had several. I tried to mix the clear quartz and amethyst randomly, but you could totally create a pattern if you wanted.

Shaping the Tree
Once all the beads were on, I started bending and shaping the branches to make the tree look more, well, tree-like! This is where you can really get creative and give your tree its own unique personality. I wanted mine to look a little windswept, so I bent most of the branches in one direction.
Securing the Tree to the Base
Finally, I attached the tree to my wooden base. I simply spread out the roots, and then glued the roots to the flat piece of wood.
And that’s it! My very own crystal tree of life. I’m so happy with how it turned out, and it looks amazing on my desk. It was such a fun and relaxing project, and I definitely recommend giving it a try. If I can do it, you can do it!


