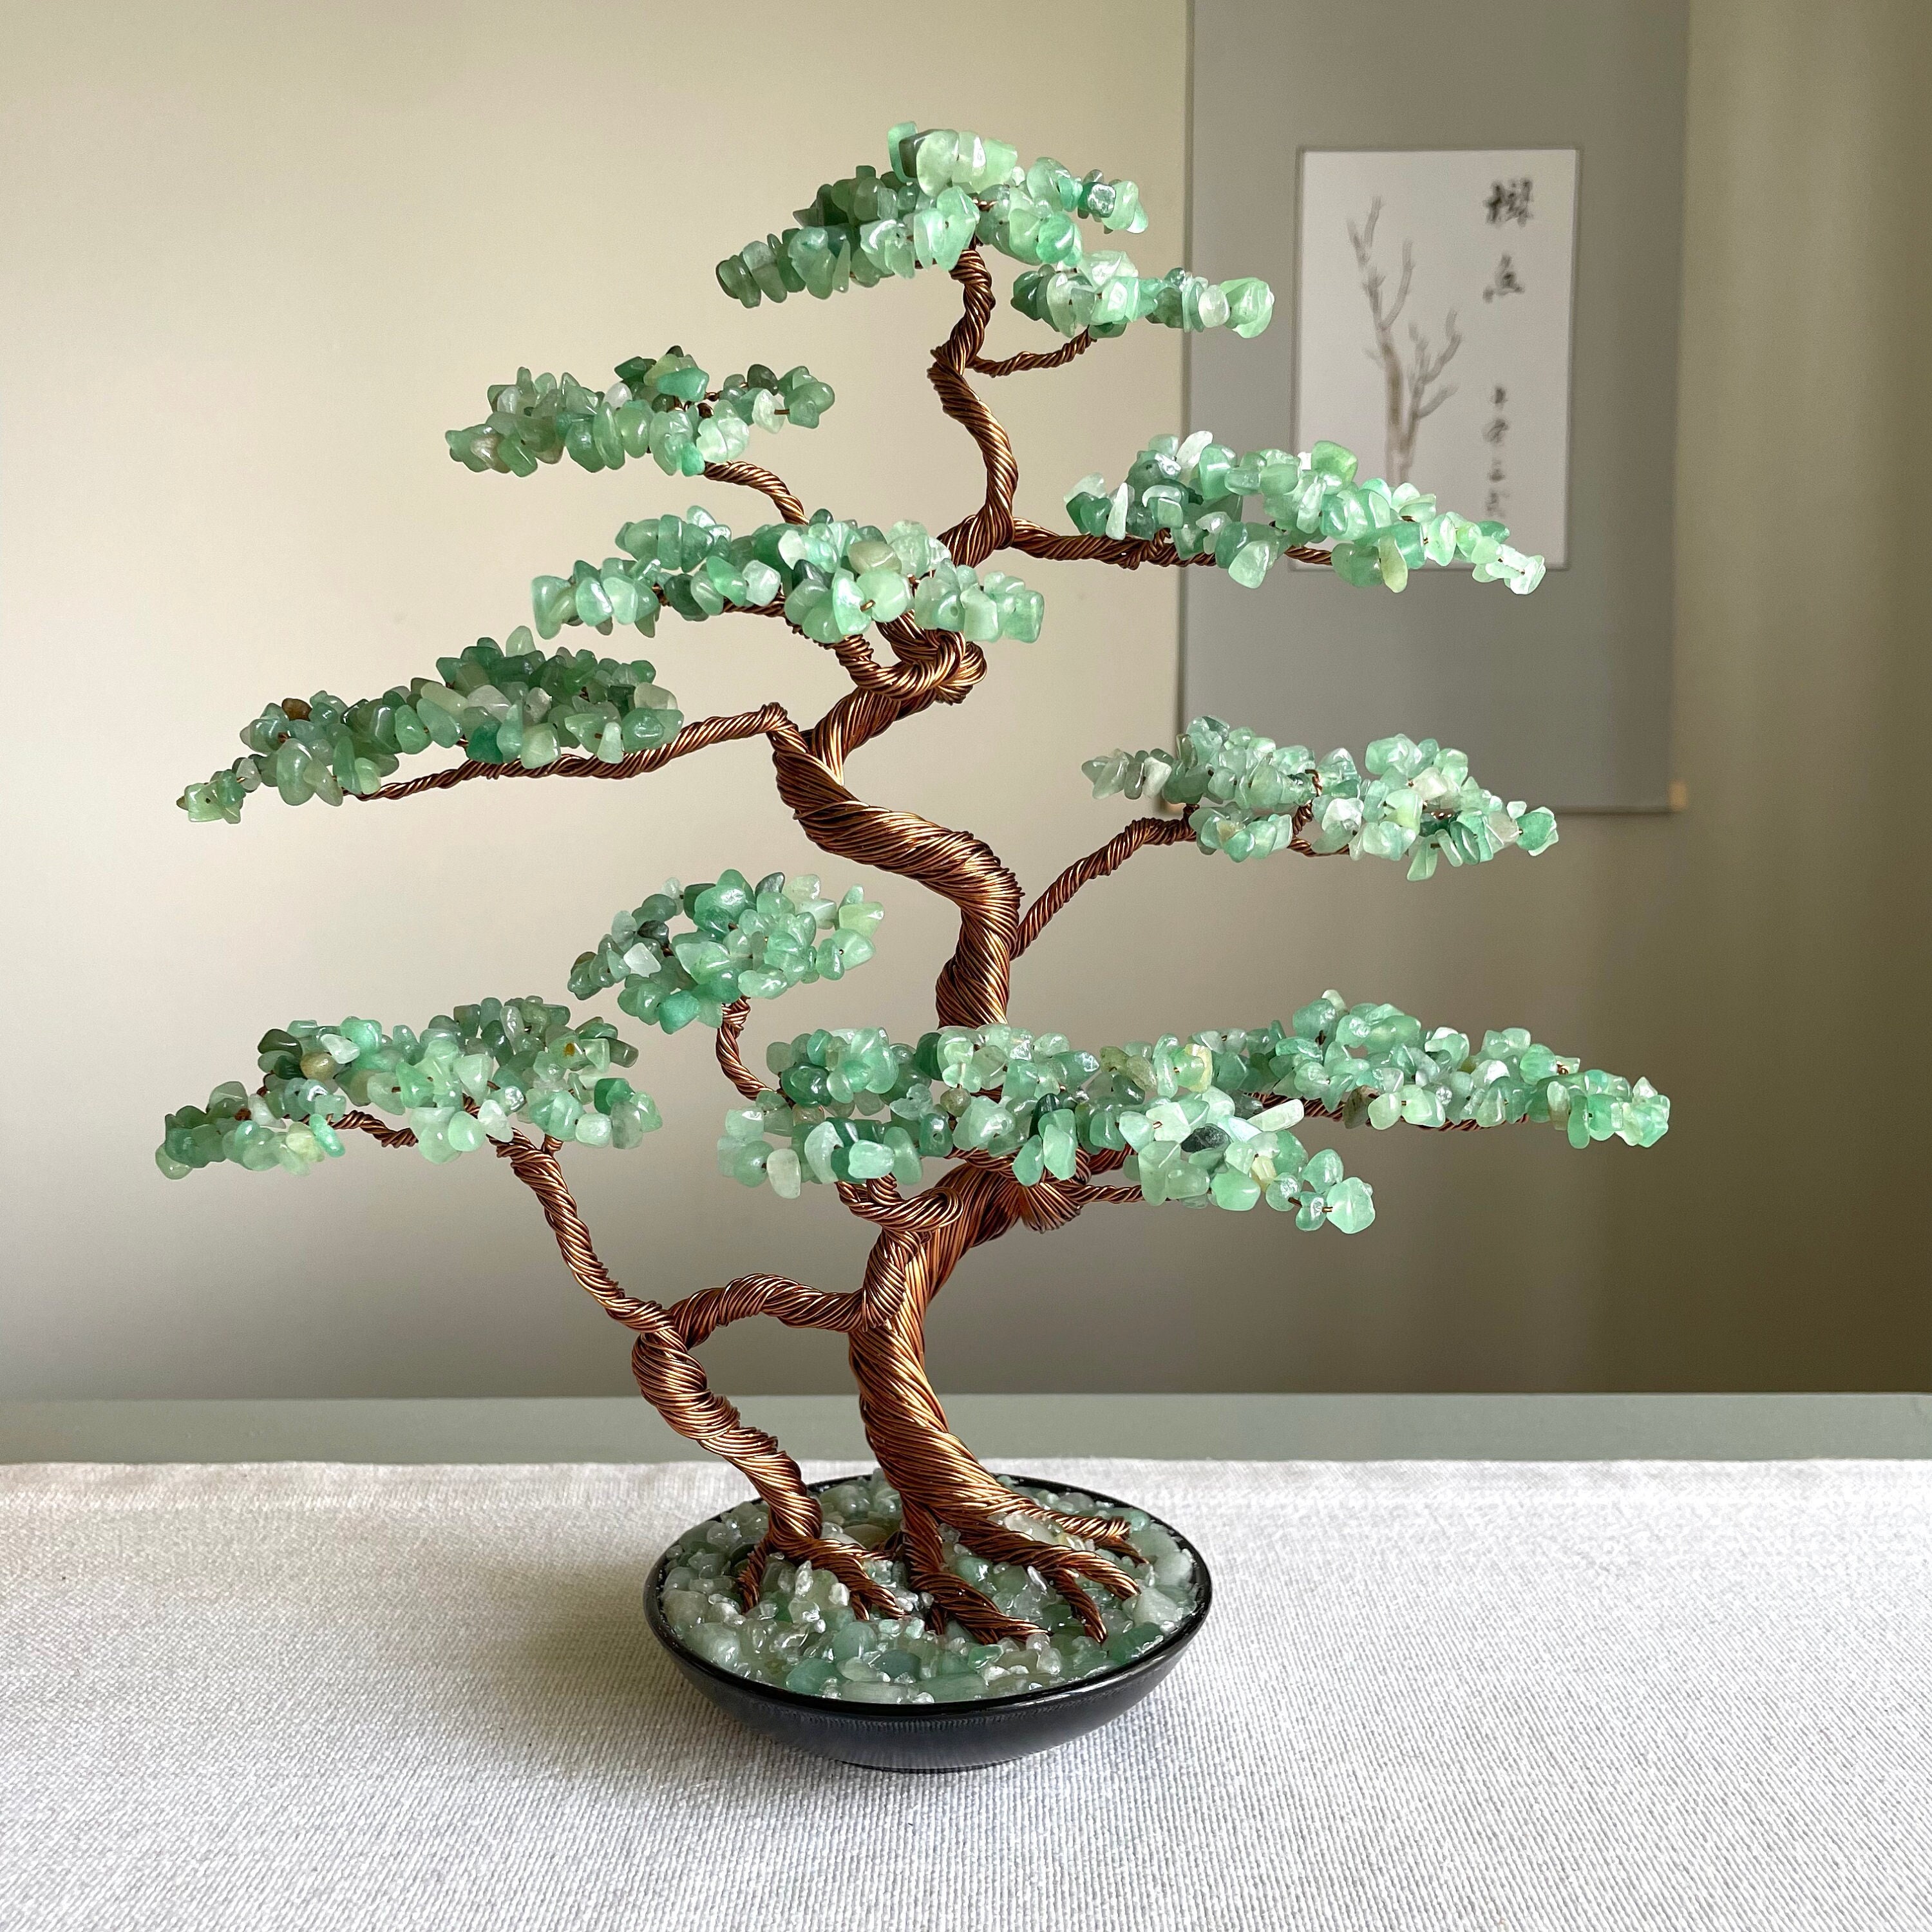
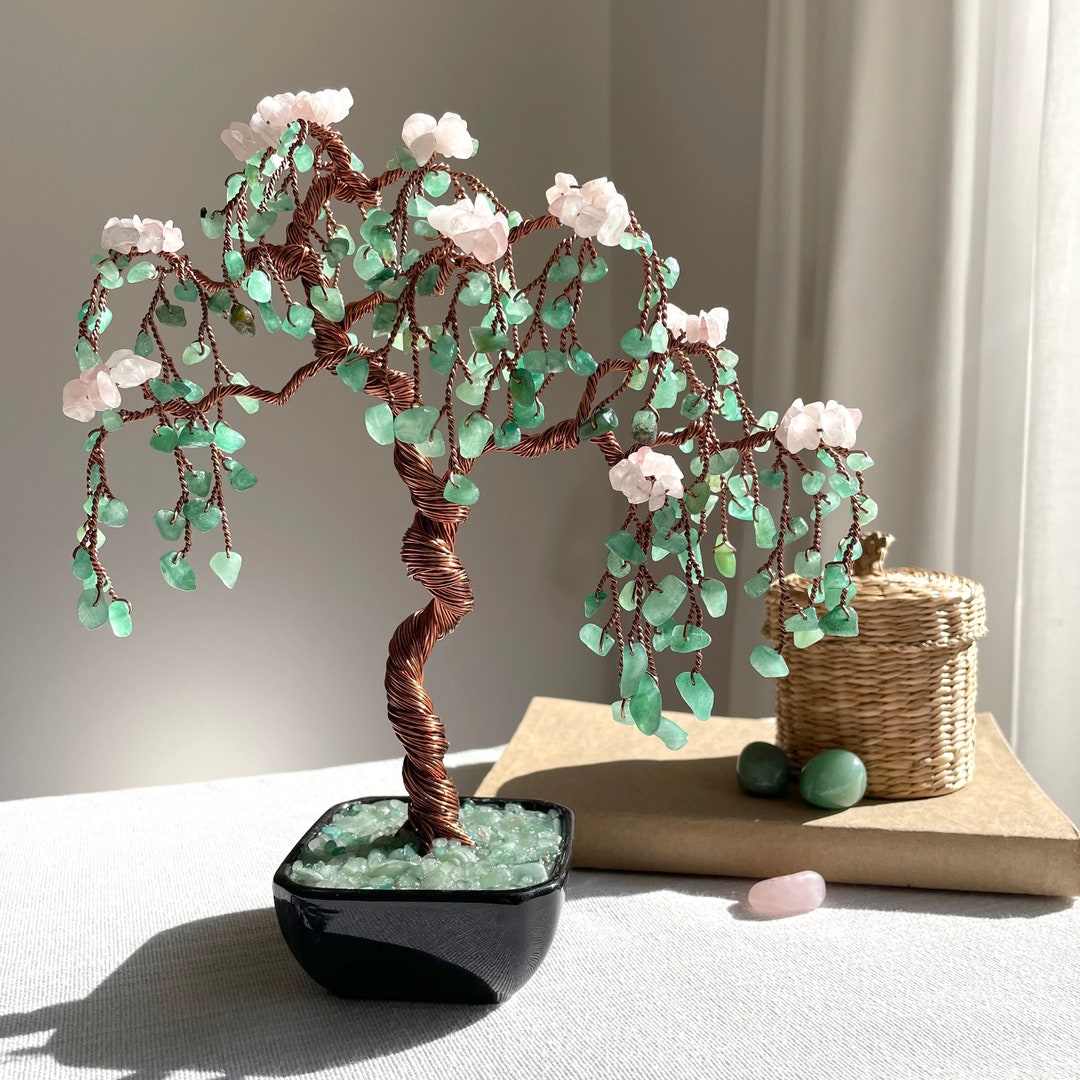
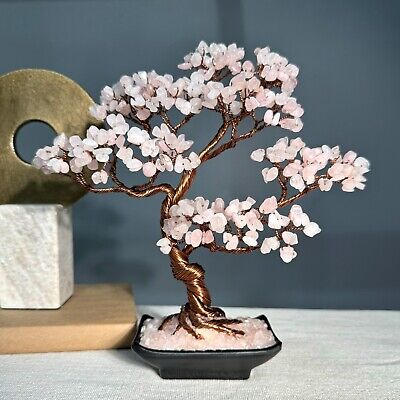
So, I saw this thing online about making a crystal bonsai tree, and I thought, “Hey, that looks cool, I wanna try that!” So I did, and here’s how it went down.
Gathering the Goods
First, I needed to get all the stuff together. I grabbed some:
- Copper wire – I found some old stuff in the garage, which I think used to do.
- Small crystals or beads – My daughter has many beads so I get some from it.
- A base – I just used a flat rock I found in the yard. Seemed fitting.
- Pliers and wire cutters – Back to the garage for these. Lucky me!
- Glue – I used some super glue I had lying around.
Twisting the Wire
I started by cutting a bunch of pieces of wire. I didn’t really measure, just eyeballed it. Some were longer, some were shorter, to make it look more like a real tree, you know?
Then, I took a few wires and twisted them together to make the trunk. I made it thicker at the bottom and thinner as it went up. This part was kind of tricky, trying to make it look natural and not like a tangled mess.

Next, I twisted smaller groups of wires to make the branches. I attached these to the trunk by, you guessed it, more twisting! It’s all about the twisting, really.
Adding the Crystals
Once I had the basic tree shape, it was time for the bling! I put a tiny drop of glue on the end of a wire and stuck a crystal on it. I did this for, like, a million wires. Okay, maybe not a million, but a lot. It took a while, but it started to look pretty cool.
I tried to spread the crystals out evenly on the branches, so it looked balanced. Some branches got more, some got less, just like a real tree, I guess.

Basing the Tree
After all the crystals were on, I needed to stick the tree to the rock. I put a big glob of glue on the bottom of the trunk and pressed it down onto the rock. I held it there for a few minutes to make sure it was really stuck.
I even added a few extra crystals around the base, just to make it look a little fancier. It actually added the tree on the base.
The Final Result!
And that’s it! My very own crystal bonsai tree. It’s not perfect, a little wonky in places, but I made it! It’s sitting on my desk now, catching the light and looking all sparkly. Not bad for an afternoon project, I’d say. If I can do it, anyone can!


