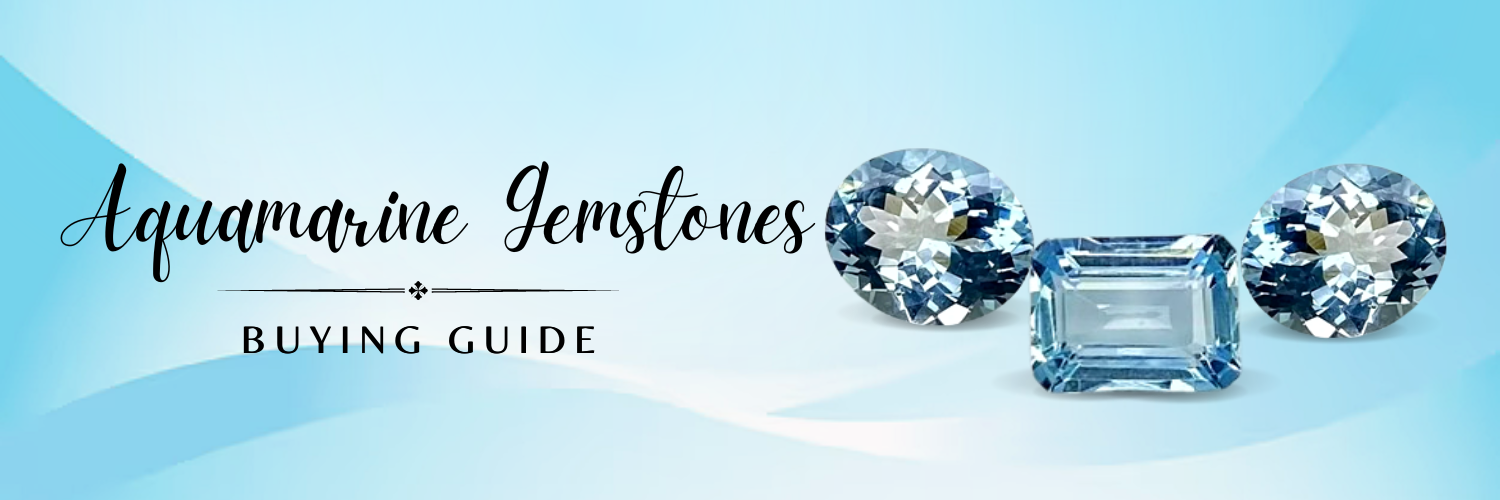
Okay, so I’ve been wanting to make my own jewelry for a while, and I finally decided to take the plunge! I started with something simple: an aquamarine crystal bracelet. I’m a March baby, so aquamarine is my birthstone, and I just love the calming blue color.
Gathering the Goods
First things first, I needed supplies. I went to this little bead shop downtown – you know, the kind with beads everywhere? It was a little overwhelming, but so cool!
- Aquamarine beads: I picked out some round, smooth ones. They had different sizes, but I went with the 6mm ones because they seemed like a good size for a bracelet.
- Stretch cord: This is the magic stuff that makes it a bracelet! I got the clear kind, about 0.8mm thick. The lady at the shop said it was pretty strong.
- Scissors: Needed those to cut the cord, obviously.
- Bead board(optional): I have seen some use it for jewelry making, but I just eye-balled it.
- Glue(optional): I’ve seen that you can use glue to secure the knot at the end, but I skipped it.
Putting It All Together
I got home, cleared off my kitchen table, and spread everything out. My cat was super interested, so I had to keep shooing him away. He kept trying to bat at the beads!
- Measure and Cut: First, I wrapped the stretch cord around my wrist to figure out how much I needed. I added a few extra inches, just to be safe. Better to have too much than too little, right? Then, snip!
- Stringing the Beads: This was the fun part! I just started sliding the aquamarine beads onto the cord. It was kind of meditative, actually. I just focused on the colors and the feel of the smooth stones.
- Checking the Fit: Once I thought I had enough beads, I held the ends of the cord together to see how it looked on my wrist. I ended up adding a few more, just to make sure it wasn’t too tight.
- Tying the Knot: Okay, this was the slightly tricky part. I tied a simple square knot – you know, the “right over left, left over right” thing. I pulled it really, really tight. Then, I tied another one, just to be extra sure.I made sure that the knot is really secured.
- Trimming the Ends: I used my scissors to snip off the extra cord, leaving just a tiny bit sticking out from the * there you have it, my aquamarine crystal bracelet is DONE!
Honestly, it was way easier than I thought it would be! And it’s so satisfying to wear something I made myself. Now I’m already thinking about what to make next… maybe a necklace? Or some earrings? The possibilities are endless!


