
Okay, so I’ve been seeing these custom crystal bracelets everywhere lately, and I finally decided to try making my own. I’m not gonna lie, it looked a little intimidating at first, but it turned out to be way easier than I thought!
Gathering My Supplies
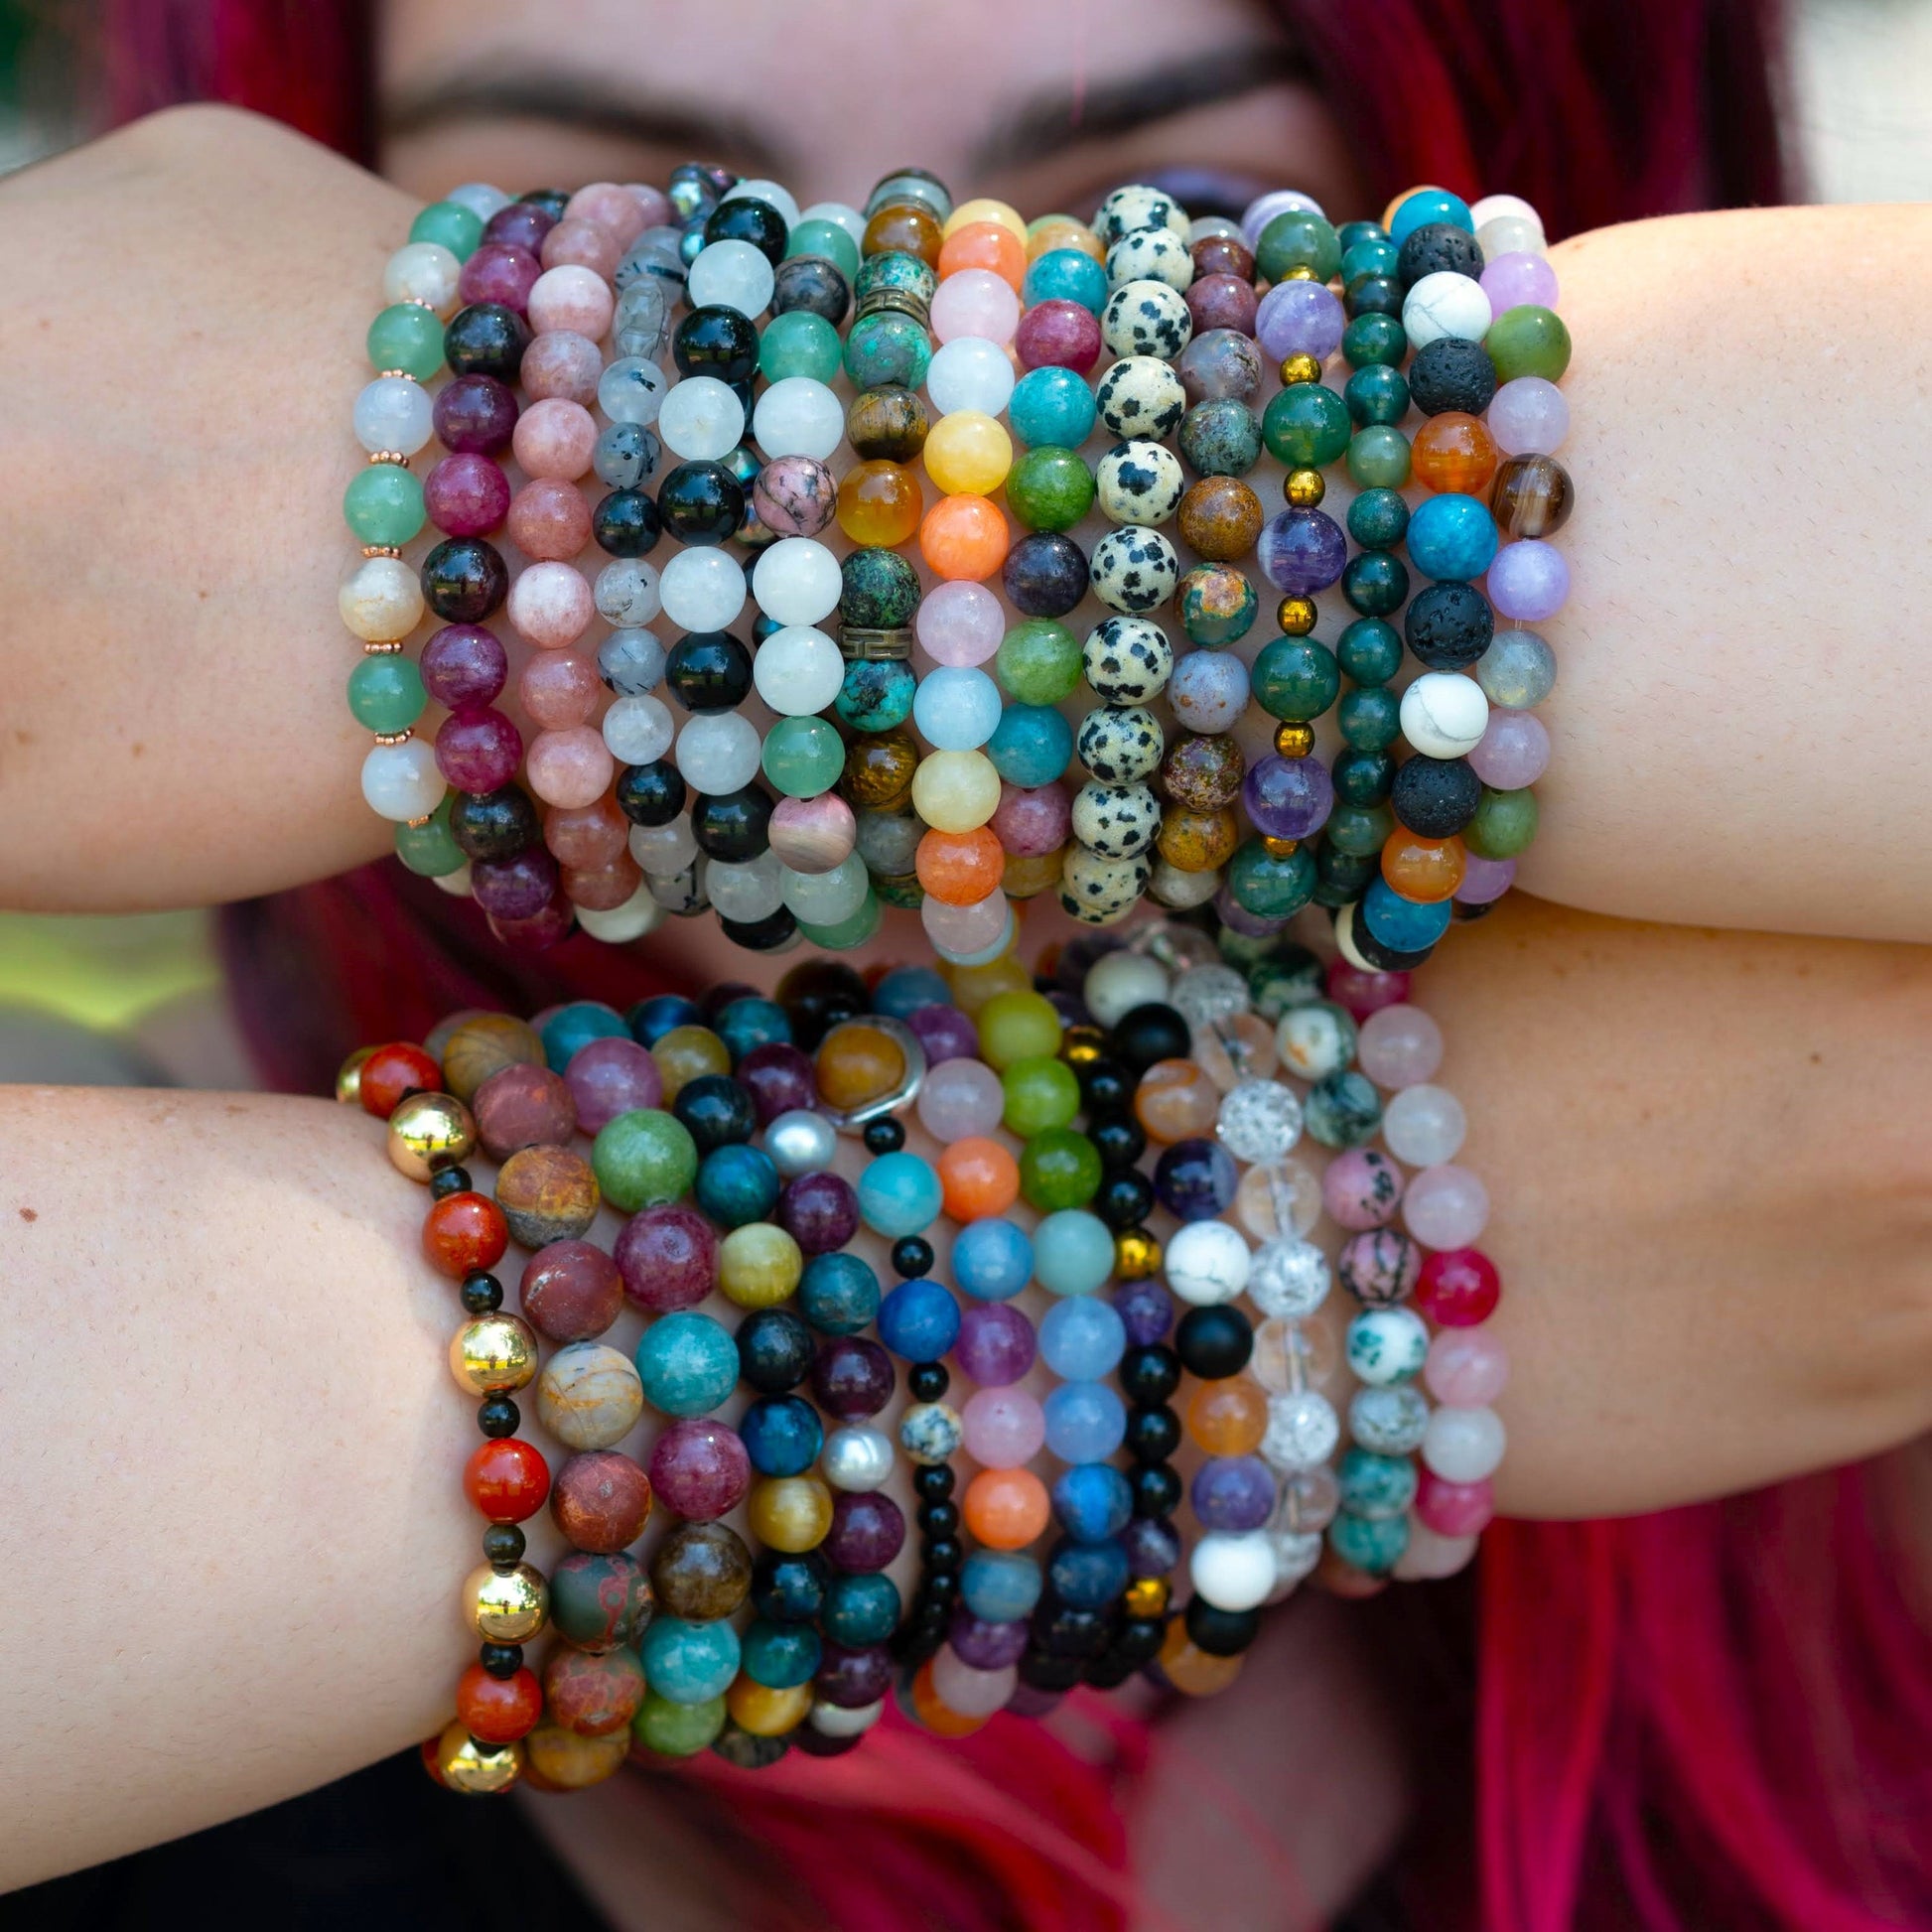
First things first, I needed to get my supplies. I hit up a local bead store, and oh my gosh, it was like a candy shop for crafters! There were so many crystals and beads to choose from.
- Crystals: I grabbed a mix of different sizes and colors. I went for some amethyst (for calm vibes, you know?), rose quartz (for a little self-love), and clear quartz (because it’s supposed to amplify the energy of other crystals).
- Beading Cord: I opted for a stretchy cord, seemed like the easiest option for a beginner. The lady at the store recommended 0.8mm thickness, so that is my choice.
- Spacer Beads: These are the little beads you put between the crystals. I chose some simple silver ones to make the crystals pop.
- Scissors: Pretty self-explanatory!
- (Optional) Charm:I found this cute little lotus flower charm that would be a perfect addition to a bracelet.
Getting Started (aka Stringing Those Beads!)
I measured my wrist with the cord, adding a extra space to be able to tie it off. Better to have it too long than too short, right?
Then, I started stringing! I laid out my crystals and spacer beads in the pattern I wanted beforehand. This helped me visualize the final look and make sure I liked the order. Then, one by one, I threaded them onto the cord. It was actually pretty relaxing, kind of like a meditation.

Tying the Knot (The Scary Part…Almost!)
Once all the beads were on, it was time to tie the knot. I’m not the best at knots, so I watched some tutorials on Youtube. Finally I decided the surgeon’s knot. Seemed secure enough.
I carefully tied the knot, pulling it tight, and then tied it a few more times, just to be extra sure. I added a tiny drop of glue onto the knot after watching a Youtube tutorial, hope it can make it more secure.
The Finished Product!
After trimming the excess cord, I was done! I was so stoked with how it turned out! It looked way more professional than I expected, and it fit perfectly. Plus, it had all those good crystal vibes going on. I am definely making more of these. They’d make awesome gifts, and it’s a fun, affordable hobby. If I can do it, anyone can!


