
Okay, so I saw this “crystal money tree” thing trending and thought, “Why not?” I’m always up for a little DIY project, especially if it might bring some extra luck (and cash!). So, I decided to give it a shot and document the whole messy, glittery process.
Gathering the Goods
First things first, I needed supplies. I basically raided my craft box and hit up the dollar store. Here’s what I ended up with:
- Some kind of base: I used a small, round piece of wood I found in my garage.
- Wire: I got some gold-colored craft wire. It needed to be bendy, but not too flimsy.
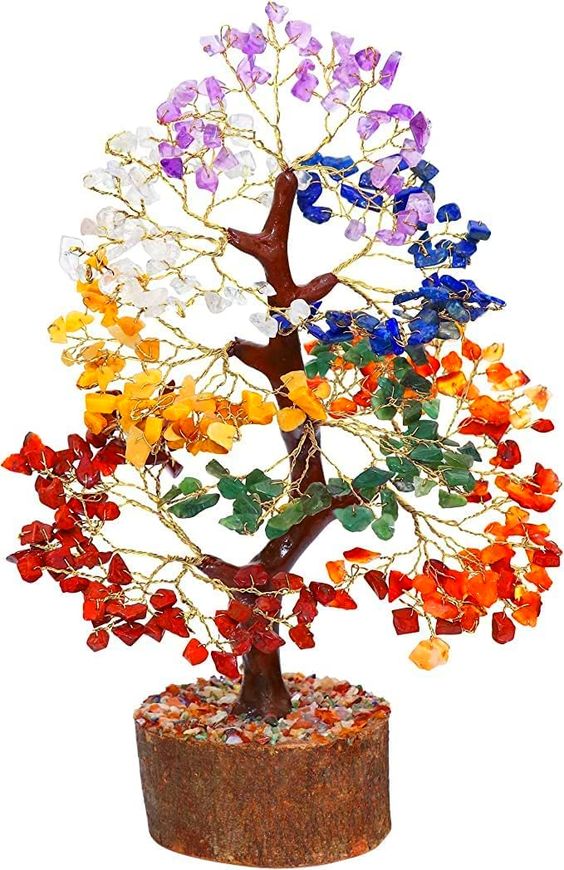
- Crystals (or beads): I grabbed a mixed bag of colorful, sparkly beads. They weren’t real crystals, but they looked the part!
- Glue: I went with hot glue, because, let’s be honest, it’s the fastest.
- Optional: some small stones or decorative moss to put the tree on at base.
The Twisting Begins
This is where things got a little…interesting. I started by cutting a bunch of wire pieces, all different lengths. Then, I took a few strands and twisted them together to make the “trunk” of the tree. It wasn’t pretty at first, I’ll admit. It looked more like a tangled wire monster than a tree trunk.
I kept at it, adding more wire and twisting, trying to make it look somewhat tree-like. I found that twisting the wire tightly at the bottom and then letting it get a little looser towards the top helped with the shape.

Branching Out (Literally)
Once I had a decent-looking trunk, I started making the branches. This involved more twisting, but also bending the wire into branch-like shapes. I tried to make them all different lengths and point them in different directions, you know, like a real tree.
Tip: Don’t be afraid to mess up! Wire is pretty forgiving. You can just untwist and re-twist until you get it right.
Adding the Bling
Now for the fun part! I started stringing the beads onto the branches. I just put a little dab of hot glue on the end of each wire, stuck a bead on, and held it for a few seconds until it dried. It can burn your finger, so becareful!

I used all different colors and sizes of beads, trying to make it look random and natural. Some branches had lots of beads, some had just a few. I just went with what felt right.
Finishing Touches and set it up
After all the beads were on, I took a step back and looked at my creation. It was… surprisingly good! I glued the base of the trunk to my little wooden circle. Then, to fancy it up a bit, I glued some of those small stones around the base, making it look like the tree was growing out of a rocky patch.
And that’s it! My very own crystal money tree. I put the small stones at the base of tree, and then it is done!
Does it actually attract money? Who knows! But it was a fun project, and it looks pretty cool on my desk. Plus, it’s a good conversation starter. If nothing else, it’s a reminder to stay positive and, you know, maybe hustle a little harder for that extra cash!


