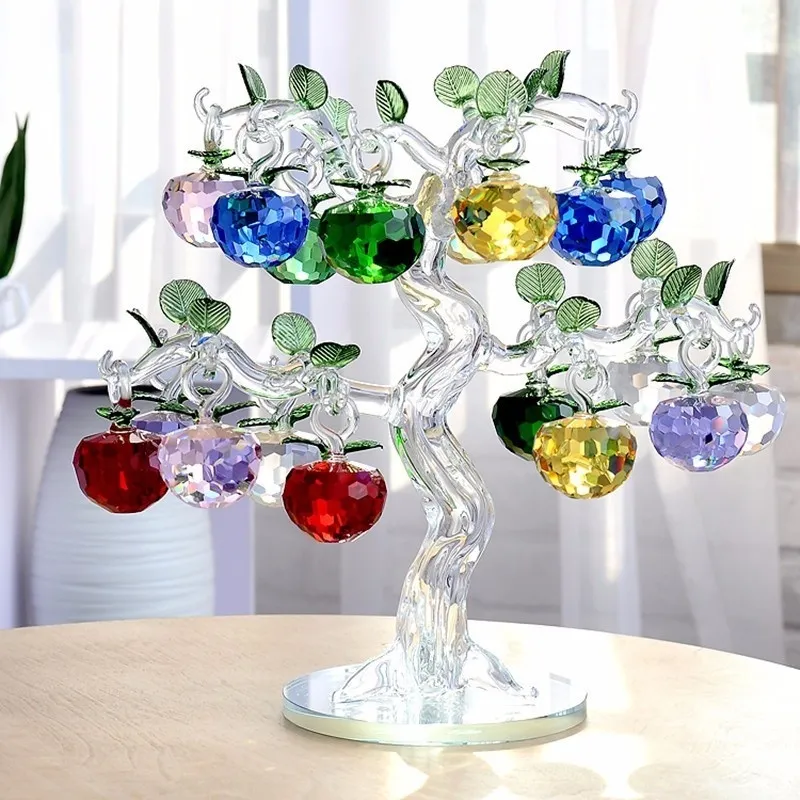
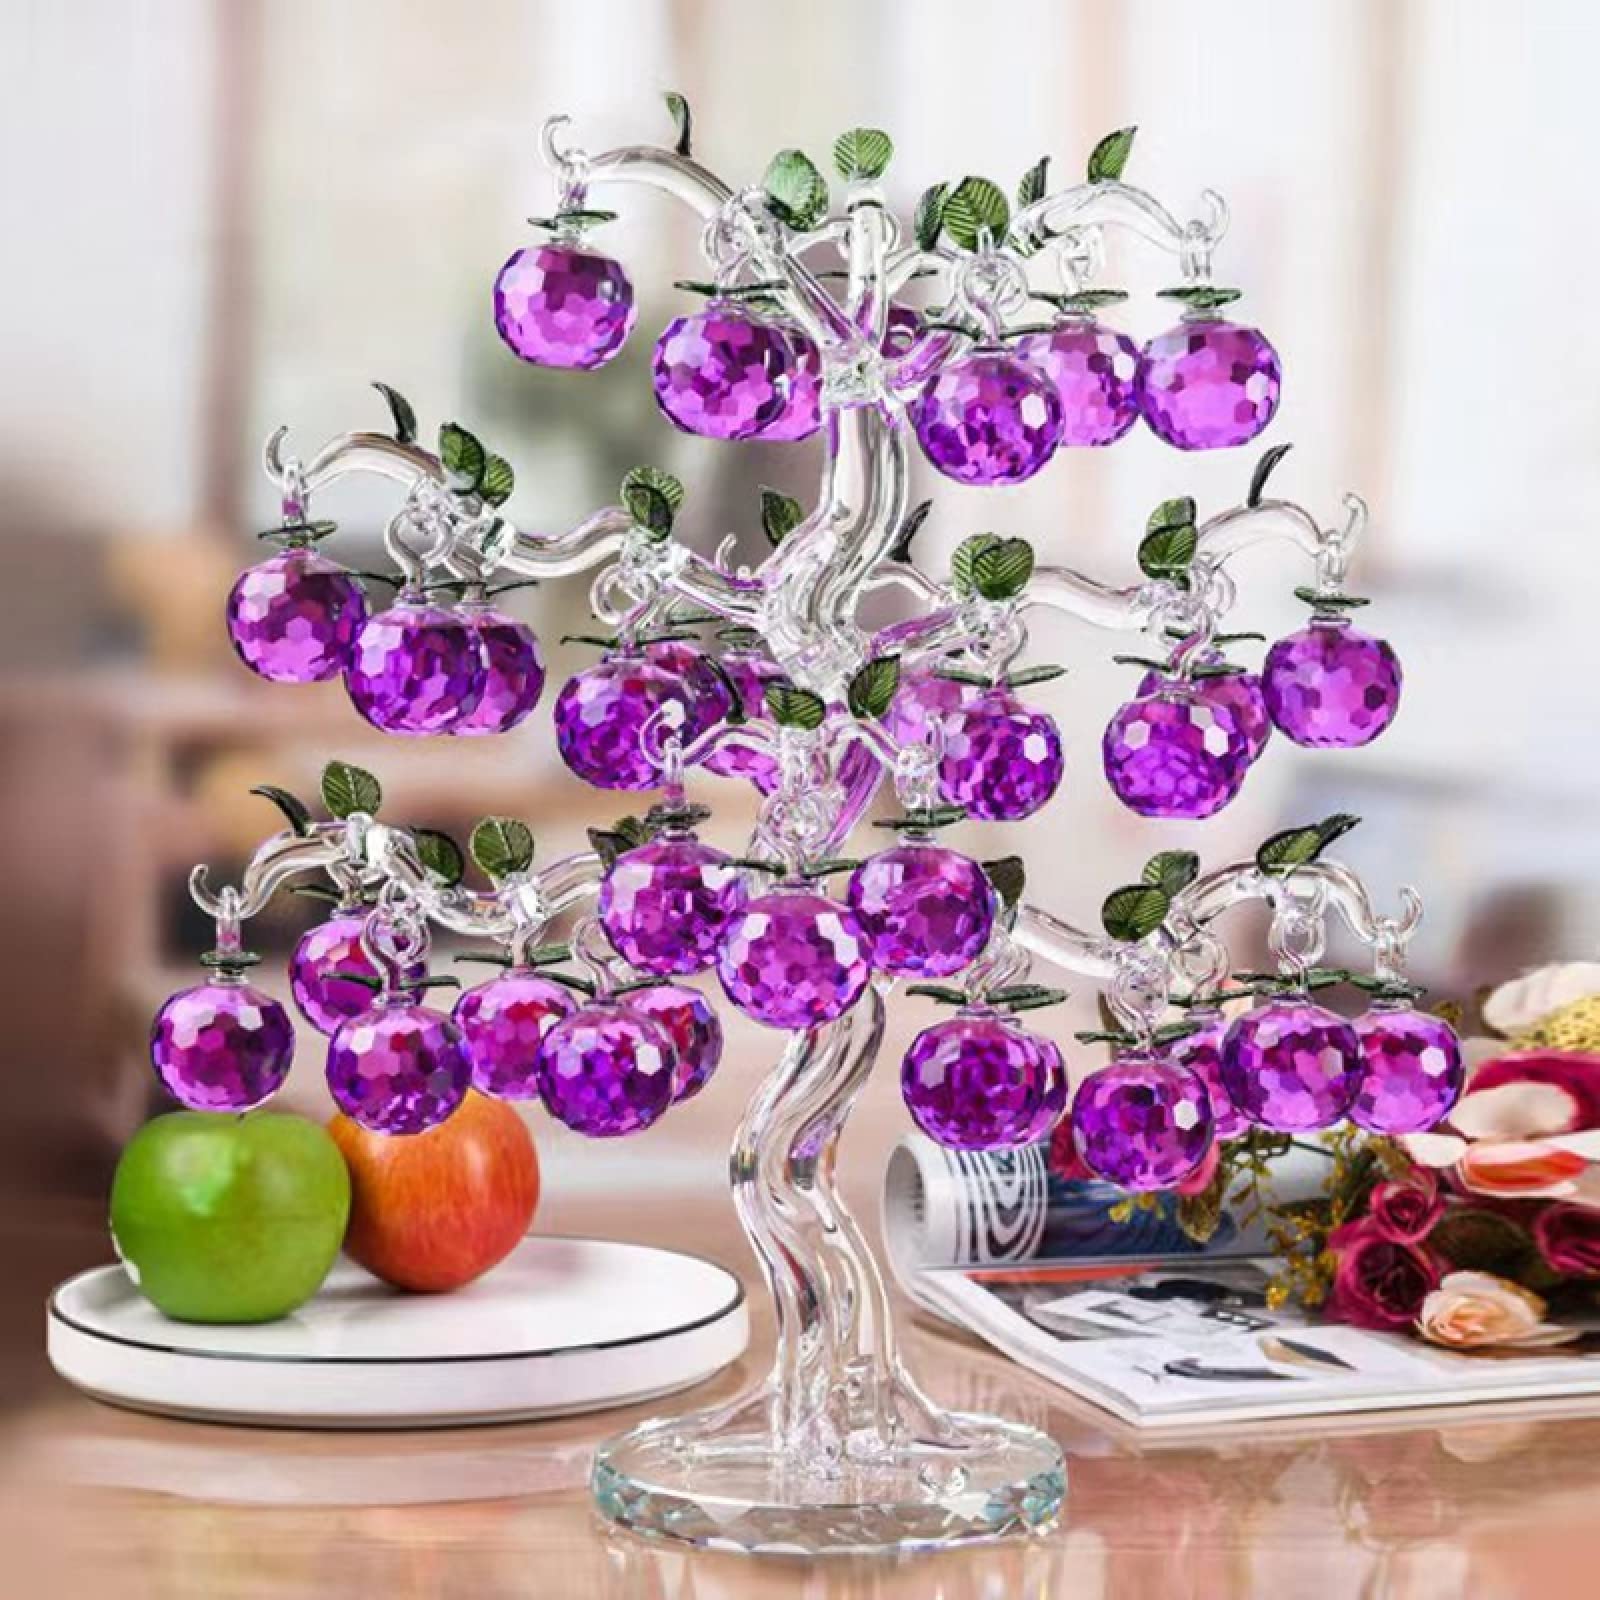
Okay, so I’ve been seeing these super cool “crystal apple trees” all over the internet, and I finally decided to try making one myself. Let me tell you, it was a bit of a journey, but I’m pretty stoked with how it turned out!

Getting Started
First, I had to gather all the stuff I needed. I grabbed:
- Some copper wire (I think it was 24 gauge, but honestly, I just grabbed what looked right)
- A bunch of those little glass beads – you know, the ones that look like tiny apples? I got a mix of red and green.
- A base. I ended up using a cool-looking rock I found in my backyard.
- Some pliers – needle-nose and regular ones.
- Wire cutters. Obvious.
- Hot glue gun. And glue, of course.
The Twisty Part
The first real step was making the branches. I started by cutting a bunch of wire pieces, all different lengths. I wanted it to look kinda natural, you know? Not too perfect.
Then, I took a few strands of wire and started twisting them together. This part was a little tricky at first, getting the hang of how tightly to twist them. I found that if I twisted them too tight, they’d just snap. Too loose, and it looked messy. I messed up a few times, but hey, that’s part of the process, right?

Adding the Apples
Once I had a decent-looking branch “trunk,” I started adding the beads. I just threaded a bead onto a single wire, twisted the wire a couple of times to secure it, and then twisted that wire onto one of the bigger branches. I kept doing this, adding more and more “apples” until it started to look like, well, a tiny apple tree!
Building it Up
I repeated the twisting and beading process, making more and more branches.
Some I made thicker, some thinner, some longer, some shorter. I just kept going until i had my tree formed.

Putting it All Together
Once I had a bunch of branches, I started twisting them together to form the main trunk of the tree. This part was a bit like wrestling a tiny, wiry octopus. But eventually, I got it to cooperate.
Then came the base. I played around with positioning the tree on the rock for a while, trying to find the best angle. Once I was happy with it, I used a generous amount of hot glue to stick it down. I held it in place for a few minutes to make sure it was good and secure.
The Final Touches(it’s alive!)
After the glue dried, I spent some time bending and shaping the branches, making it look more tree-like. I fluffed out the “leaves” (the wires) and made sure the apples were hanging nicely. And… that was it! My very own crystal apple tree.
Honestly, it was a bit fiddly, and my fingers were a little sore by the end, but it was totally worth it. It’s such a cute little decoration, and I’m pretty proud of myself for making it. If you’re thinking of trying it, I say go for it! Just be prepared for a bit of a challenge, and don’t be afraid to experiment. Good luck! You’ve got this!


