Gathering My Stuff
First things first, I needed to get my materials together. Here’s what I ended up using:
- Some small, pretty crystals. I picked up a mixed bag of tumbled stones from a local shop, so I had all sorts of colors and shapes to work with.
- Wire. I found some copper-colored craft wire that I thought would look nice. Make sure it’s not too thick, or it’ll be hard to twist.
- A base. I grabbed a cool-looking rock from my backyard, but you could use anything, really. A piece of wood, a larger crystal, whatever you like!
- Wire cutters. You’re going to need that to get the cut.
- Pliers. These are optional, but they can help with twisting the wire, especially if you’re making a bigger tree.
Getting Started
I started by cutting a bunch of wire pieces. I didn’t really measure, just eyeballed it. I figured some longer, some shorter, to give the tree some variety. I think I cut maybe 20 or 30 pieces, all different lengths.
Then, I took one piece of wire and folded it in half. I picked out a crystal and put it in the loop of the fold, then twisted the wire a few times below the crystal to hold it in place. It’s like making a little wire cage for the crystal. Easy peasy!

Building the Branches
I kept doing that, adding more crystals to more pieces of wire. Once I had a few “crystal branches,” I started twisting them together. I’d take two or three branches and twist their wires together to make a thicker branch. Then I’d twist those thicker branches together, and so on. It’s all about building it up, layer by layer.
Important Note:Don’t twist too tight! You want the branches to be able to bend and shape, so leave a little give in the wire.
Making the Tree Trunk
As I was building up the branches, I started thinking about the trunk. I took the thickest bunch of twisted wires and kind of shaped it into a trunk-like form. There’s no right or wrong way to do this, just play around with it until it looks good to you!

Attaching to the Base
Once I was happy with the overall shape of the tree, it was time to attach it to the base. All I did to attach the tree to my rock base was to take the remaining loose wires at the bottom of the trunk, position them that looked stable and that I was happy with, and hot glue them in place. This part was a little tricky, just making sure the tree was balanced and wouldn’t tip over.
Final Touches
After the tree was secure, I spent some time bending and shaping the branches. I spread them out, made some higher, some lower, just to give it a more natural look. You can really customize it at this point, make it as full or as sparse as you want.
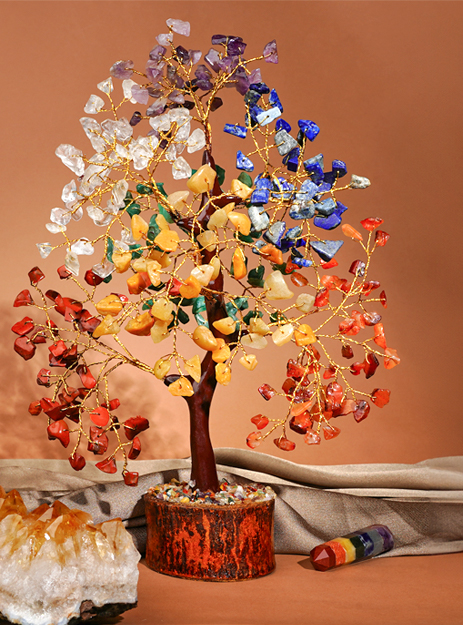
And… that’s it! Seriously, it was so much fun to make, and it looks amazing on my bookshelf. I’m already planning on making more, maybe with different colored crystals or different types of wire. If you’re looking for a fun and easy craft project, give this one a try! You might surprise yourself with how good it turns out.


