
Okay, so I’ve been wanting a tennis bracelet for, like, forever. But the real diamond ones? Out of my budget, big time. Then I saw some gorgeous ones with Swarovski crystals and thought, “I could totally make that!” And guess what? I did! Here’s how it all went down.
Gathering My Supplies
First, I needed the goods. I didn’t want to mess around with cheap stuff, so I made sure to get decent quality materials.
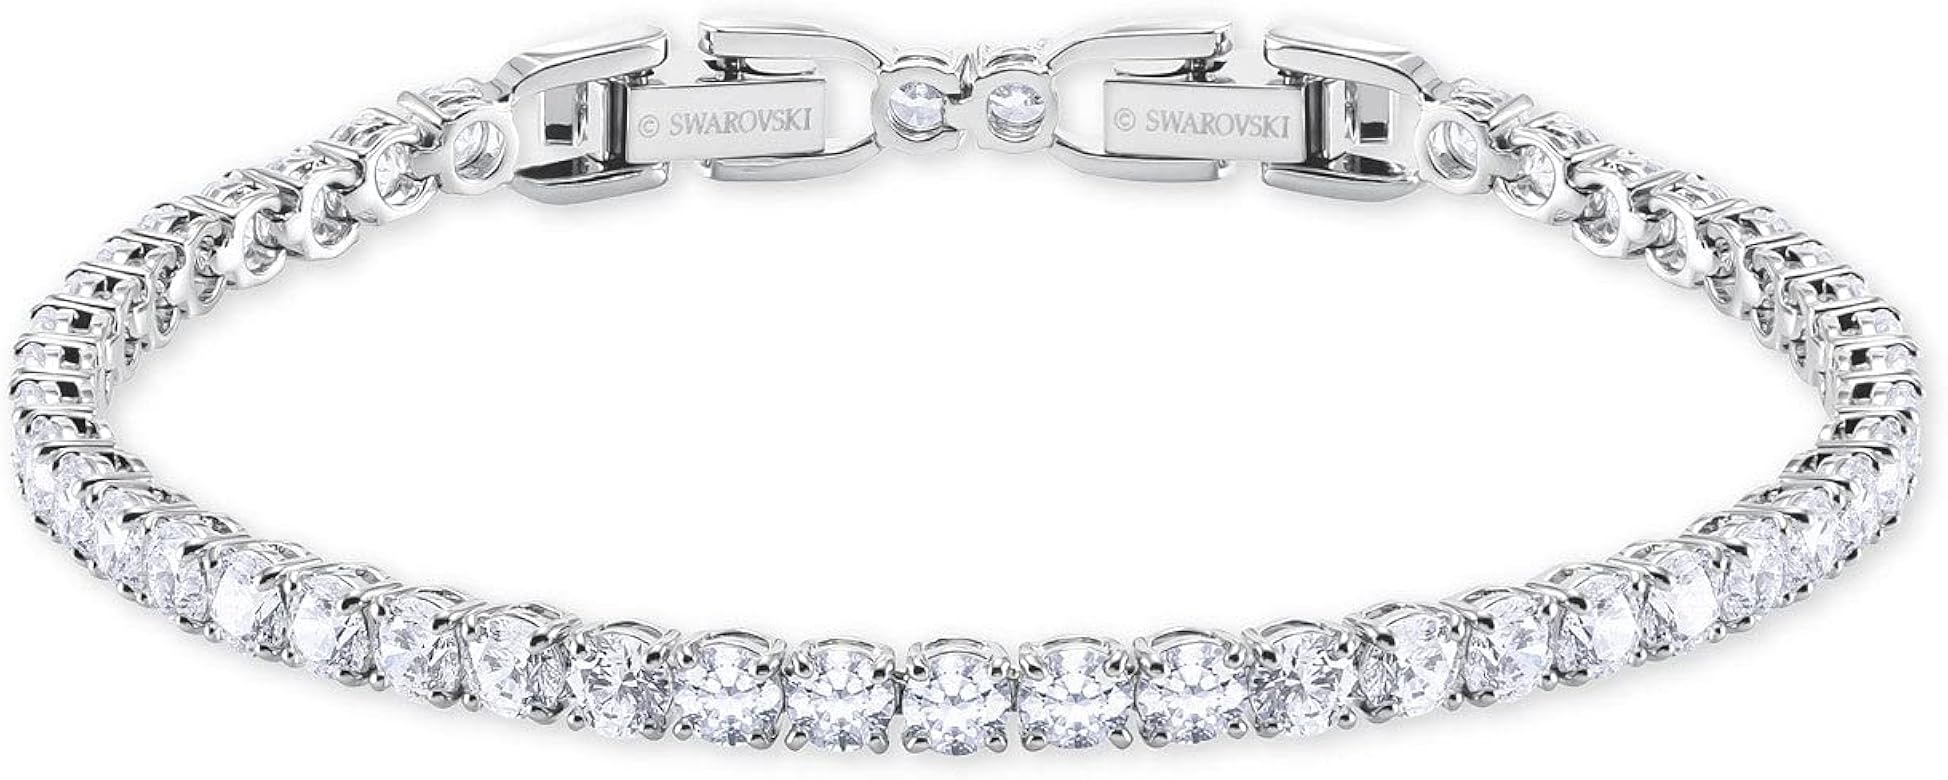
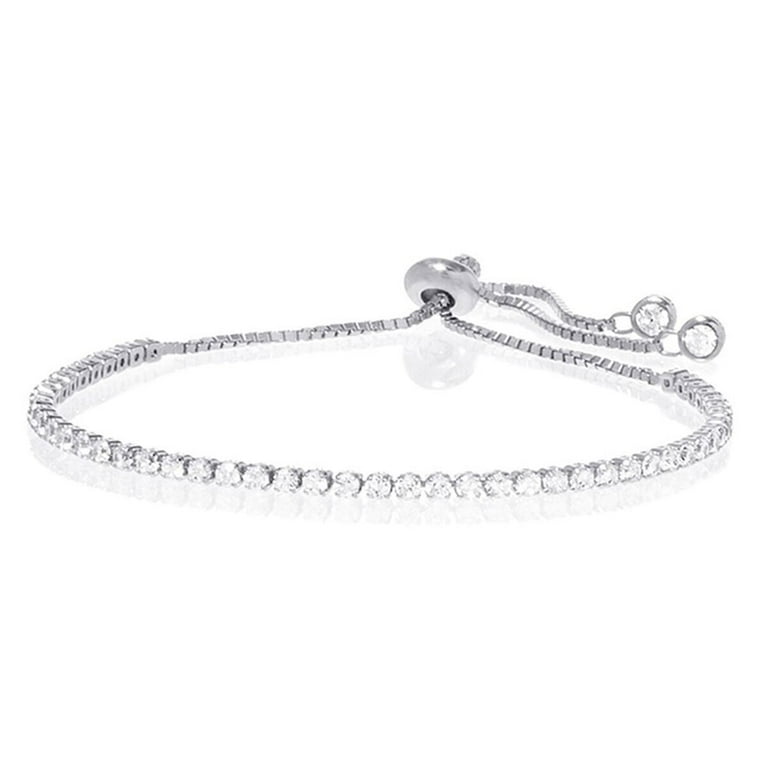
- Swarovski crystals: I chose some round ones, size PP24 (that’s about 3mm). I went with the classic clear crystal, because, sparkle! I bought a whole bunch, more than I thought I’d need, just in case.
- Bracelet settings: These are the little metal cups that hold the crystals. I found some silver-plated ones online that matched the PP24 crystal size. This was super important – they have to be the right size.
- Jewelry pliers: I already had a couple of pairs – flat-nose and chain-nose. You’ll need these to bend the prongs on the settings.
- Clasp: A simple lobster clasp and a jump ring. Got those at the same place I got the settings.
- A soft cloth: For protecting surface and crystals when i work.
The (Slightly Tedious) Process
Okay, this is where patience comes in. It’s not hard, but it does take some time.
-
First, I laid out all my crystals and settings on my soft cloth. It helped me keep everything organized.

-
Then, I took one crystal and carefully placed it into a setting. The crystal should fit snugly.
-
Using my flat-nose pliers, I very gently bent each of the four prongs on the setting inward, over the edge of the crystal. The key here is to be gentle! You don’t want to crack the crystal or break a prong. I made sure each prong was secure, holding the crystal firmly in place.
-
I repeated this… many, many times. Seriously, this is the longest part. I put on some music and just got into a rhythm.

-
Once I had a bunch of crystals set, I started connecting them. The settings I got had little loops on each end. I used my chain-nose pliers to gently open one loop, hooked it onto the loop of the next setting, and then carefully closed the loop. Again, gentle is the key!
-
I kept adding crystals and connecting them until the bracelet was the length I wanted. I tried it on a few times to make sure it fit comfortably.
Finishing Touches
Almost there! The last step was to add the clasp.
- I used my chain-nose pliers to open the jump ring.
- I attached the jump ring to one end of the bracelet and to the lobster clasp.

- Then I closed the jump ring securely.

- At the other end of the bracelet, I simply attached the other loop of the last setting using the same method.
The Result!
And… done! It took a few hours, but honestly, it was so worth it. I have a sparkly, beautiful tennis bracelet that looks way more expensive than it was. I’ve gotten so many compliments on it! Plus, there’s something really satisfying about wearing something you made yourself. I’m already planning my next one, maybe with different colored crystals!


