Okay, here’s my blog post about making a fluorite crystal bracelet:
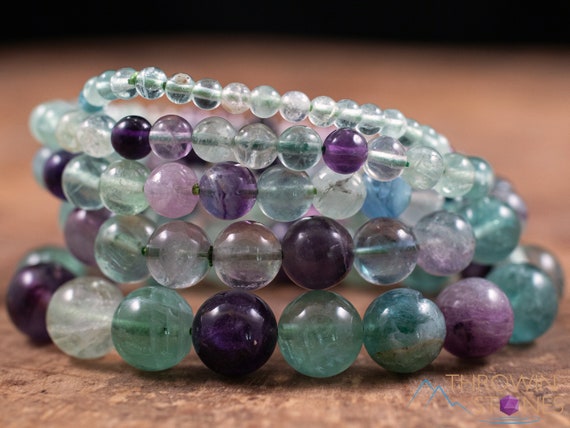
So, I’ve been seeing these crystal bracelets everywhere, and fluorite is one of my favorites – all those gorgeous greens and purples! I decided, “Why not try making my own?” I’m no jewelry expert, but I figured it couldn’t be that hard. I was kinda right, kinda wrong. LOL.
Gathering My Stuff
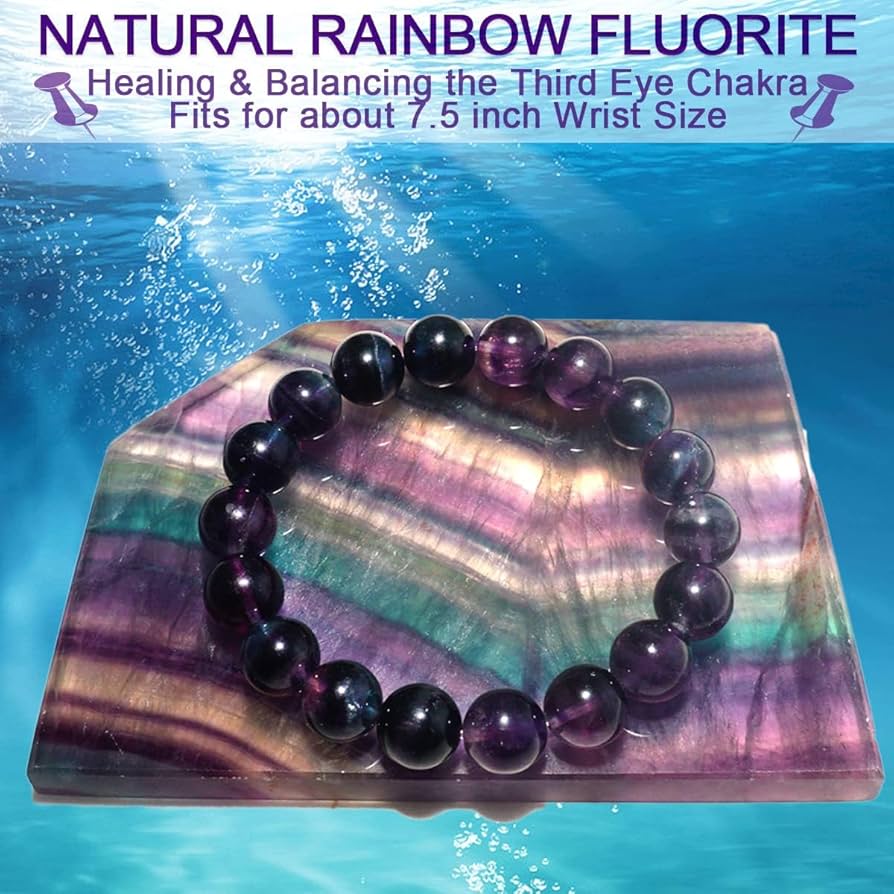
First, I hit up a local bead shop. I wanted real fluorite, not some fake plastic stuff. They had a decent selection of fluorite beads in different shapes and sizes. I went with some smooth, round ones – about 8mm, I think. They just looked so pretty and calming.
I also needed some other stuff:
- Elastic cord: I picked a clear, stretchy one that seemed strong enough.
- Bead needle: This is optional, but it makes stringing the beads SO much easier.
- Scissors: Duh.
- Maybe some glue: I was on the fence about this, but I grabbed some jewelry glue just in case.
- Super pretty charm: I want my bracelet look more special.
The Stringing Begins!
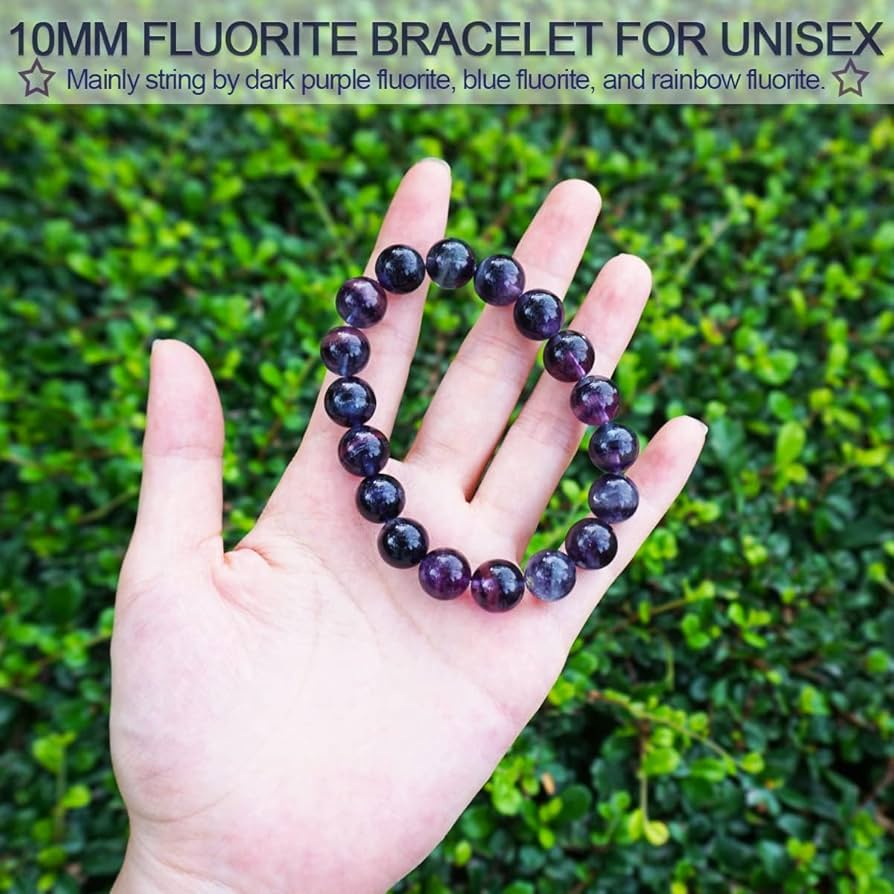
Okay, this is where the “fun” started. I measured my wrist with the elastic cord, adding a couple of extra inches for tying knots. Better to have too much than too little, right?
Then, I threaded the needle (if you’re using one) onto the cord. I started stringing the beads. This part was actually pretty relaxing, just sliding those cool, smooth fluorite beads onto the cord. I kept checking the length against my wrist to make sure it wasn’t getting too big or too small.
Knot-Tying Mayhem
Once all the beads were on, it was time for the dreaded knot-tying. This is where things got a little messy. I tried a few different knots, but I couldn’t get them to feel secure enough. I was worried the bracelet would just fall apart the first time I wore it.
Finally, after some Googling (thank you, internet!), I found a tutorial for a “surgeon’s knot.” It seemed complicated at first, but I practiced a few times with some scrap cord. Eventually, I got the hang of it. It felt much more secure than the other knots I tried.
Finishing Touches (and a Little Oops)
I trimmed the excess cord, leaving a tiny bit sticking out. Here’s where I debated the glue. Some people say to put a tiny drop of glue on the knot for extra security. I was hesitant, but I decided to go for it. BIG MISTAKE. I used way too much, and it got all over the beads next to the knot. Ugh.
I managed to clean it up (mostly) with a damp cloth, but it was a close call. Lesson learned: If you use glue, use the tiniest amount possible! Or, you know, just skip the glue altogether. LOL
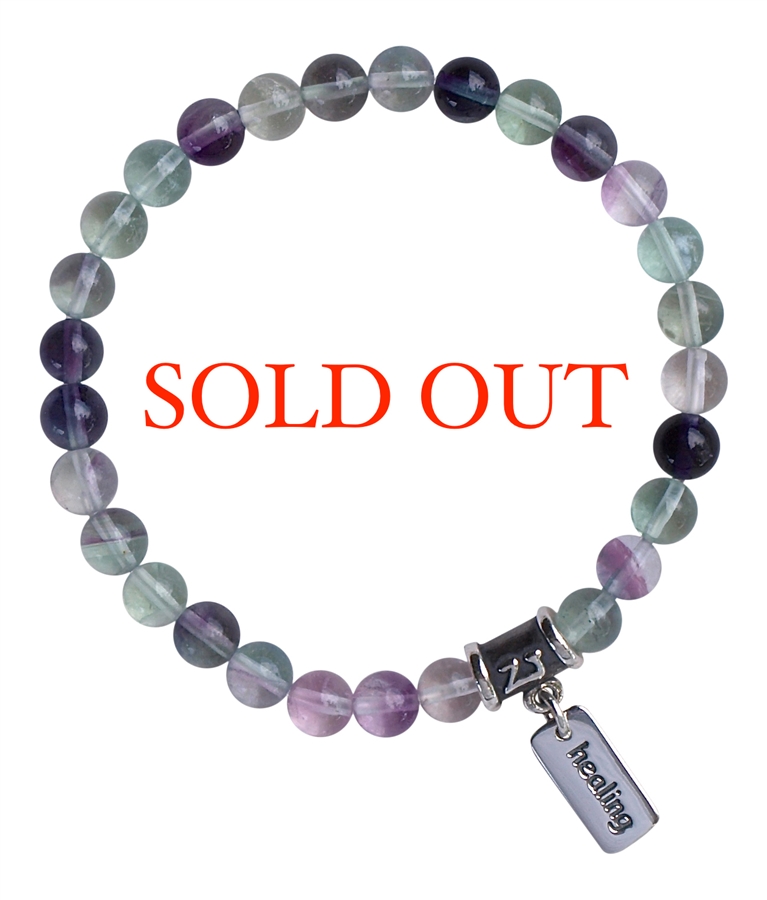
The Finished Product!
And I add the pretty charm in the middle of bracelet.
Despite the glue mishap, I’m pretty happy with how my fluorite bracelet turned out! It’s not perfect, but it’s mine, and I made it myself. And it looks great when I wear it. That’s a win in my book. It was a fun little project, and I might even try making some more with different crystals. Maybe I’ll even get good at those knots eventually!