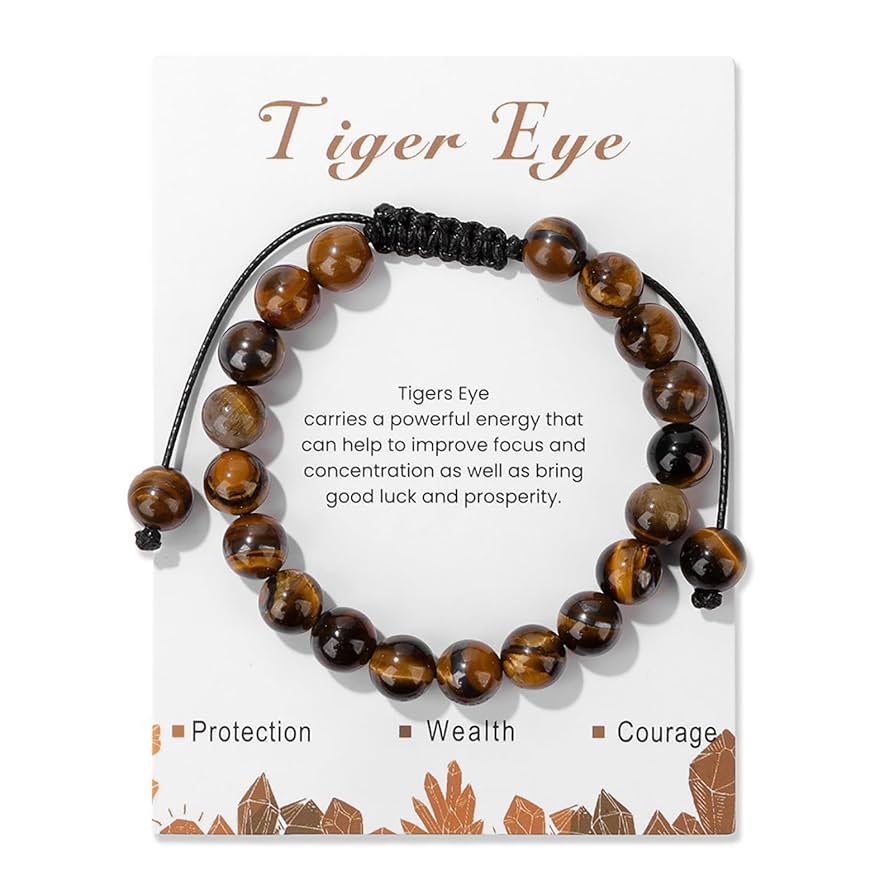
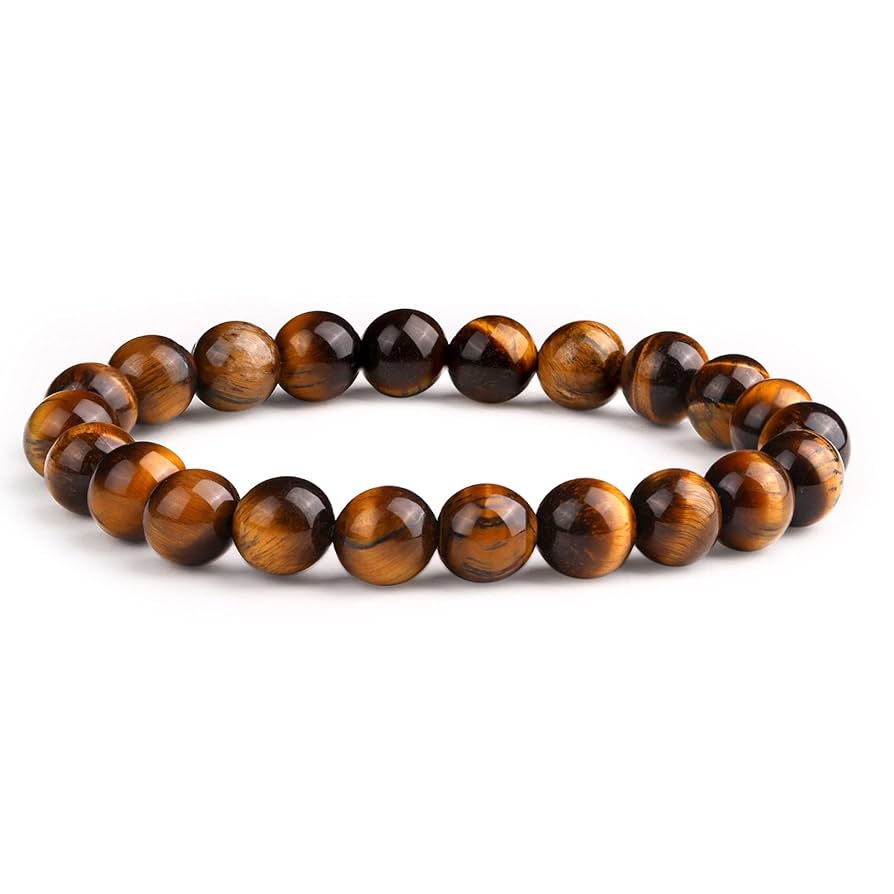
Okay, folks, let’s dive into my little project of making a tiger eye crystal bracelet. I’ve been seeing these around and thought, “Hey, I can probably make that!” So, here’s how it all went down.
Gathering My Supplies
First things first, I needed to get my hands on the materials. I went to my local shop store, there is various crystals and beads there. My shopping list was pretty simple:
- Tiger eye beads (I chose 8mm ones, because they look strong)
- Elastic cord (the stretchy kind, about 0.8mm thick)
- Scissors
- A little bit of glue (just in case)
With everything in my bag, I was ready to start crafting.
Stringing the Beads
I started by cutting a length of the elastic cord. I made it about 10 inches long,I can cut it off after.

Then came the fun part – stringing the beads! I simply slid each tiger eye bead onto the cord. It was actually pretty relaxing, watching the pattern form. I kept going until I had enough beads to comfortably fit my wrist, with a little extra room for tying the knot.
Tying the Knot
This was the most challenging part, NGL. I tied a simple square knot (you know, “right over left, left over right”). I pulled it super tight, and then for good measure, I tied another one on top. I tugged on the cord from all sides to make sure it was secure.
Tip: I put the smallest dab of glue on the knot,that I can fixed the knot .

Finishing Touches
Once the glue was dry, I carefully trimmed the excess elastic cord close to the knot. and the extra length of the elastic cord before.
The Final Product
And there it was! My very own tiger eye crystal bracelet. It fit perfectly, and I have to say, it looked pretty darn good. I felt a real sense of accomplishment, having made something with my own two hands. I’ve been wearing it all day, and it feels great.
Overall, this was a super easy and satisfying project. If you’re looking for a simple craft to try, I definitely recommend giving this a shot. It’s a fun way to spend an afternoon, and you end up with a cool piece of jewelry!


