
Okay, so I’ve been obsessed with evil eye jewelry lately, and I finally decided to make my own bracelet. I’ve seen those gorgeous Swarovski crystal ones, and I was like, “I can totally do that!” So, here’s how my little DIY project went down.
Gathering My Supplies
First things first, I needed to get my hands on the materials. I already had some basic jewelry-making tools like pliers and wire cutters. But the star of the show, of course, was the Swarovski crystals.
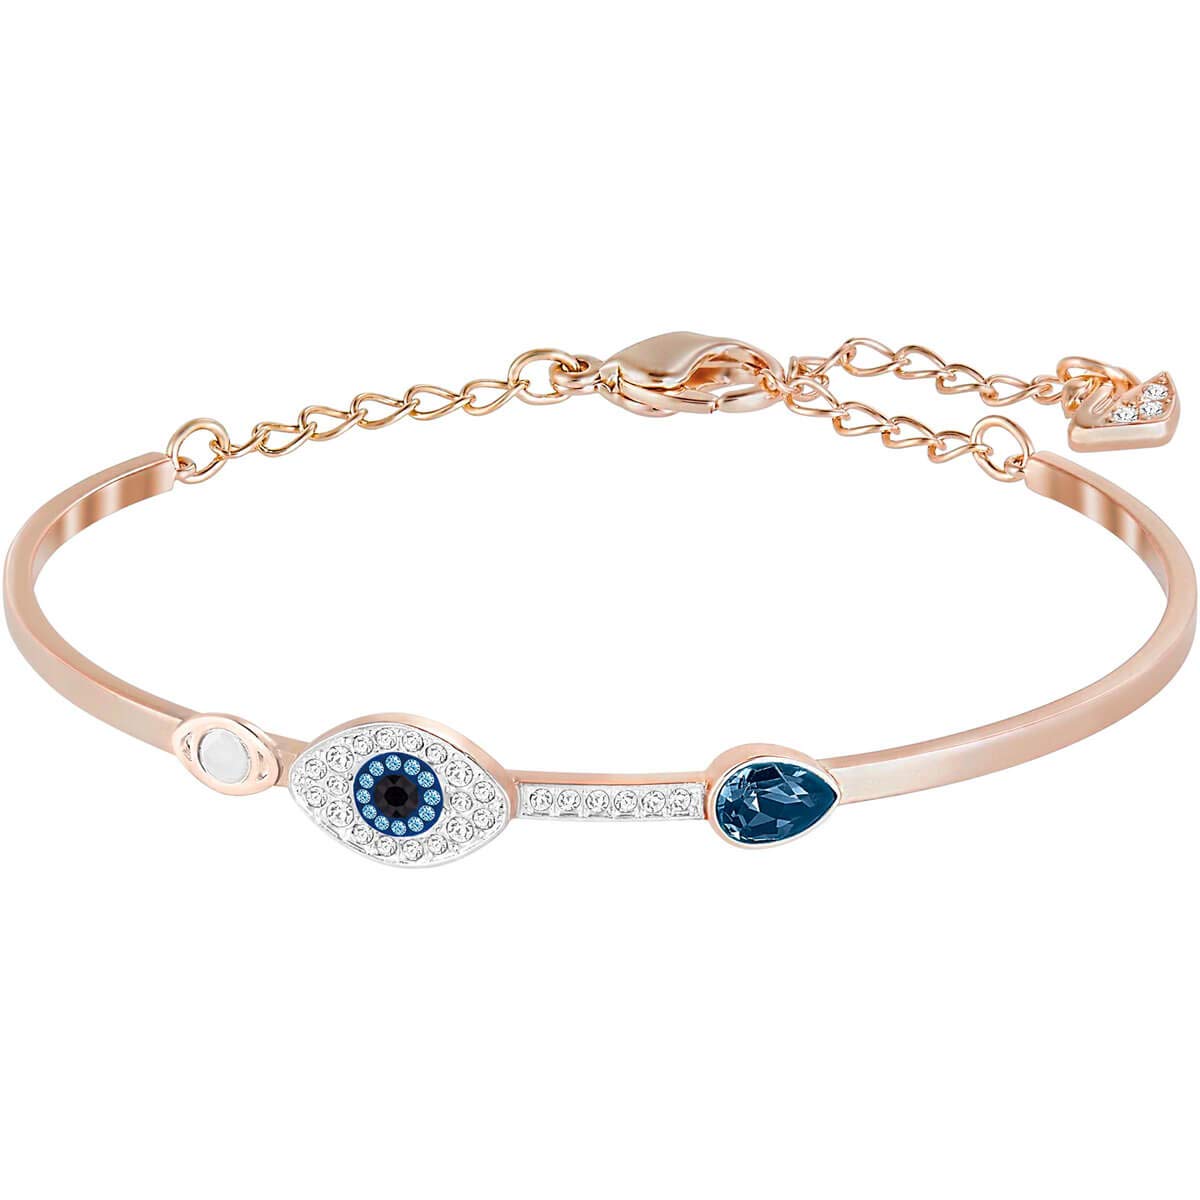
- Swarovski Evil Eye Bead: I found this super pretty, flat, round crystal bead with the evil eye design. It was a bit of a splurge, but hey, it’s Swarovski!
- Smaller Crystals: I picked up some tiny, sparkly blue and clear crystals to go around the main bead. I wanted that extra bling, you know?
- Beading Wire: I got some flexible beading wire, the kind that’s strong but still thin enough to go through the tiny crystal holes.
- Clasps and Jump Rings: These are the little bits that hold the bracelet together and let you put it on and take it off. I went with silver ones to match the crystals.
- Crimp Beads: These are itty-bitty metal beads that you squish to secure the wire. Super important!
Putting It All Together
Alright, with everything laid out, I started assembling the bracelet. This is where it got a little tricky, but I took it slow and steady.
- Measure and Cut: I wrapped the beading wire around my wrist to figure out how long I wanted the bracelet. I added a couple of extra inches, just to be safe. Better to have too much than too little!
- Stringing the Beads: Time for the fun part! I started with a crimp bead, then the evil eye bead, and then I played around with the smaller crystals, creating a pattern I liked. I made sure to keep things symmetrical.
- Adding the Clasp: Once all the beads were on, I added another crimp bead, then a jump ring, and then the clasp. I made sure the jump ring was securely closed.
- Crimping Time: This was the most crucial step. I used my pliers to carefully squish the crimp beads, locking the wire in place. I gave it a little tug to make sure everything was secure.
- Finishing Touches: I repeated the crimping process on the other end of the bracelet, adding the other half of the clasp. Then, I trimmed any excess wire with my wire cutters.
The Final Result!
And… ta-da! My very own Swarovski crystal evil eye bracelet was complete! It turned out even better than I expected. It’s sparkly, eye-catching, and totally unique. Plus, I made it myself, which makes it even more special. I’ve been wearing it non-stop, and I’ve gotten so many compliments. I’m already thinking about making more, maybe with different colored crystals. It’s such a fun and rewarding project!


