
Okay, here’s my blog post about making a quartz crystal bracelet:
So, I’ve been seeing these crystal bracelets everywhere, and I thought, “Hey, I could totally make one of those!” I’m all about getting crafty and saving a few bucks, plus I really wanted a quartz crystal one, Specifically. They’re supposed to be good for, like, clarity and energy and stuff. Anyway, here’s how I made my very own.
Gathering My Supplies
First, I had to get my materials all ready. I went down to my local craft shop, I think it had a really cheesy name that I have since forgotten, and I got to browsing. After making multiple un-needed stops at other sections, you know how it is, I eventually found all I needed.
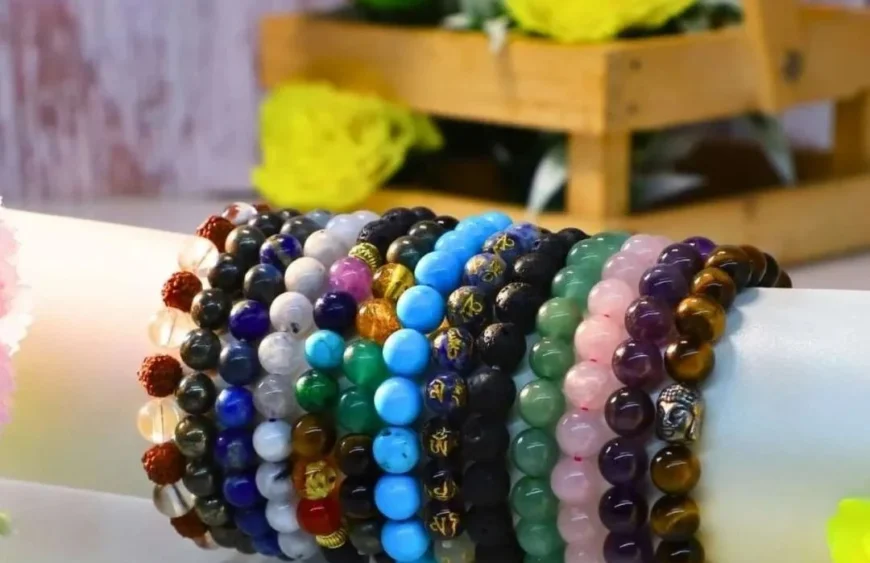
- Clear quartz beads: They had different sizes, so I grabbed a bunch that looked about right. I wanted a bit of variety, not all perfectly uniform.
- Stretch cord: This is the elastic stringy stuff that holds the beads together. I got a clear one, because duh.
- Scissors: Pretty self-explanatory.
- Maybe some charms (optional): I saw some cute little silver charms, but I decided to keep it simple this time. Maybe next time!
Stringing the Beads
This part was kind of meditative, actually. I laid out all my beads on a towel (so they wouldn’t roll away) and started stringing them onto the stretch cord. I didn’t really have a pattern in mind, I just went with what felt right, mixing up the different sized beads.
Tip: Make sure you leave enough extra cord at the end for tying a knot! I almost messed that up.
Tying the Knot (The Tricky Part)
Okay, this was the hardest part, not gonna lie. I had to tie a really tight knot so the bracelet wouldn’t fall apart. I watched a YouTube video about it, I just searched something like “how to tie a stretch cord bracelet knot” , or something. It involved looping the cord around a few times and pulling it really, really tight. I think I did it like five times to be extra sure.
Another Tip: You can put a tiny drop of clear nail polish on the knot to help secure it. I didn’t have any on hand, so I just crossed my fingers and hoped for the best.
The Finished Product!
And… that’s it! I trimmed the extra cord close to the knot, and my bracelet was done. I slipped it on, and it fit perfectly! I’m pretty proud of myself, it looks awesome. I was a little worried during the knot tying phase, but it seems that my bracelet is holding up so far. I’ve been wearing it all day, and it feels great. Plus, I’m feeling super clear and energized… maybe it’s the quartz, or maybe it’s just the satisfaction of making something myself. Either way, I’m happy!
If you are looking for a sign to start making your own crystal bracelets, this is it. It will save you money, get you some crafting skills, and you will feel awesome about doing it, good luck!


