
Okay, here’s my experience making an obsidian crystal bracelet, told in a casual, personal blog style:
So, I’ve been seeing these obsidian crystal bracelets everywhere lately, and I gotta admit, they looked pretty cool. Plus, I’d heard they’re supposed to have some protective energy vibes, and who couldn’t use a little extra of that, right? I decided to give making one a shot. Figured it’d be a fun little project, and hey, if it worked, even better!
Gathering My Supplies
First things first, I needed to get my hands on some supplies. I’m not gonna lie, I just went to my local crafts store and bought a stuff. I grabbed:
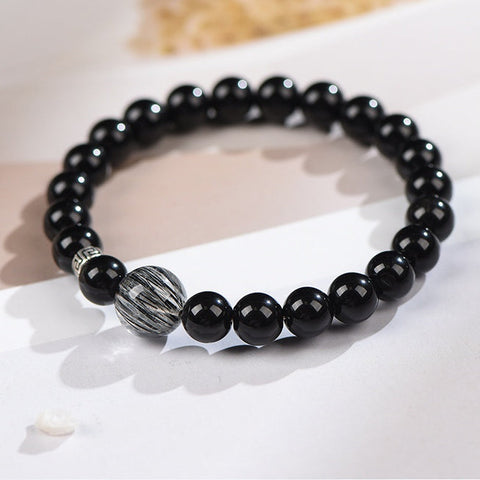
- Obsidian beads (I went with the smooth, round ones, about 8mm)
- Stretch cord (the clear, elastic kind)
- Scissors
- Maybe some spacer beads (totally optional, but I got some tiny silver ones)
Easy peasy. Didn’t break the bank, which is always a plus.
Stringing It Up
Next up, the actual making part. Honestly, this was way easier than I thought it would be. First, I measured my wrist with the stretch cord, adding a couple of extra inches just to be safe. Better too long than too short, you know?
Then, I simply started stringing the beads onto the cord. I decided to do a pattern: obsidian bead, silver spacer, obsidian bead, silver spacer… you get the idea. You can totally do whatever pattern you want, or just go all obsidian. It’s your bracelet, your rules!
I kept stringing until I had enough beads to comfortably go around my wrist. It took a bit of fiddling to get the right fit, but nothing too crazy.
Tying the Knot
This was the part I was most nervous about. I didn’t want the whole thing to unravel after like, five minutes of wearing it. I watched a couple of videos online, they were pretty helpful. It has some different ways.
I ended up tying a surgeon’s knot. Basically, you make a regular knot, but before you pull it tight, you loop the cord through one more time. Then you pull it REALLY tight. I repeated that like three times, just to be super sure. I am serious.
Once the knot was secure, I trimmed the excess cord, leaving just a tiny bit so it wouldn’t poke me. And… that was it!
The Finished Product
Seriously, it was that simple. And I have to say, I’m pretty stoked with how it turned out. It looks good, it feels comfortable, and even if the whole “protective energy” thing is just wishful thinking, I still like having it on my wrist. It’s like a little reminder to stay grounded or something. I don’t know, maybe I’m just getting into the whole crystal thing. Who knew?
Anyway, if you’re looking for a quick and easy DIY project, I definitely recommend giving this a try. It’s fun, it’s affordable, and you end up with a cool piece of jewelry. Win-win-win!


