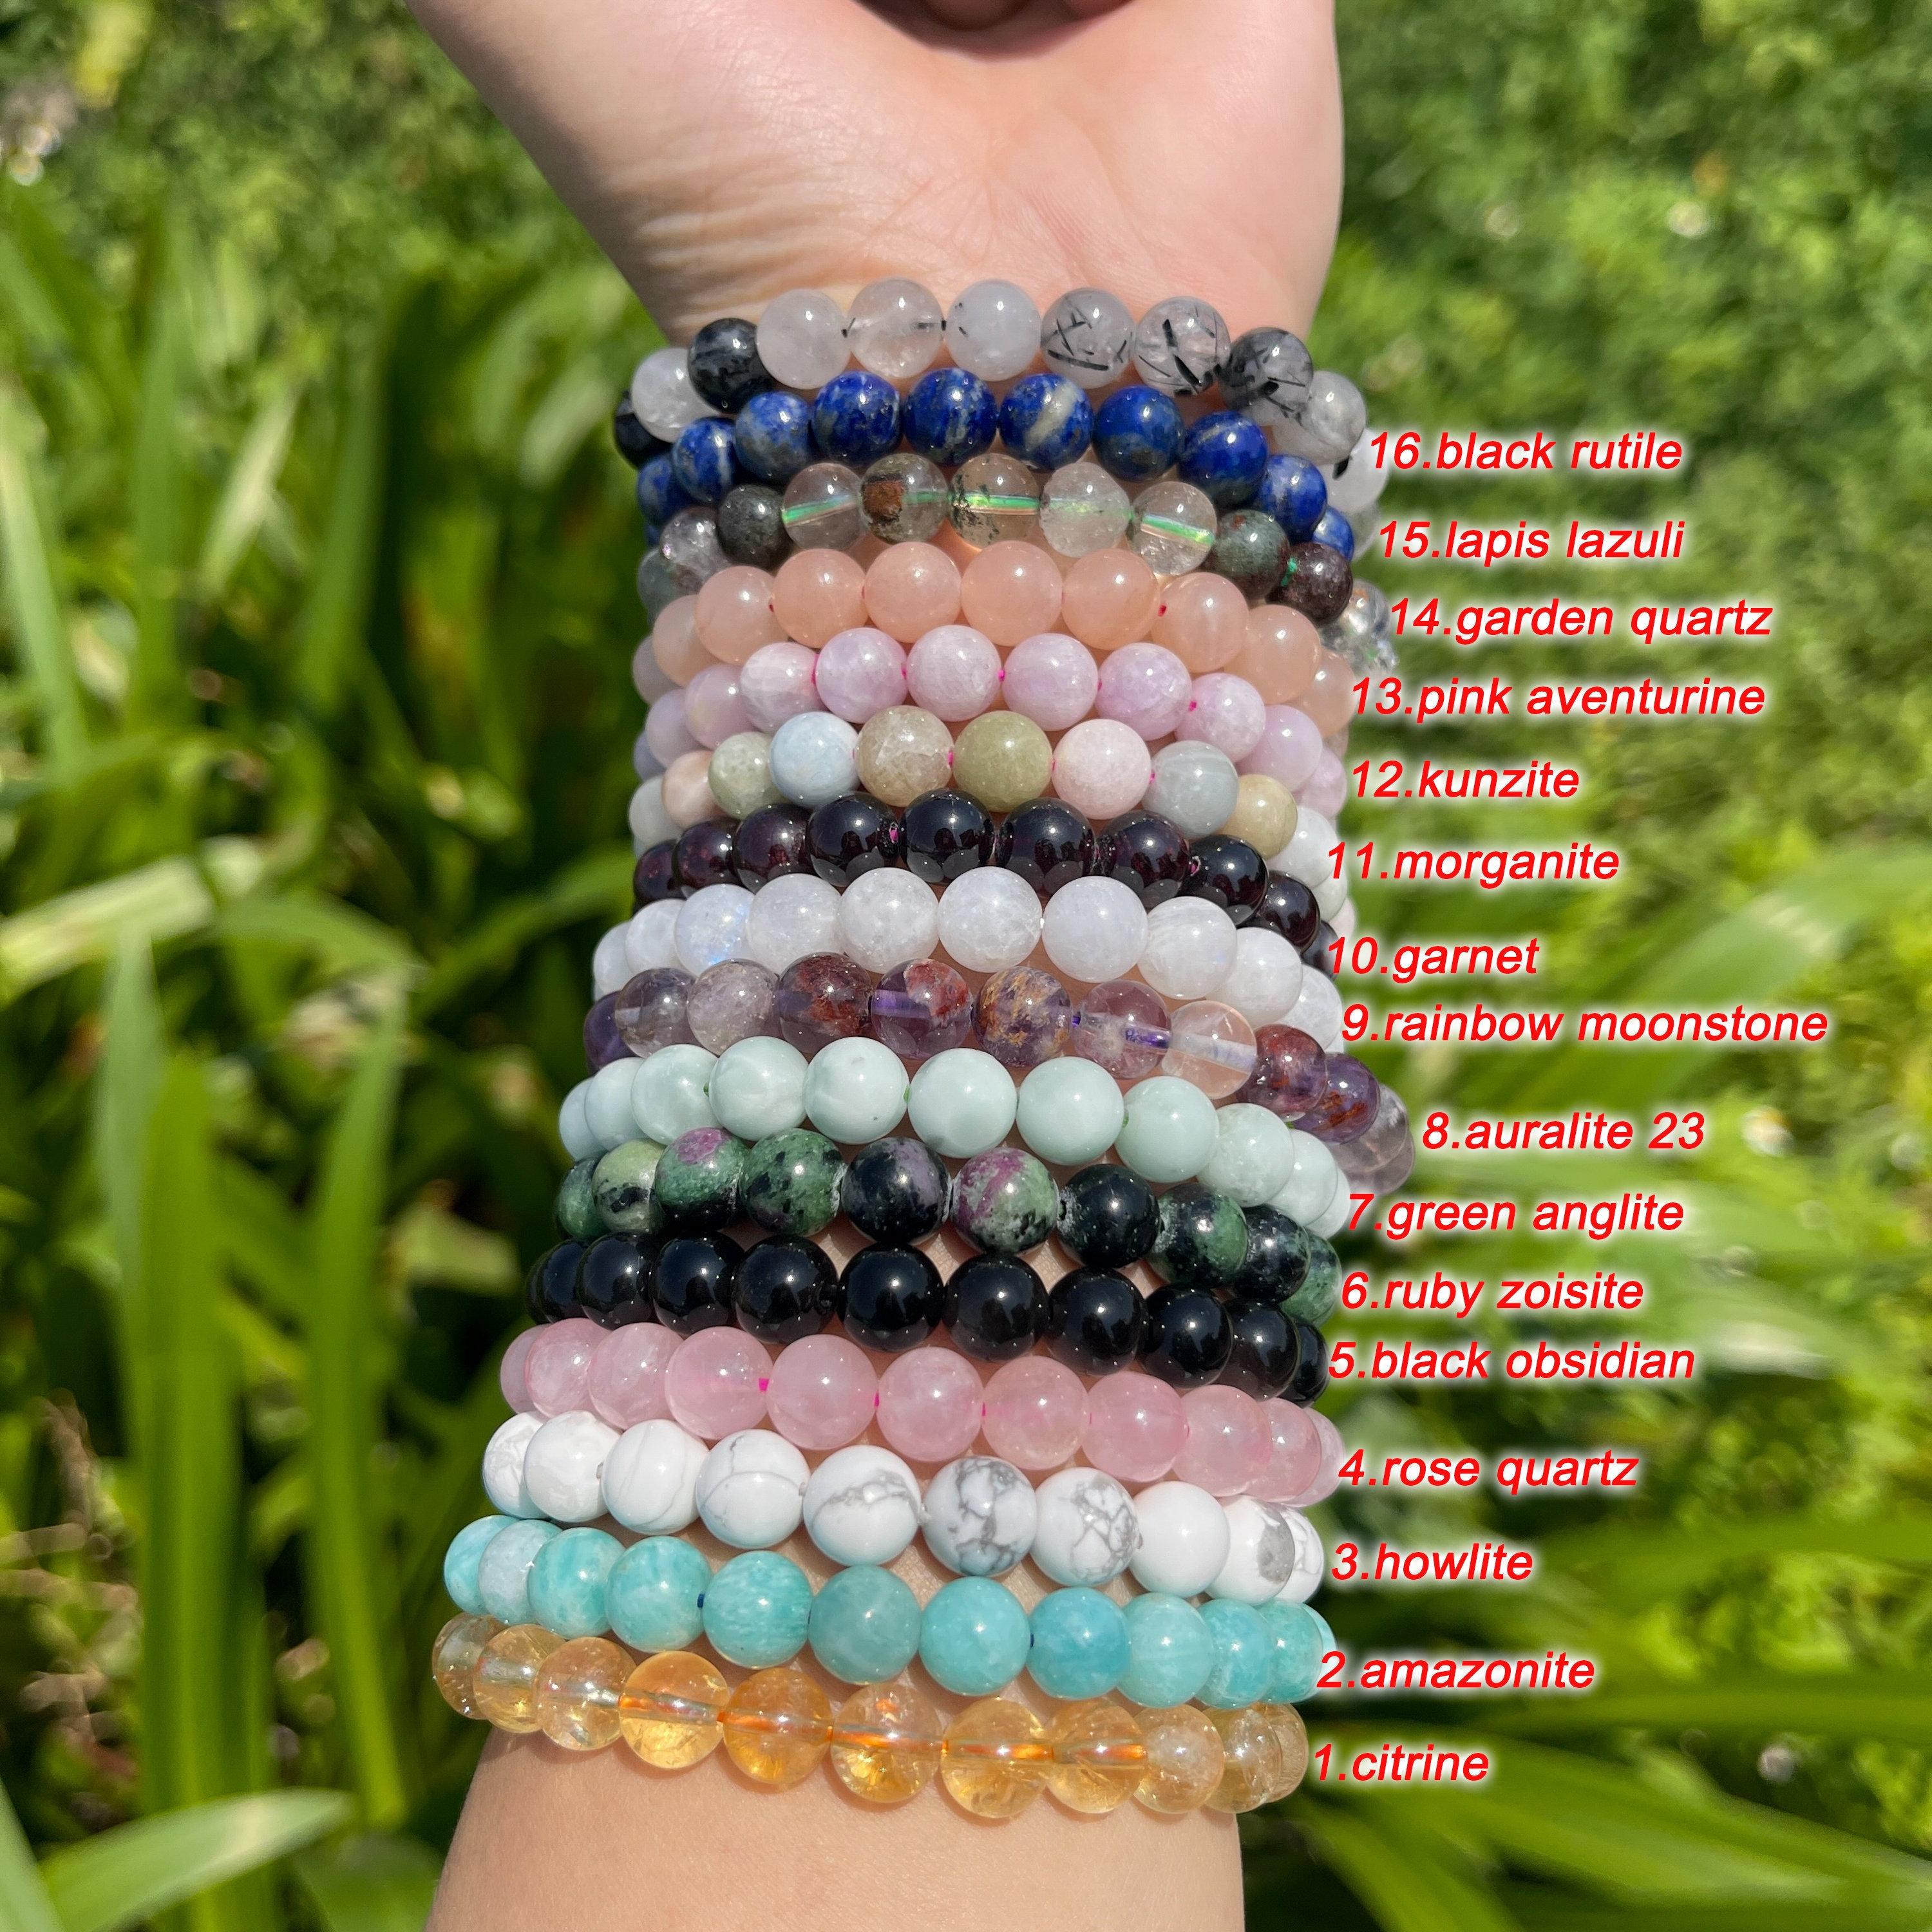
Okay, so I’ve been seeing these crystal bracelets everywhere, and I finally decided to try making my own. I’m not gonna lie, it was a bit of a journey, but totally worth it in the end!
Getting Started
First things first, I needed supplies. I hit up my local craft store and, honestly, I was a little overwhelmed by all the choices. There were so many beads, so many colors, so many different types of string!
- Crystal beads: I went with a mix of amethyst (because, you know, good vibes) and clear quartz (for a little sparkle).
- Elastic cord: I picked up a spool of clear elastic cord, about 0.8mm thick. I figured it would be strong enough to hold the beads.
- Scissors: Pretty self-explanatory.
- Bead board(optional): to arrange crystal beads.
The Messy Middle
I started by laying out my beads in the order I wanted them.I mean arranged them on my bead board,I needed to measure my wrist and added a couple of inches, just to be safe. Then I strung the beads onto the cord. It sounds easy, but those little beads can be slippery!
The tricky part was tying the knot. I watched, like, five different videos online, and I still messed it up the first couple of times. The elastic cord kept slipping, and my beads were rolling everywhere. It was a bit of a disaster zone, I used a “surgeon’s knot” – basically, you loop the cord around twice instead of once. It seemed to hold pretty well.

The Final Product
After a few deep breaths and a lot of patience, I finally got a secure knot. I carefully trimmed the excess cord, and there it was – my very own crystal bracelet! It’s not perfect, and there are a few beads that are a little wonky, but I made it myself, and that’s pretty cool. I have to admit, it is a little proud to wear something I have created.
This whole process was a good reminder that sometimes, things don’t go exactly as planned. It was messy, and frustrating at times, but the end result was totally worth it. Plus, now I have a new hobby – and a very sparkly wrist!


