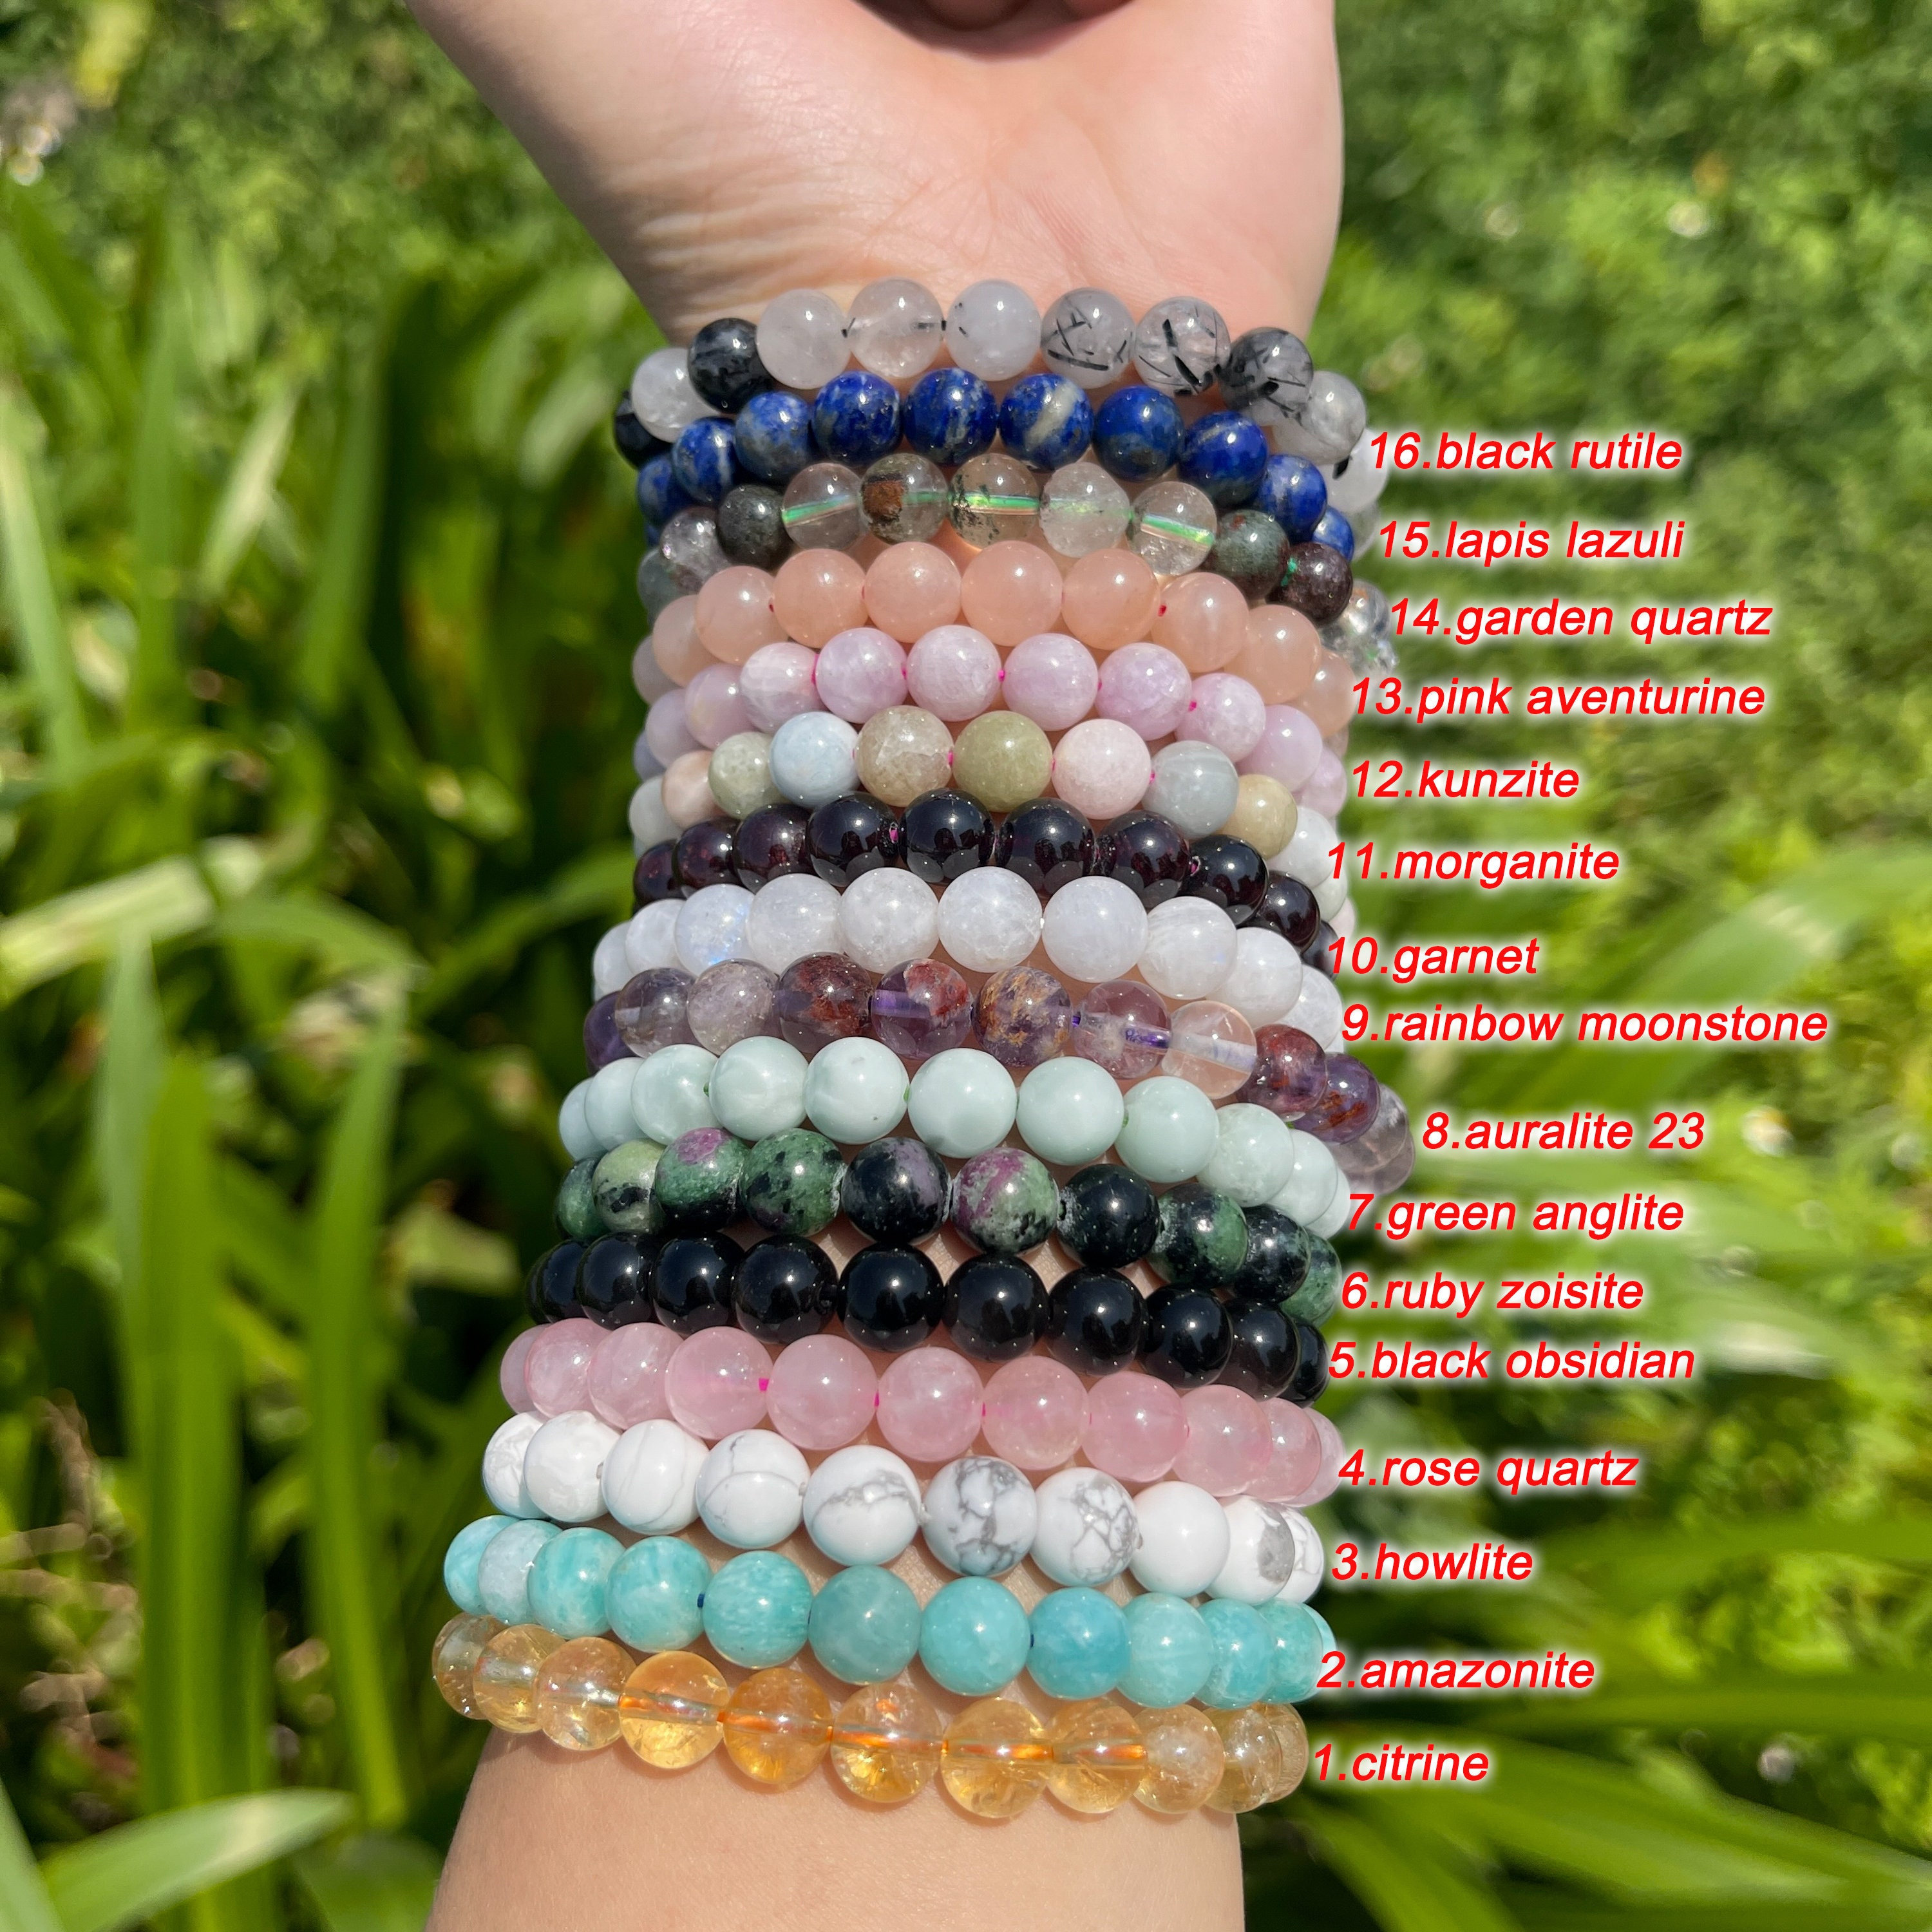
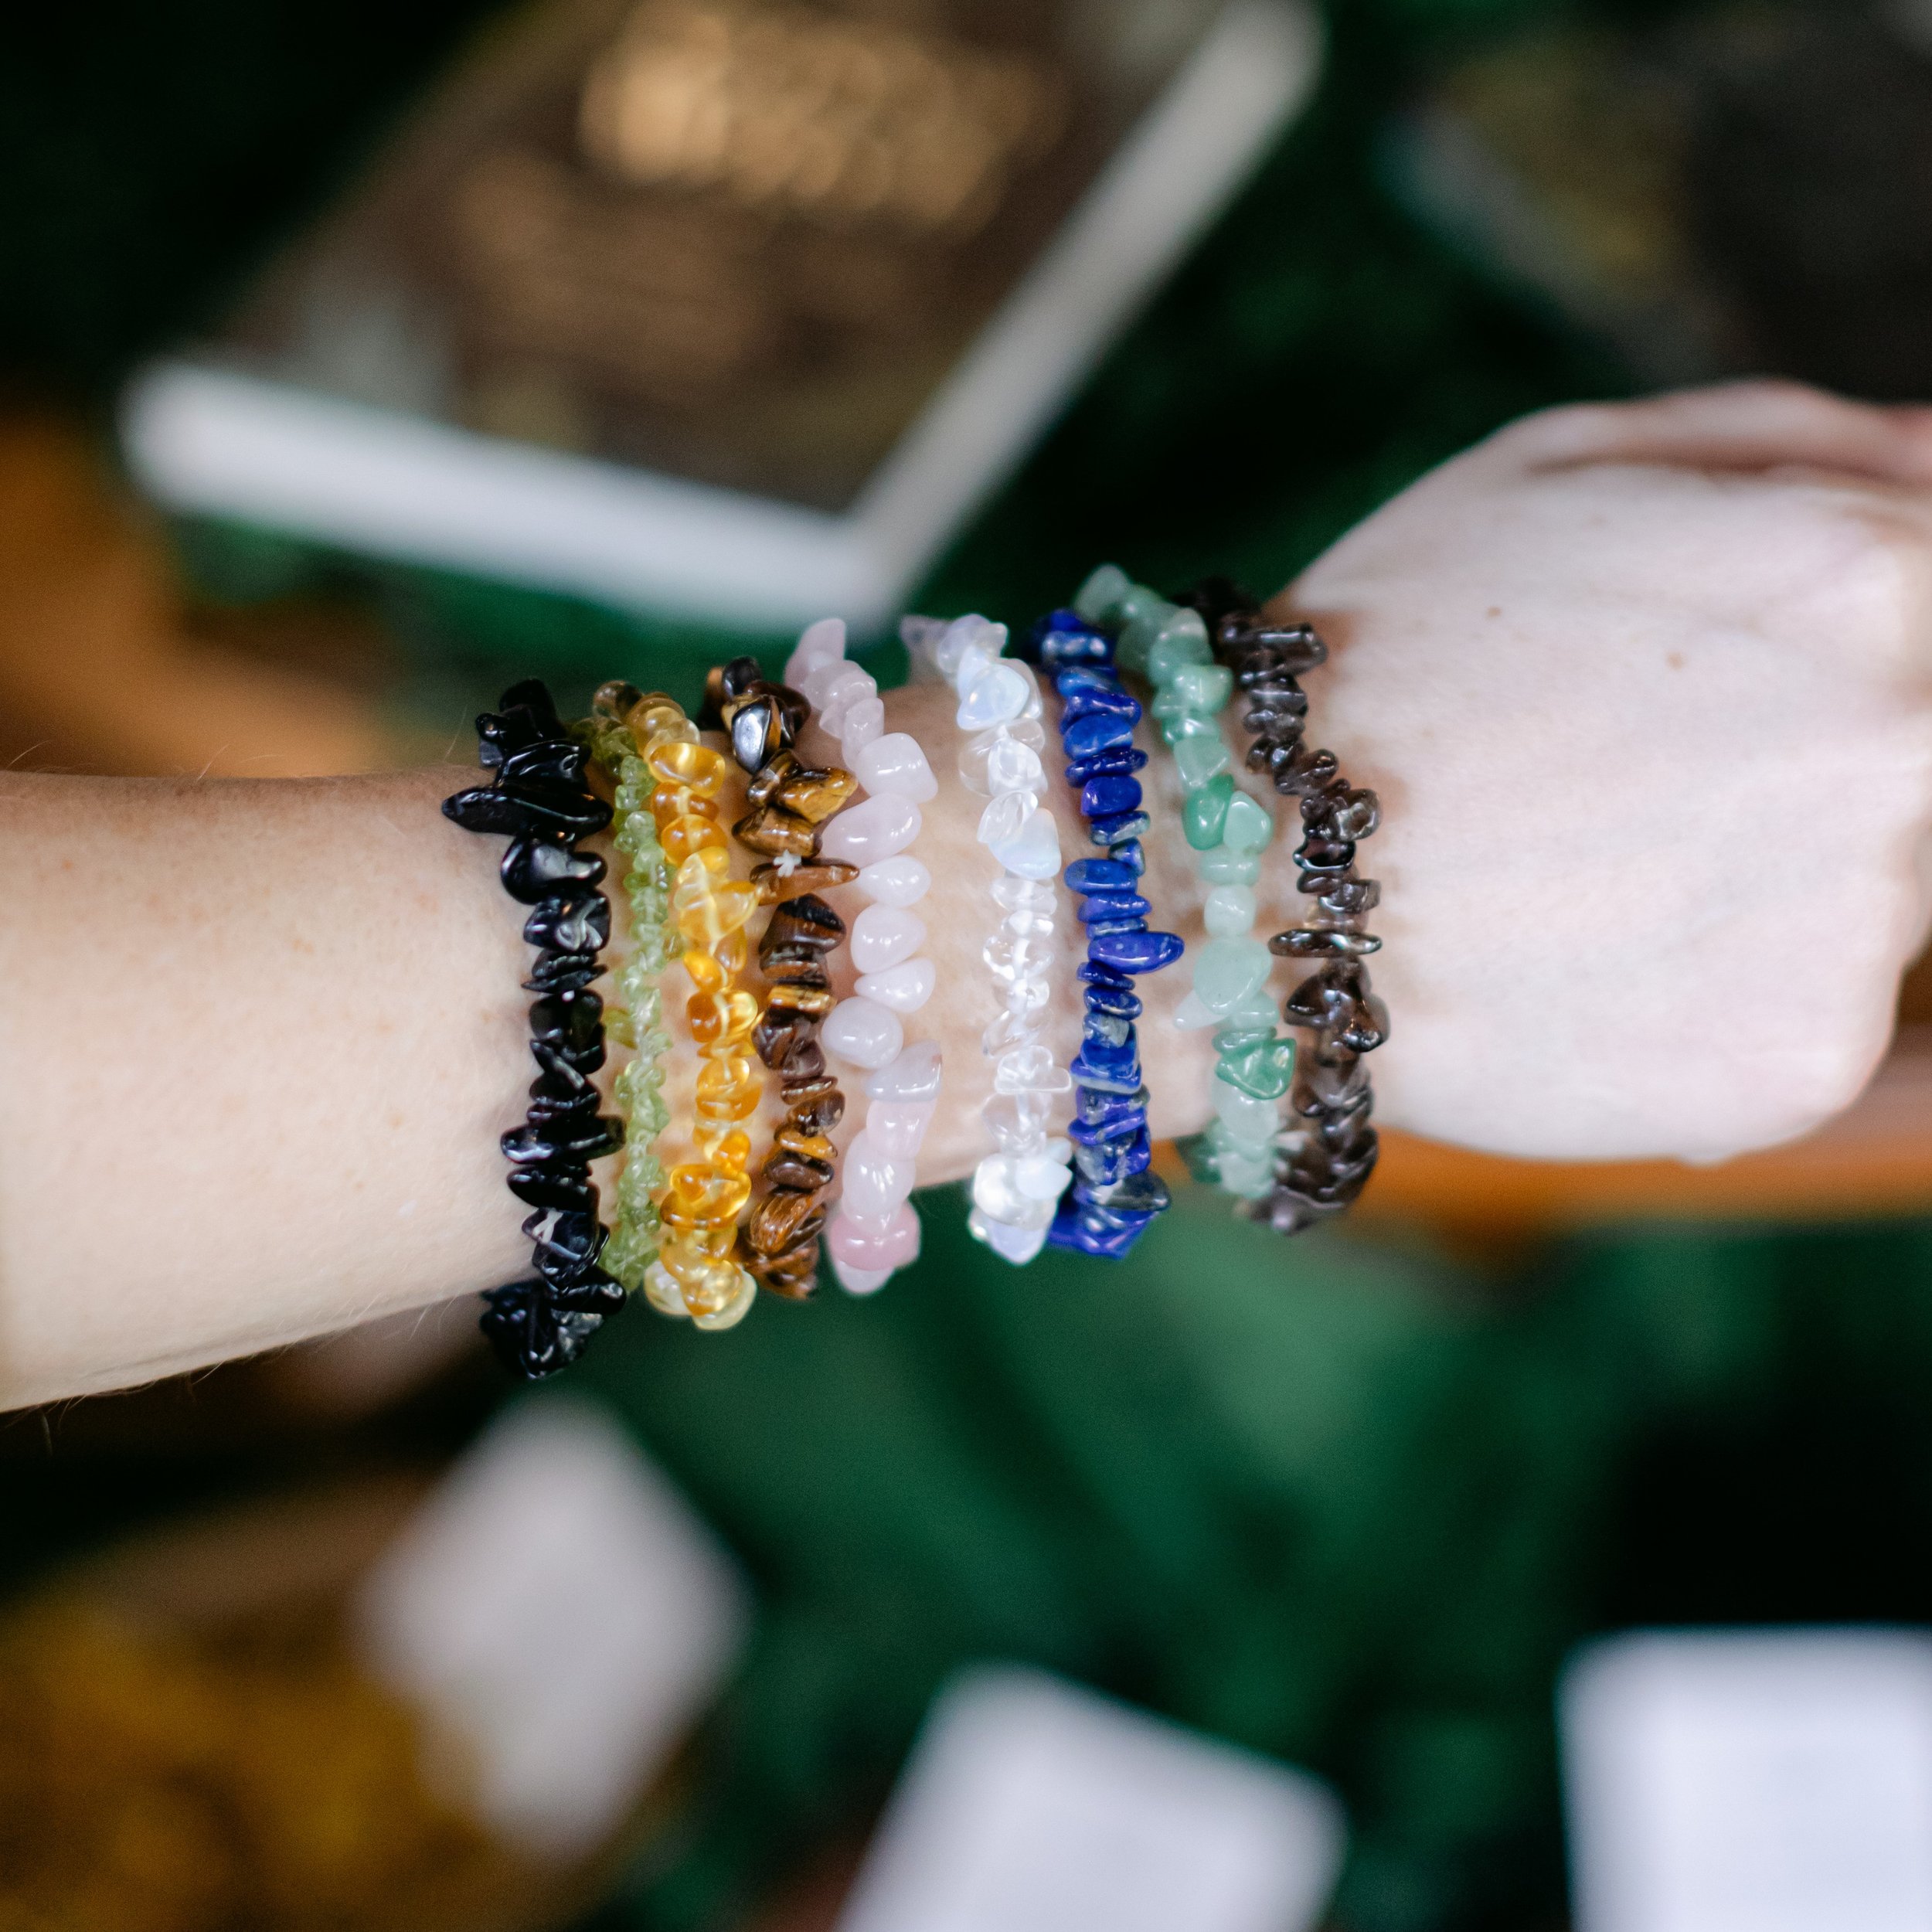
Okay, so I’ve been seeing these crystal stretch bracelets everywhere lately, and I finally decided to try making my own. I’m not gonna lie, it seemed a little intimidating at first, but it turned out to be way easier than I thought!

Gathering My Supplies
First things first, I needed to get my supplies together. I went to that little craft store down the street – you know, the one with all the beads and stuff. Here’s what I grabbed:
- Crystal beads: I chose a mix of amethyst and rose quartz because, well, they’re pretty, and I like the calming vibes.
- Stretch cord: I picked up some clear elastic cord, around 0.8mm thick. I figured that would be strong enough but not too bulky.
- Scissors: Obviously, needed those.
- Bead stopper (optional): It helps to prevent the beads from falling off the cord. I found it.
- Ruler or measuring tape: I just used a regular ruler I had lying around.
- A little dish:To keep my beads from rolling all over the place. Super helpful!
Getting Started
I measured my wrist, and it was about 6.5 inches. I added an extra inch or so to that for knotting, so I cut my stretch cord to about 8.5-9 inches long.
Then, I started stringing the beads onto the cord. I didn’t really have a pattern in mind, I just kind of went with what felt right, mixing the amethyst and rose quartz randomly.

The Tricky Part (Not Really!)
The part I was most nervous about was tying the knot. I’d heard horror stories of bracelets snapping and beads flying everywhere. But I found a trick! I did what’s called a surgeon’s knot. Basically, you make a regular overhand knot, but before you pull it tight, you loop the cord through one more time. Then you pull it really tight. I tugged on it pretty hard to make sure it was secure,and repeat two or three times.
Finishing Up
Once the knot was good and tight, I trimmed the excess cord, leaving just a tiny bit. And…that was it! Seriously, it was so easy. I put it on, and it fit perfectly. I was pretty proud of myself, not gonna lie.
My Thoughts
Honestly, the whole process took maybe 20 minutes, tops. And now I have a cute, custom-made crystal bracelet! I’m already thinking about making more, maybe with different types of beads. It’s a super relaxing and satisfying little project, and you end up with something pretty to wear. I think I am fall in love with making bracelets.


