Okay, here’s my blog post about making a crystal bracelet for women, written in a casual, personal style:
So, I’ve been seeing these super cute crystal bracelets all over my Instagram feed, and I thought, “Hey, I can totally make that!” I’m not exactly a crafting expert, but I’m pretty good at following instructions and I love a good DIY project. Plus, I figured I could customize it exactly how I wanted. So, I started a simple DIY project.
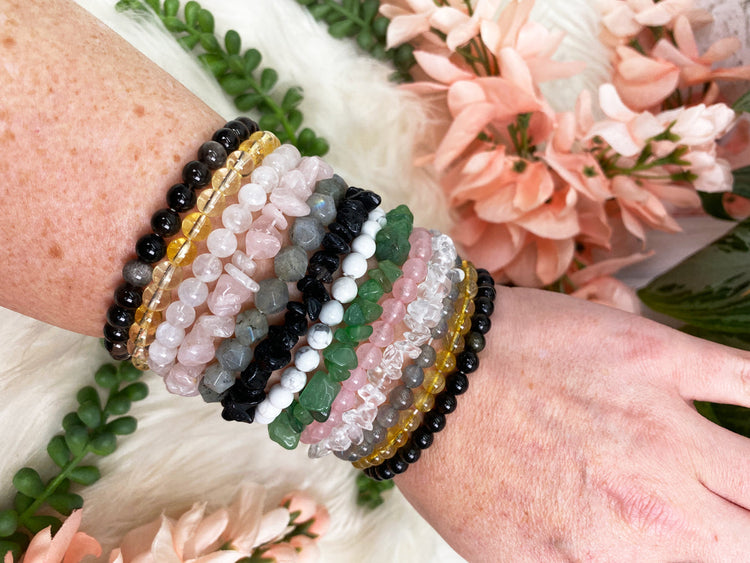
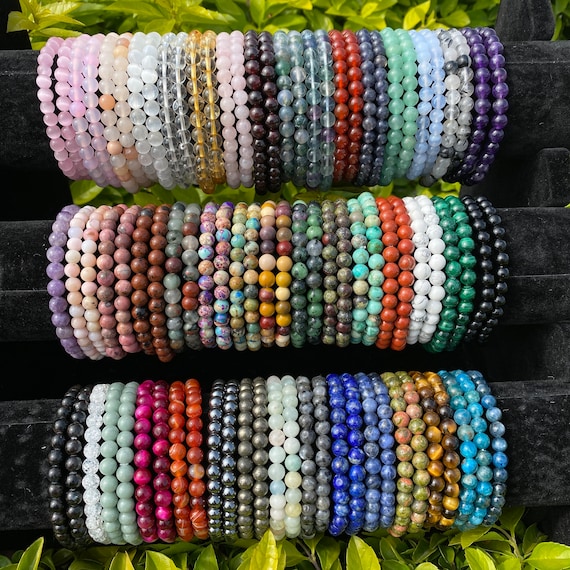
First things first, I needed to get my hands on some supplies.I chose my crystals with my guts. I’m a big believer in going with your intuition, so I just picked the ones that I was drawn to. I ended up with some rose quartz (for love, duh!), amethyst (for calming vibes), and a little bit of clear quartz (for amplifying all the good stuff). I think I spent about an hour, to find my favourite crystals.I grabbed a bunch of different sizes and shapes, just to give myself some options.
Then, I needed some stretchy cord. I found some clear elastic cord that seemed pretty strong. And of course, you need some scissors! I also grabbed a little dish to keep all my beads from rolling away – pro tip, learned that one the hard way before!
Getting Started (The Fun Part!)
I started by measuring my wrist. I just wrapped the elastic cord around my wrist, gave it a little extra slack, and cut it. Better to have too much than too little, right? I tied a simple knot at one end, making sure it was super tight. Didn’t want any beads escaping!
Next, I started stringing the beads. I didn’t really have a plan, I just went with the flow. I mixed up the different types of crystals and played around with the sizes. I’d hold it up to my wrist every now and then to see how it was looking.
It took a bit of trial and error, to be honest. Some beads just didn’t look right together, and I kept changing my mind about the order. But that’s part of the fun, right? It’s like creating your own little piece of wearable art.
Finishing It Up
Once I had all the beads on, it was time to tie off the other end. This part was a little tricky. I made a double knot, pulled it really tight, and then added a tiny dab of glue just to be extra secure. I let it dry for a few minutes, and there were no beads escaping.
And that’s it! My very own, handmade crystal bracelet. I’m seriously obsessed with how it turned out. It’s so pretty, and I love that it’s totally unique to me. Plus, every time I look at it, it reminds me of the good vibes I put into making it.
Honestly, this was such a fun and easy project. I’d definitely recommend giving it a try, even if you’re not super crafty. It’s a great way to de-stress, get creative, and end up with something beautiful that you made yourself. Now my girl friends want me to make one for each of them!