
Okay, so I’ve been seeing these crystal bracelets everywhere lately, and I finally decided to jump on the bandwagon and make my own. I mean, who doesn’t love a little sparkle and good vibes, right?
Getting Started
First things first, I gathered my materials. I hit up a local bead store – it was like a candy shop for crafty people! I grabbed:
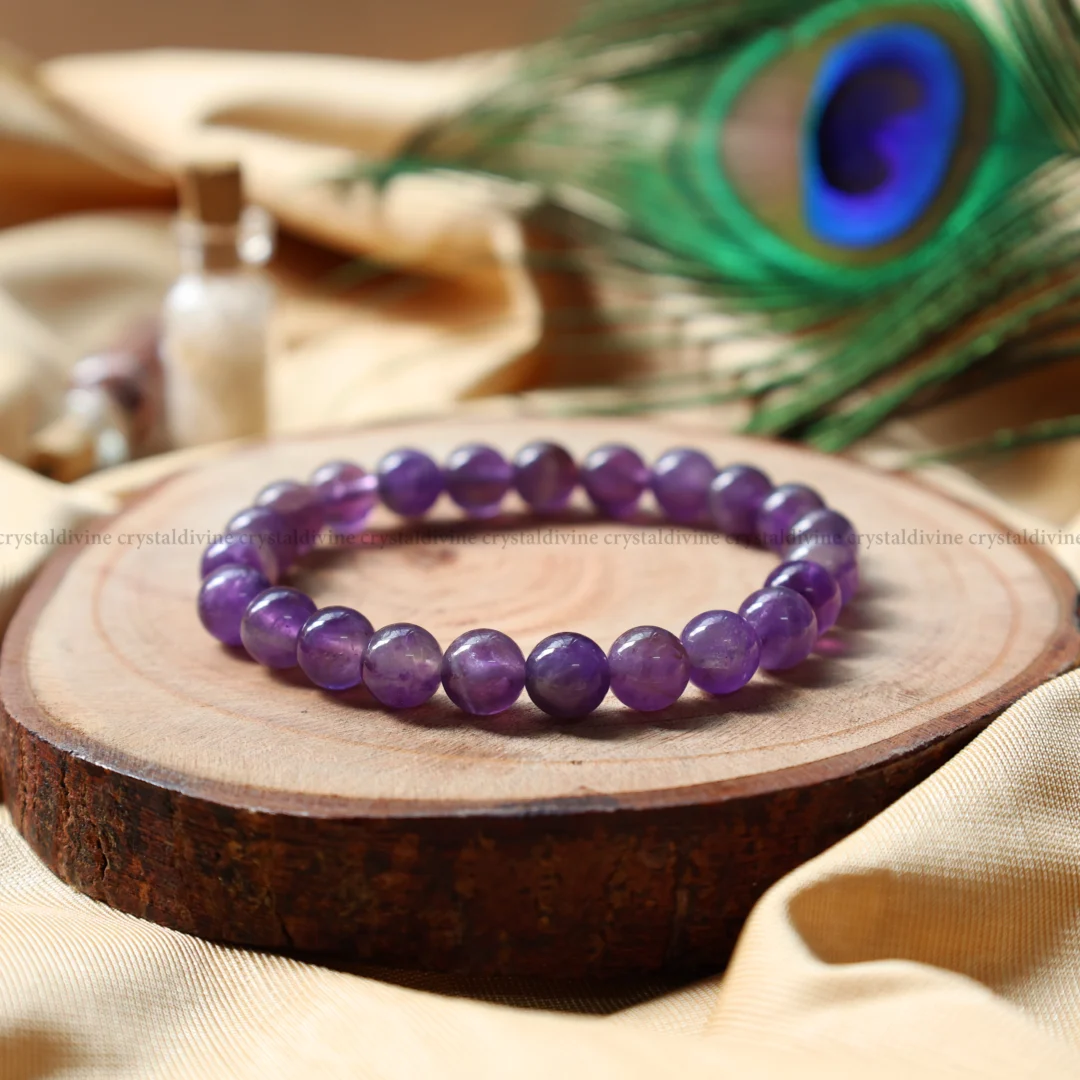
- Crystal beads: I picked out a mix of amethyst (for calm vibes, you know?), rose quartz (for all the love), and clear quartz (because it’s supposed to amplify the others).
- Stretchy cord: I went with the clear stuff, about 0.8mm thick. Didn’t want anything too bulky.
- Scissors: Obviously.
- A bead board: This is optional, but it helps with laying out your design. I just use a plate.
The Making Process
Next, I started by laying out my beads in the order I wanted them. I played around with it for a bit, mixing and matching until it looked good to my eye. There’s no real right or wrong here, just go with what feels right!
Then, I measured my wrist and added a couple of inches to the cord length. Better to have too much than too little, I figured. I cut the cord and started stringing the beads.
This part was a little fiddly, ngl. Those little beads can be slippery! But I took my time and eventually got them all on there.
Finishing Up
Once all the beads were on, I double-checked the fit. It was good, slightly loose but not falling off. Perfect!
Now for the tricky part – the knot. I tied a surgeon’s knot, which is basically a square knot with an extra loop. I watched a YouTube video to figure it out, haha. I pulled it really tight, then added another regular knot on top, just for extra security.
Finally, I trimmed the excess cord, leaving just a tiny bit. And that’s it! My very own crystal bracelet.
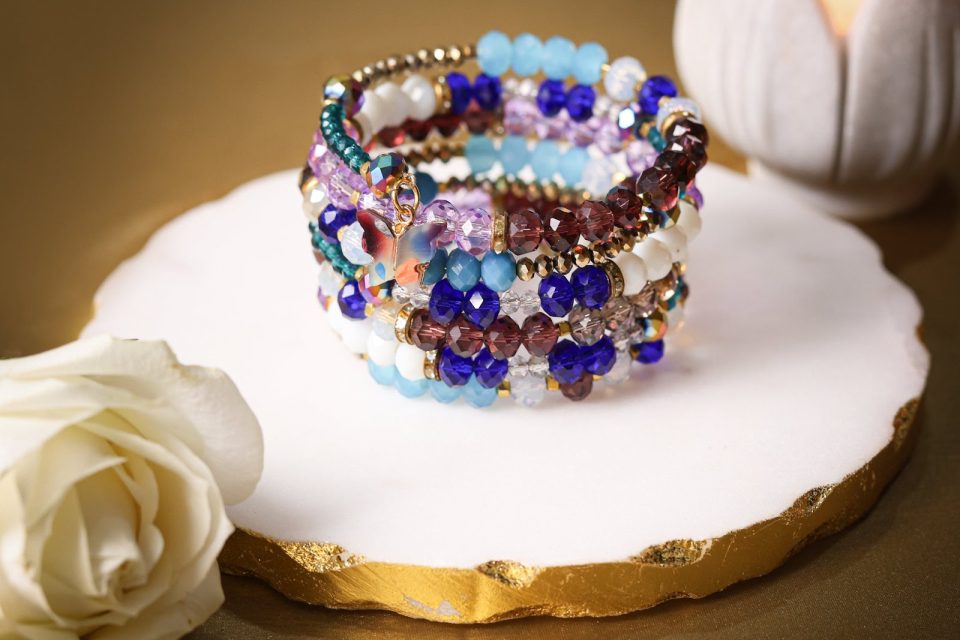
The Result
I’m pretty stoked with how it turned out! It’s cute, it’s sparkly, and hopefully, it’ll bring me all the good vibes. Even if the crystal powers are just placebo, I still love how it looks. Plus, it was super fun and easy to make. I’m already planning my next one – maybe with some tiger’s eye and citrine? We’ll see!


