Okay, let’s get to it! I’ve been wanting to try my hand at making one of those gorgeous Swarovski crystal bangle bracelets for ages. So, I finally took the plunge. Here’s how it all went down.
Getting Started
First things first, I needed the goods. I gathered all my materials:
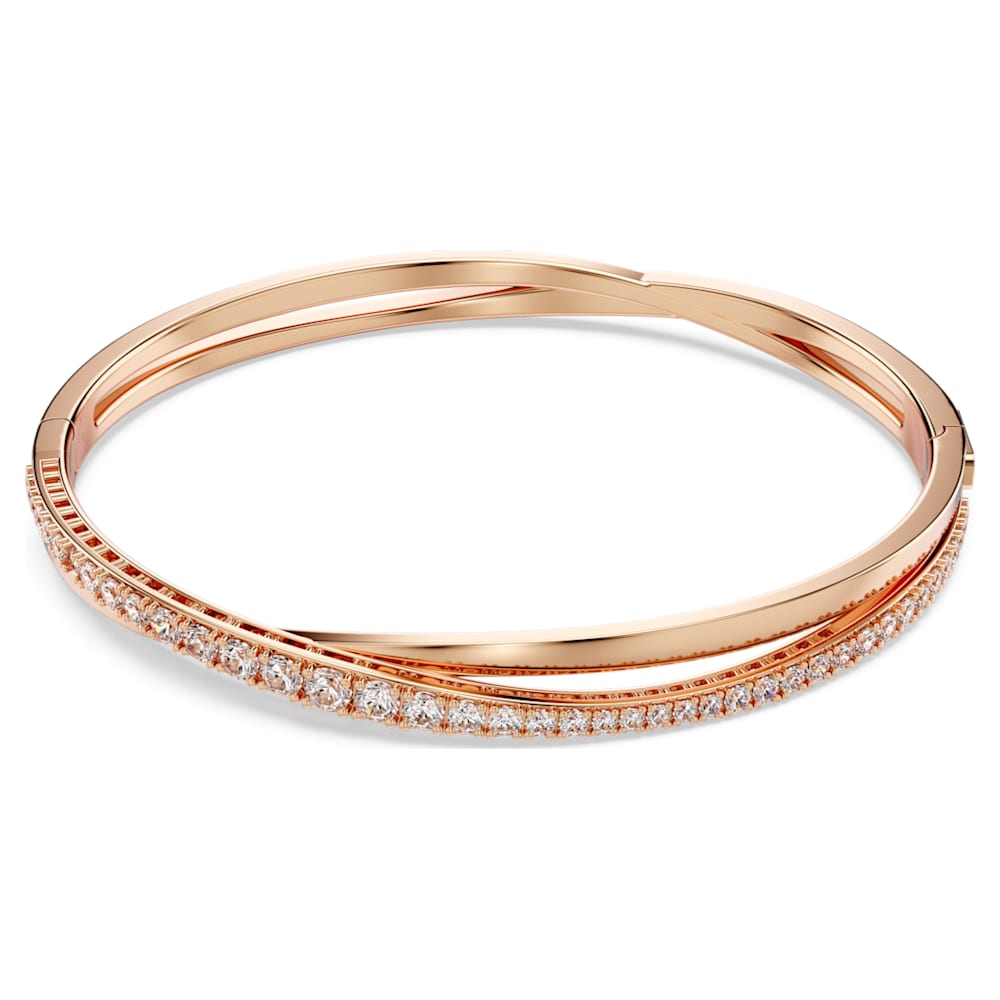
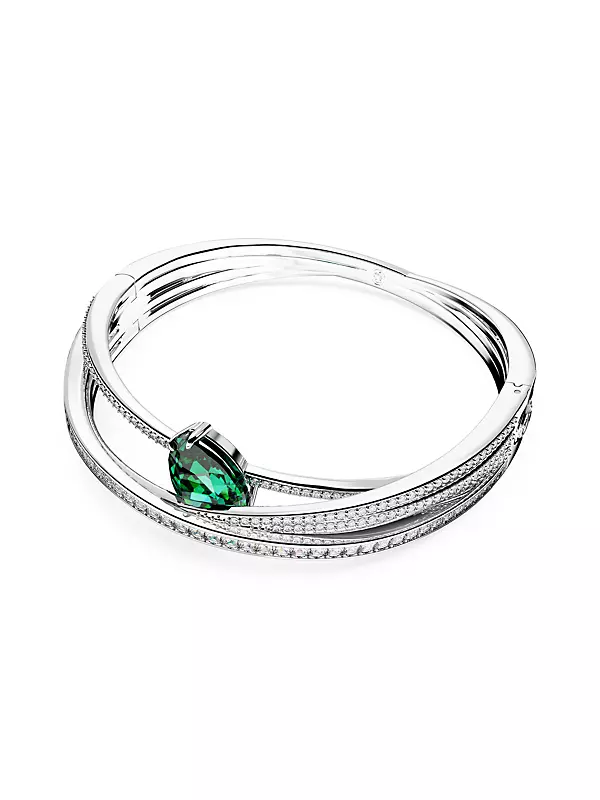
- Swarovski crystals (duh!). I picked a mix of sizes and colors because, why not?
- A plain bangle bracelet. I went with a simple silver-toned one.
- Some strong, jewelry-specific glue.
- Tweezers – because those little crystals are slippery!
- A soft cloth, to keep things clean.
- And, a toothpick for precise glue application.
The Prep Work
I laid out everything on my work table. Gotta have a clean space, right? Then, I wiped down the bangle with the soft cloth to make sure there was no dust or anything that would mess with the glue.
Gluing It On, One by One.
This is where the patience comes in. I started by putting a tiny, and I mean tiny, dab of glue on the back of a crystal using my toothpick. Then, using the tweezers, I carefully placed the crystal onto the bangle. And repeat, and repeat some more.
It was a pretty slow process. I decided to go for a somewhat random pattern. I am not an organized pattern kind of person. If I make another bracelet, I will try that though. Mix of larger and smaller crystals, I think that is way more interesting. I let each little section dry a bit before moving on, just to make sure nothing shifted.
The Waiting Game
Once I was done gluing, the hard part started: the wait. That glue needs time to fully set, so I left the bangle alone for a good 24 hours, just to be safe. And it felt so long!
The Result!
Finally, I get to wear my bling! It turned out pretty great, if I do say so myself. It’s got that perfect sparkle, and it feels super rewarding to know I made it with my own two hands. This definitely won’t be my last DIY jewelry project!