Okay, so I’ve been seeing these crystal bracelets everywhere lately, and I finally caved. I wanted to make my own, you know, get a little crafty and personalize it. Plus, I figured it would be a fun little project.
Getting Started
First things first, I needed supplies. I hit up my local craft store – it’s a bit of a mess, but I always find what I need (eventually!).
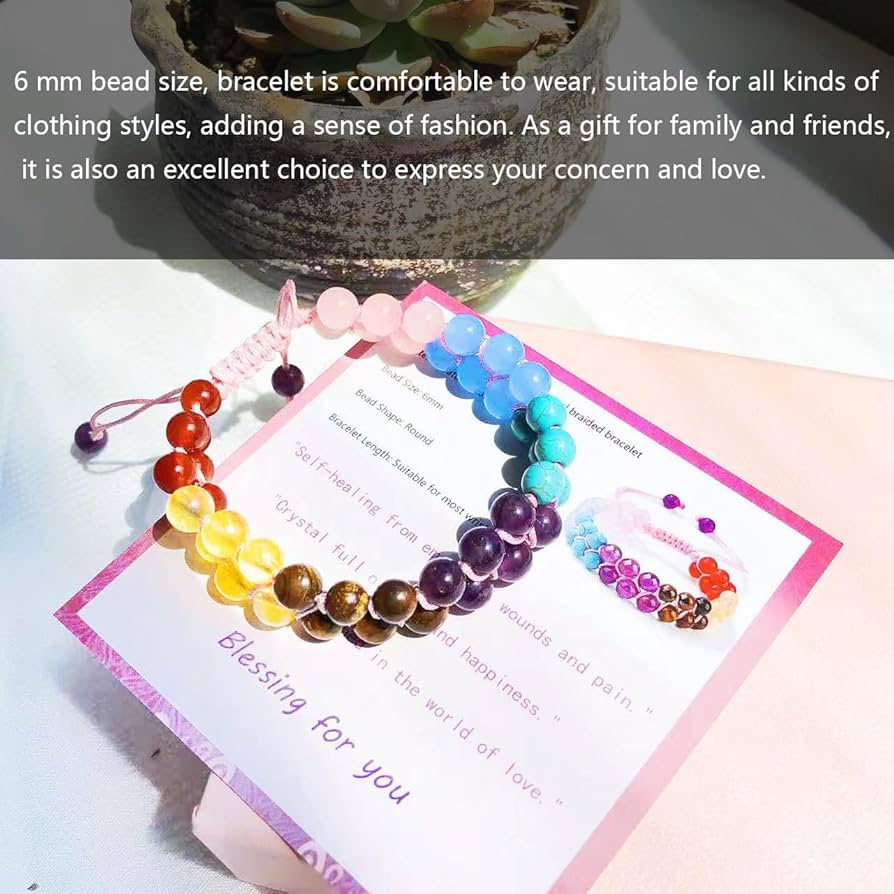
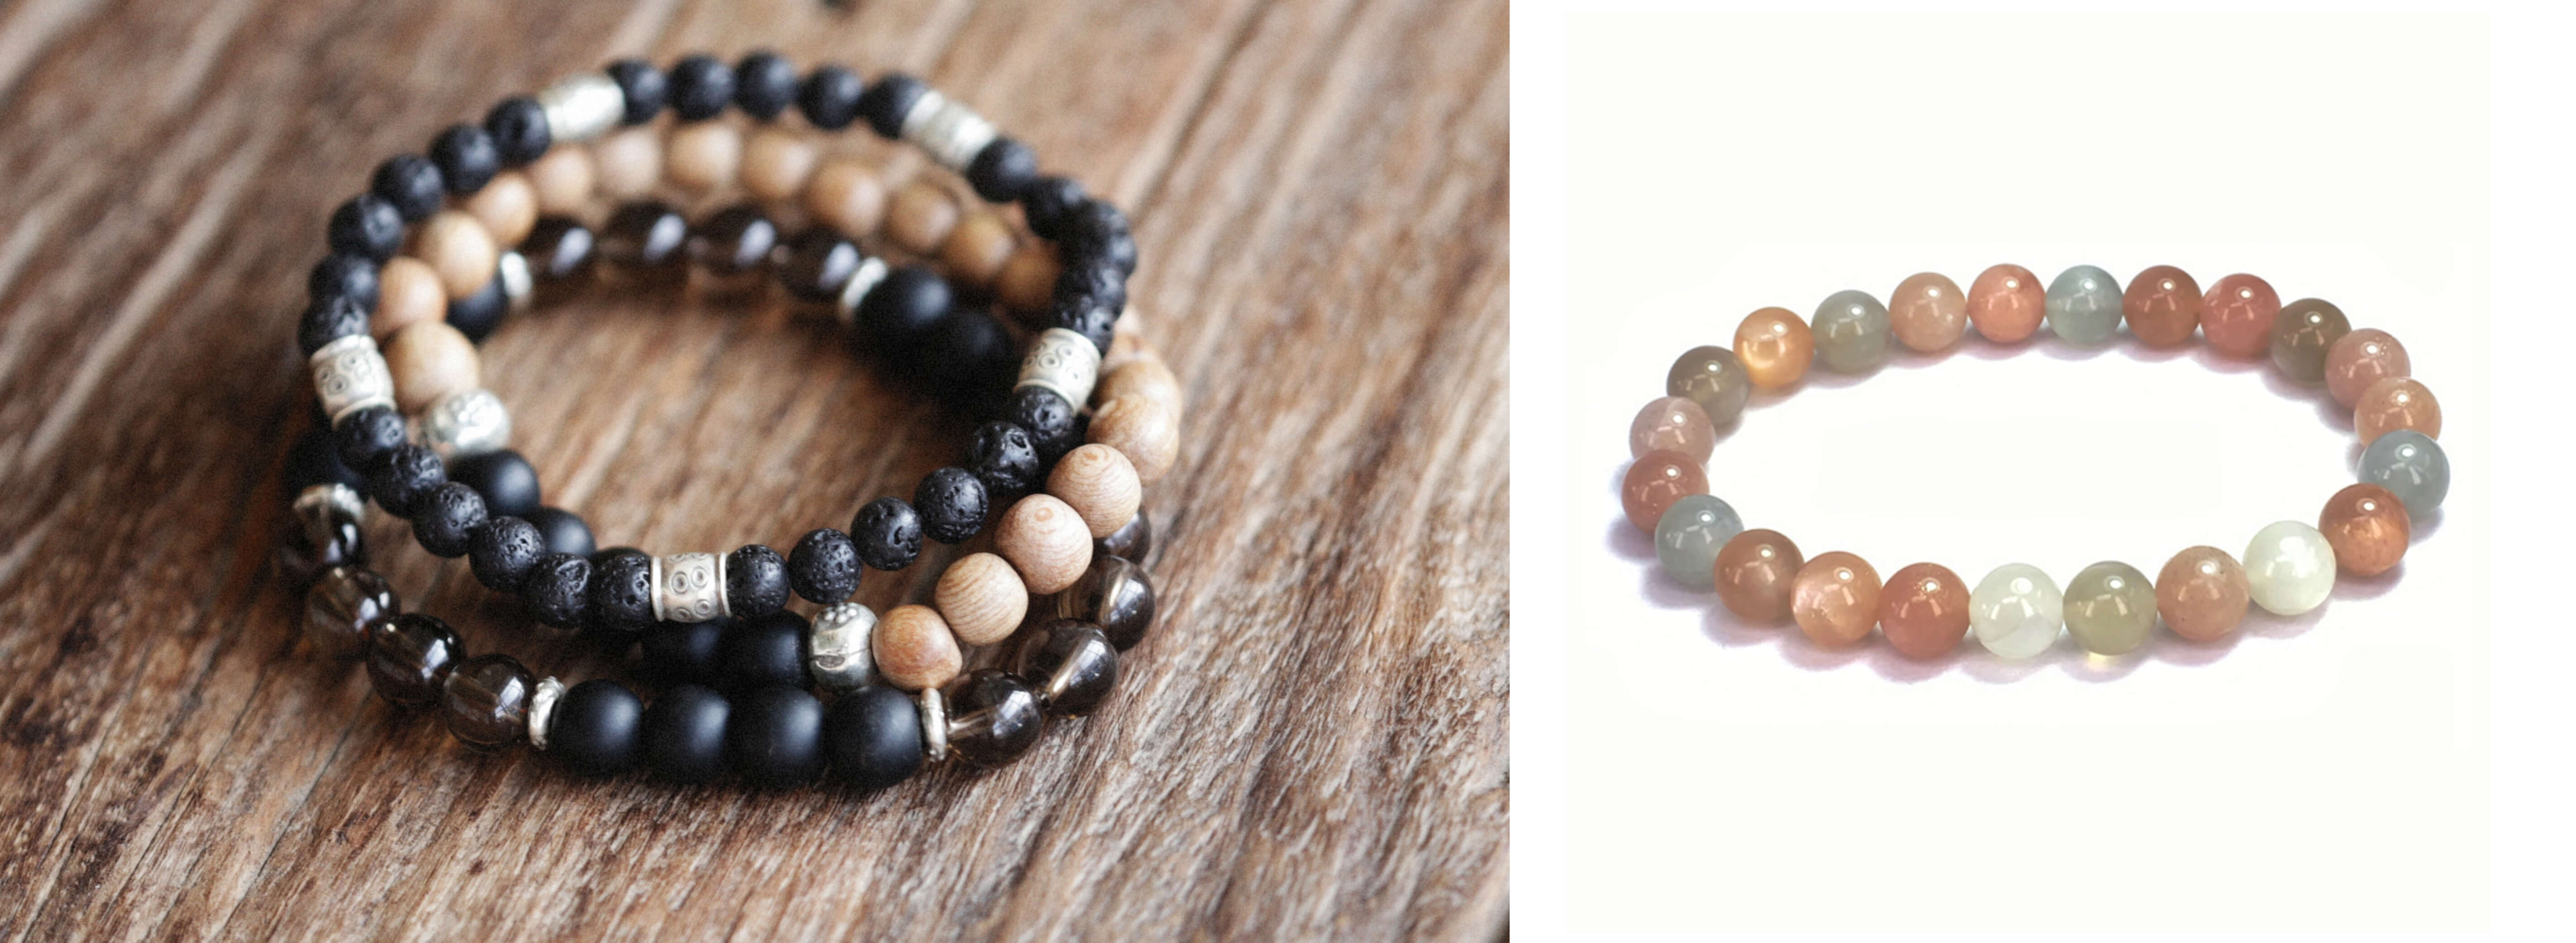
- Crystal beads: I grabbed a mix of different colors and sizes. I wasn’t sure exactly what I wanted, so I just went with my gut.
- Elastic cord: Make sure it’s strong enough! I didn’t want my bracelet snapping and beads flying everywhere. I got the 0.8mm, it is strong.
- Scissors: Obviously.
- Bead board(Optional): to arrange the beads
- Needle(Optional): if the hole is small
The Messy Part (aka, the actual making)
Alright, so I laid out all my beads and tried to figure out a pattern. This took longer than I expected, honestly. I kept rearranging them, second-guessing myself… it was a whole thing.
Once I finally decided on a design (it’s mostly pink and purple, my favorite colors!), I started stringing the beads onto the elastic cord. This was pretty straightforward, just a bit tedious. I found that using a needle could make it easier.
The trickiest part was tying the knot at the end. I watched a couple of YouTube videos beforehand, but it still took me a few tries to get it tight and secure. I used a surgeon’s knot. I ended up pulling really hard to make sure it wouldn’t come undone. I trimmed the excess cord, but not too close to the knot, just in case.
The Finished Product!
And… it’s done! It’s not perfect, but I’m actually pretty happy with how it turned out. It’s got a nice, handmade vibe, and I love the colors. I’ve been wearing it all day, and so far, so good – no beads lost yet!
It was a fun little afternoon project, and now I have a cute, custom-made bracelet. I might even make a few more for my friends. If you’re looking for a simple, crafty activity, I definitely recommend giving this a try!