
Okay, here’s my blog post about making real crystal bracelets:
So, I’ve been seeing these gorgeous crystal bracelets everywhere, and I thought, “Hey, I can totally make that!” I’m a crafty person, I love making things, and I figured, how hard could it be? Turns out, it’s not that hard, but there’s definitely a learning curve. I wanted to share my experience, start to finish, so maybe you can avoid some of my early blunders.
Getting Started: Gathering Supplies
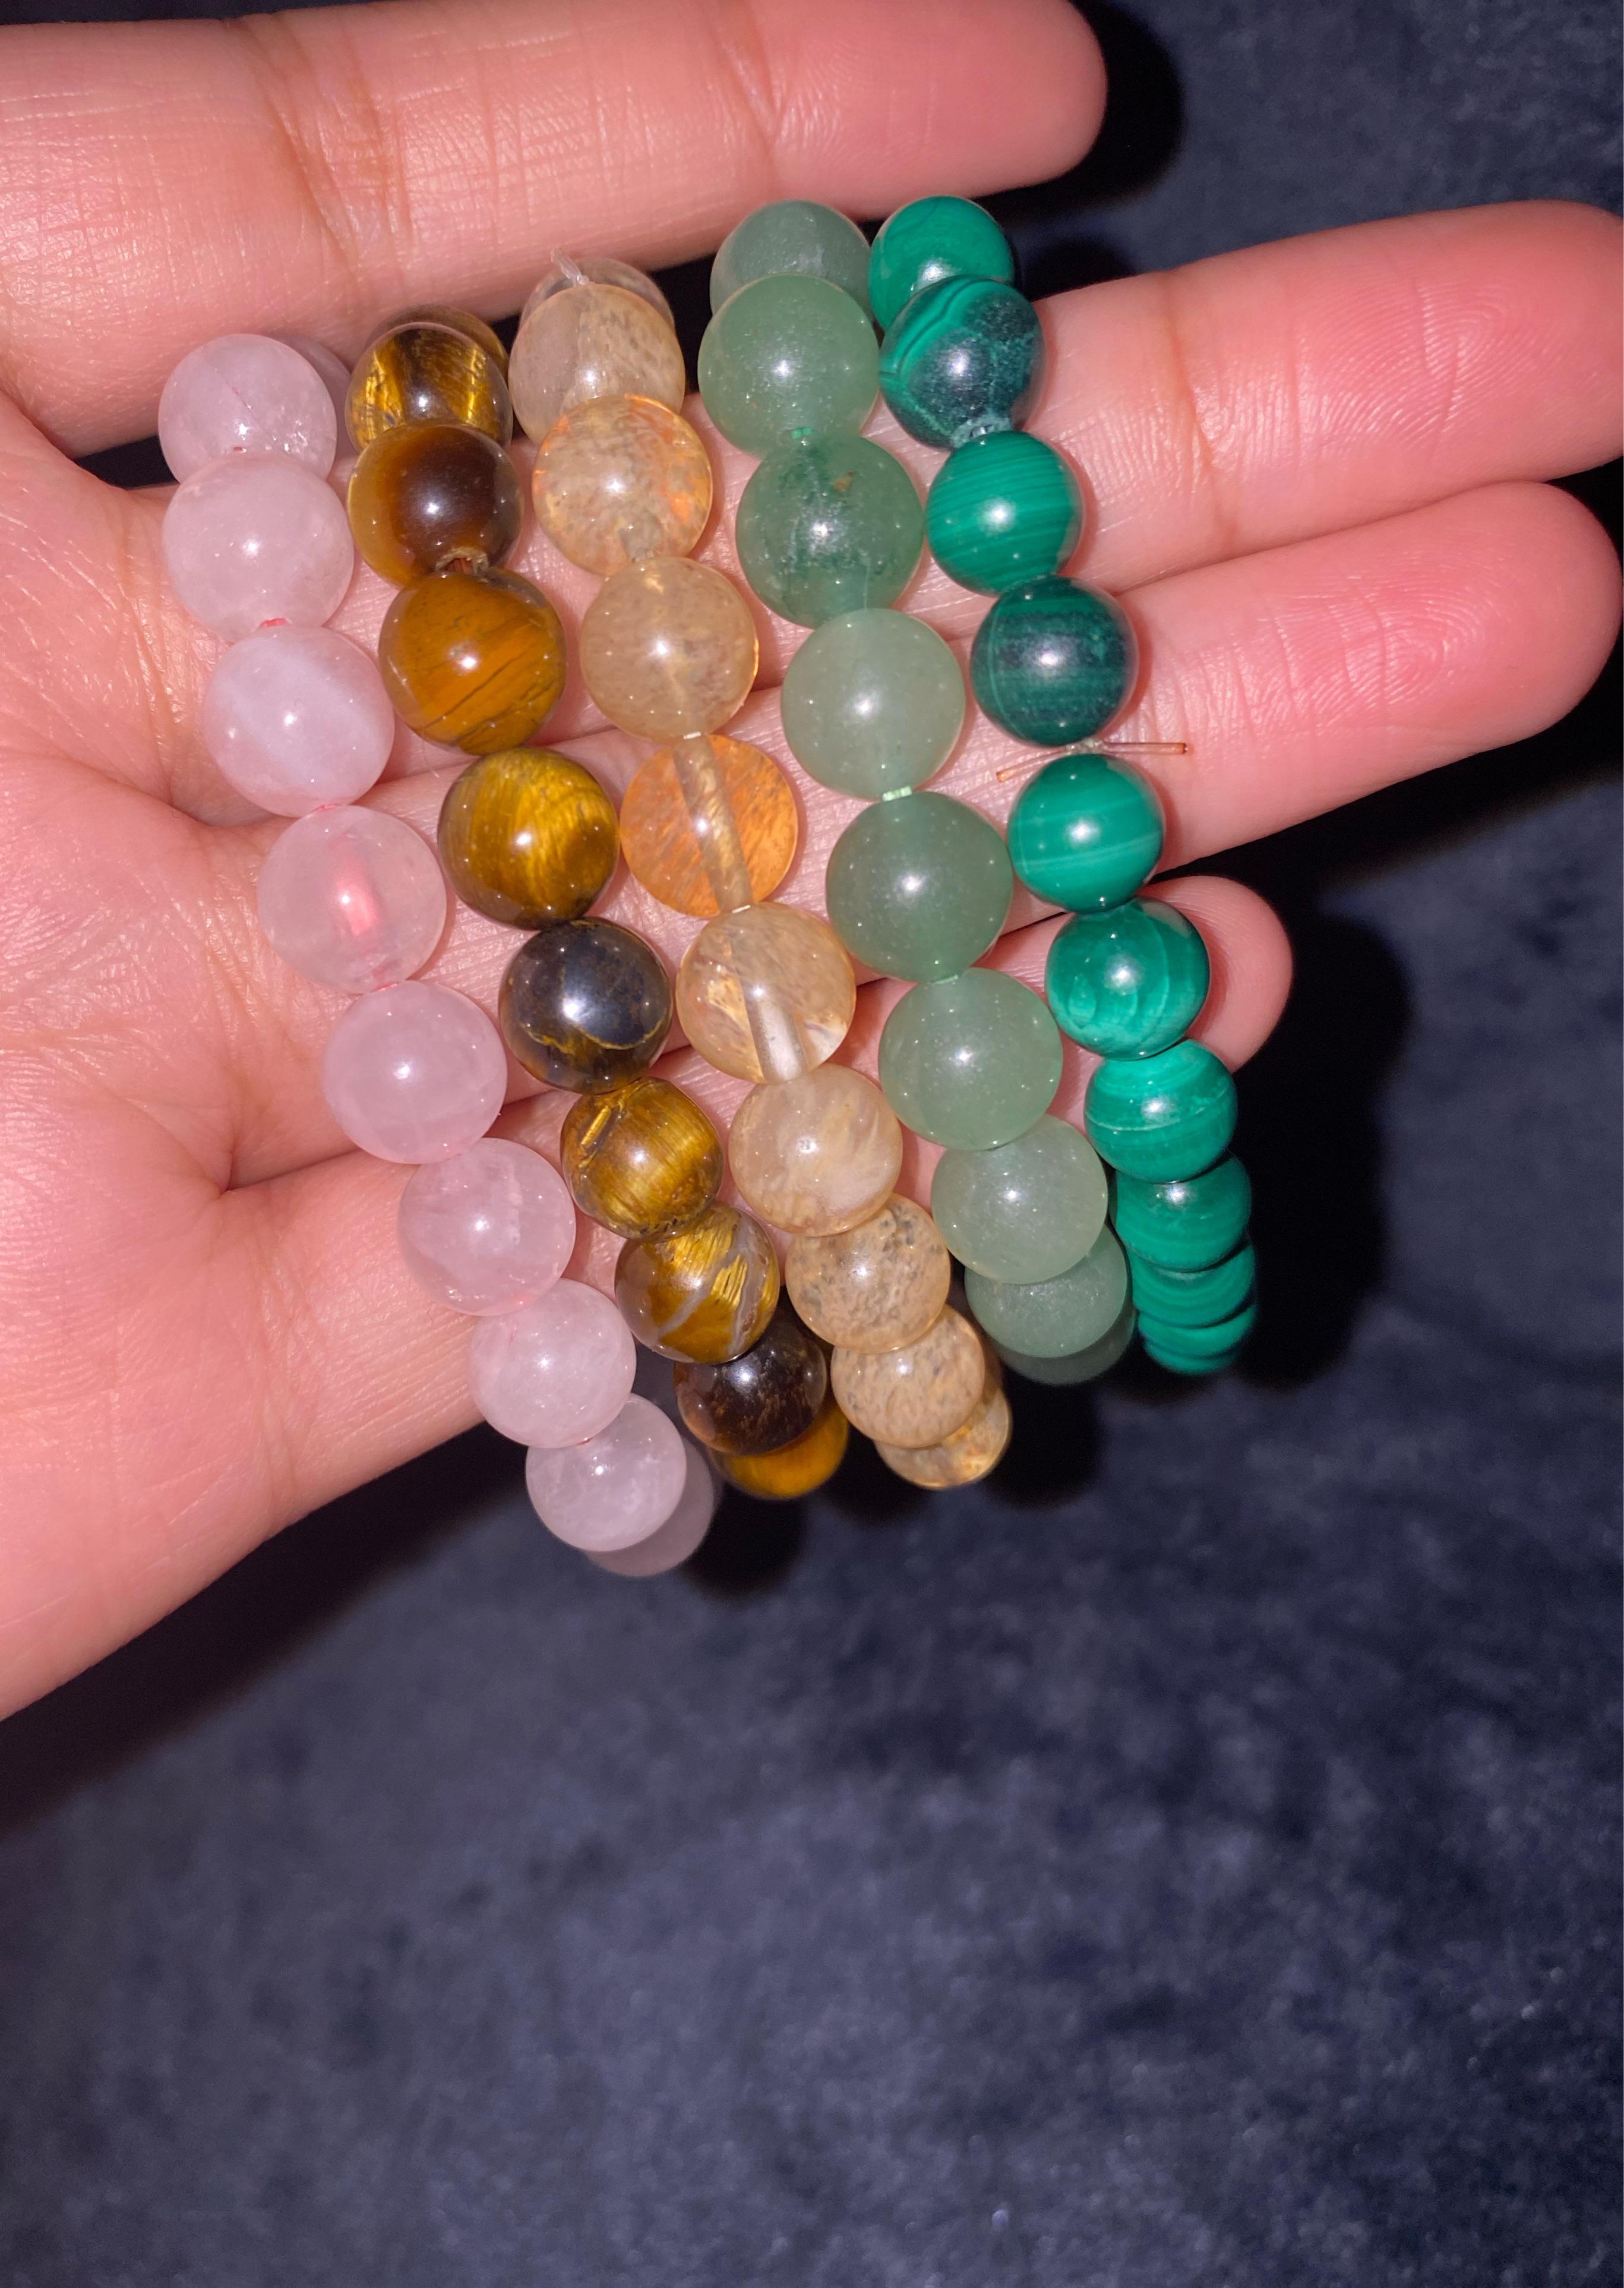
First things first, I needed supplies. I hit up my local bead store, and let me tell you, it was overwhelming! So many crystals, so many colors, so many shapes! I grabbed a few different types that caught my eye:
- Amethyst: Because, duh, it’s pretty and purple.
- Rose Quartz: Supposedly for love and good vibes, and it is a nice pale pink.
- Clear Quartz: A good all-rounder, I figured.
Besides the crystals, I also picked up:
- Elastic cord: The stretchy kind, obviously. I got a few different thicknesses to experiment.
- Bead tips: These are little metal things that hide the knot you tie in the elastic. Fancy!
- Crimp beads: Tiny metal beads you squish to secure the cord.
- Pliers: For squishing those crimp beads. I just used some I had in my toolbox.
- Scissors: To cut the cord.
The Messy Middle: Actually Making the Bracelet
Okay, so here’s where things got interesting. First, I measured my wrist. I learned that the length of cord needs to be longer than the length of the *, I cut a length of the elastic cord, adding a few extra inches for tying knots and stuff. I strung the beads onto the cord in a pattern I liked. This part was fun! I played around with different arrangements until I was happy with how it looked.
Now for the tricky part: tying the knot. I tried a few different knots I found online. The surgeon’s knot seemed to be the most recommended. It took me a few tries (okay, maybe more than a few) to get it right. It’s one of those things that’s easier to do than to explain. My first few attempts definitely came undone. Practice makes perfect!
Once I finally got a secure knot, I added the bead tips. These just kind of clamp over the knot. Easy peasy.
Next Step is crimp beads, which are tiny metal beads that you can use to secure the ends of the cord and keep your beads in place.
I used my pliers to squish those little crimp beads. I made sure to squish them really well, because the last thing I wanted was my bracelet falling apart and beads flying everywhere.
The Big Reveal: My Finished Bracelet!
And… it’s done! Honestly, it turned out way better than I expected for my first try. It’s not perfect, but it’s mine, and I made it! I’ve been wearing it all day, and it feels pretty good. Whether the crystals are actually doing anything, who knows, but it looks great, and I’m already planning my next one!
So go and try it, and show me your outcome!


